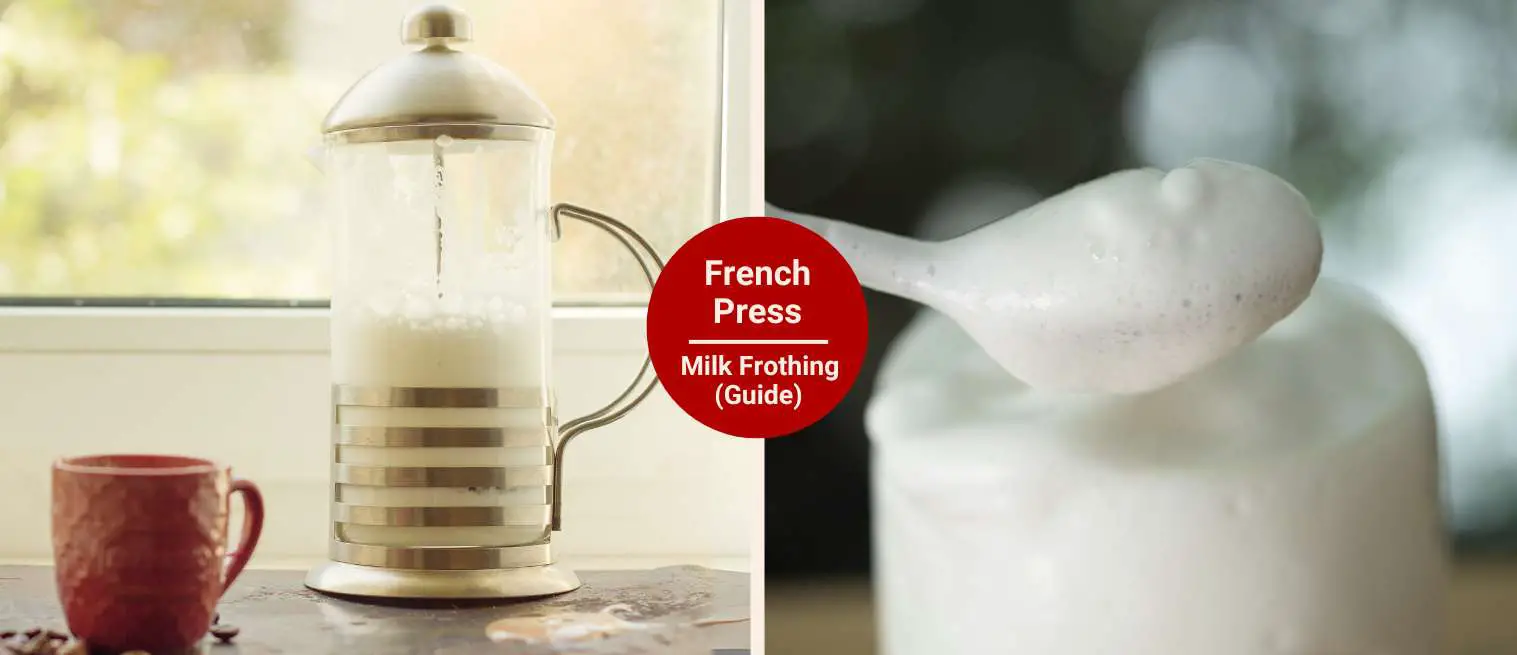
How to Froth Milk with a French Press (5 Easy Steps)
Last updated on September 25th, 2025 at 11:47 am
A few years back, I was staying in a hotel that had one of those tiny drip coffee machines in the corner. Great for a plain cup, sure, but I was missing my favorite foamy cappuccino-style drinks.
And buying an espresso machine was out of the question (imagine hauling that through an airport for a week’s stay). So, I got creative. I tracked down a second-hand French press for a few bucks.
Honestly, it looked a little beat up, but the first time I pumped that plunger and saw the milk turn creamy and thick, I was hooked.
That little hack didn’t replace my espresso machine and frother at home those still run the show. But it became my clutch move for travel, guest kitchens, camping, or the morning my frother’s battery tapped out.
A French press makes surprisingly thick, stable foam, and it scales nicely; I can whip 8–12 oz at once for lattes, cappuccinos, or iced drinks without plugging in anything.
In this guide, you’ll learn how to froth milk with a French press—step by step. Plus practical tips and the key differences between dairy and plant-based milks. So, let’s start brewing!
Why Use a French Press to Froth Milk?
The first time I heard this, I thought “Nah, no way this is going to work!” But after trying it a few times, I realized it’s one of the easiest coffee hacks out there.
Don’t need to spend money
You don’t need a $500 espresso machine or some fancy milk frother. Instead, use the same French press you already use for coffee.
It’s quick…
From start to finish, the whole process takes maybe 3–5 minutes. You simply heat the milk, pump the plunger, and voilà: creamy foam that works for a cappuccino, iced latte, macchiato, or any milk-based coffee.
Sure, it’s not the ultra-fine microfoam you’d get at a café. But honestly, it’s good enough.
Does It Work for Plant-Based Milk?
Yes, it works with both dairy and plant-based milks.
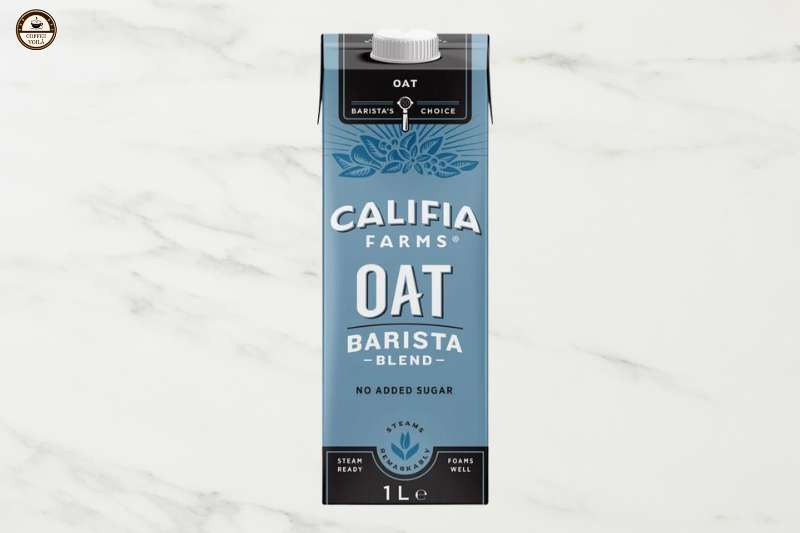
Oat milk: I find this milk to be my favorite. I recommend barista blends like Oatly or Califia Farms Barista Edition for a smooth, rich, and stable froth. They’re perfect for lattes or even light latte art. Although regular oat milk can still work, the foam collapses more quickly.
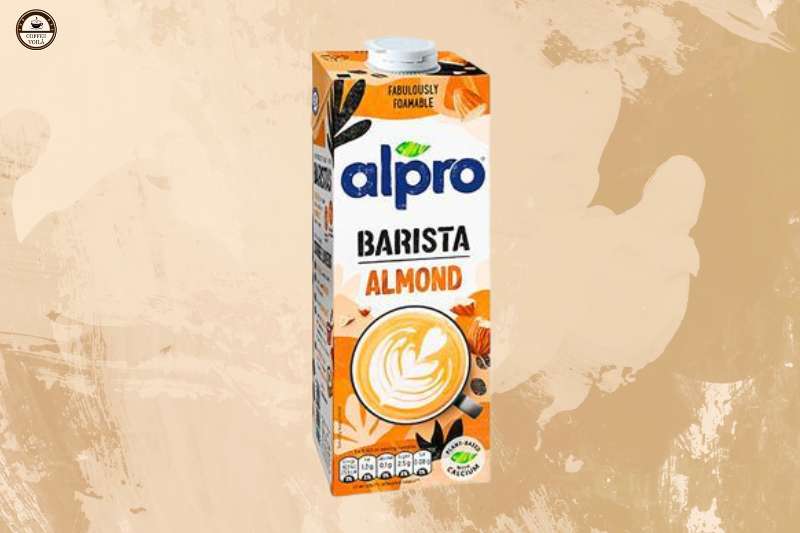
Almond milk: This one froths, but it usually makes a lighter, airier foam that doesn’t hold as long. It’s great if you like a cappuccino-style foam, but not ideal for a silky latte.
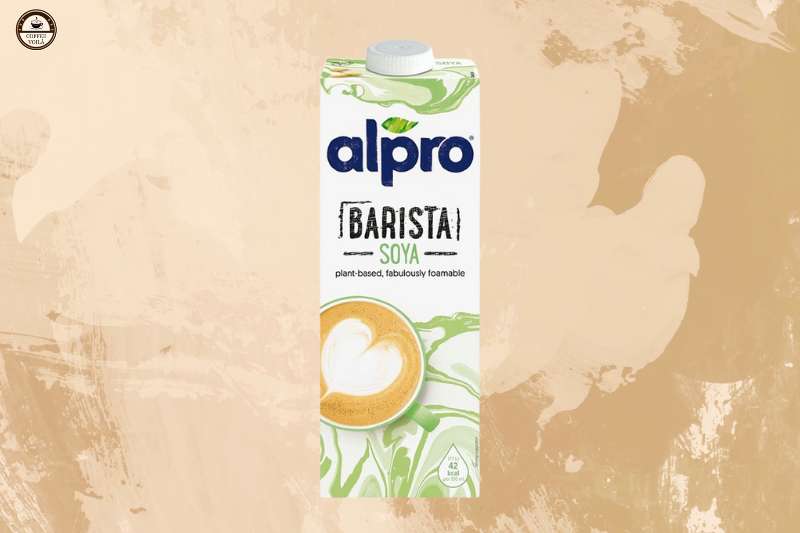
Soy milk: Froths better than almond because of its higher protein content, and you can get a pretty creamy texture. Now the downside is that sometimes it has a “beany” aftertaste when heated (this depends on the brand).
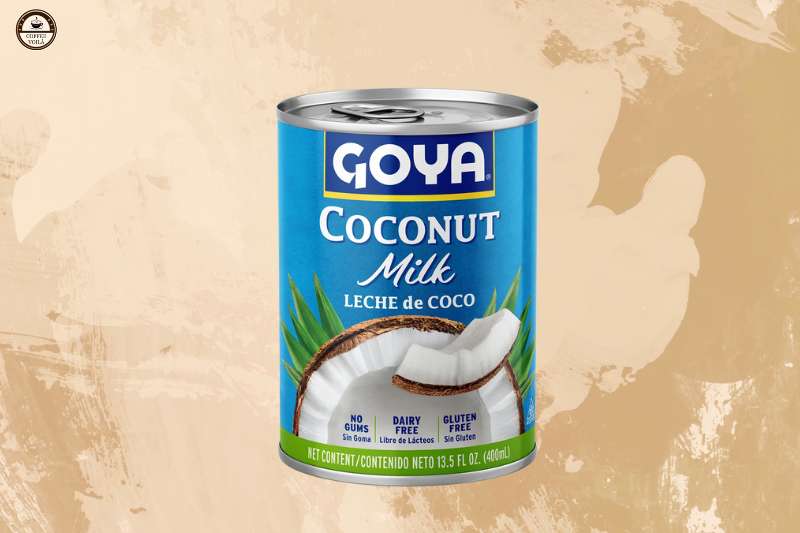
Coconut milk: Some cans or cartons are too watery and barely froth at all. Meanwhile, others (especially those with higher fat content) become overly thick, almost resembling whipped cream. If you’re a coconut lover, experiment with different brands until you find one that hits the spot.
Pro tip:
If you’re going plant-based, stick with the Barista versions such as Oatly Barista Edition or Califia Farms Barista Oat. They’re designed with extra fat and protein to mimic dairy. For this reason, they froth beautifully in a French press.
What You’ll Need to Froth?
Now that you know why the French press works well, here’s the list of tools and ingredients you’ll need from your kitchen:
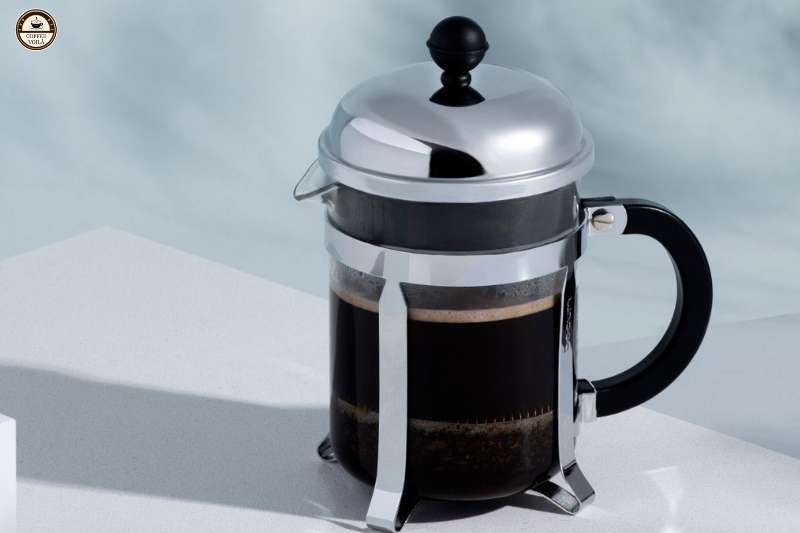
French press: Any size will do, but I’ve found medium (about 34 oz) is ideal. It gives you enough space for milk to expand without spilling.
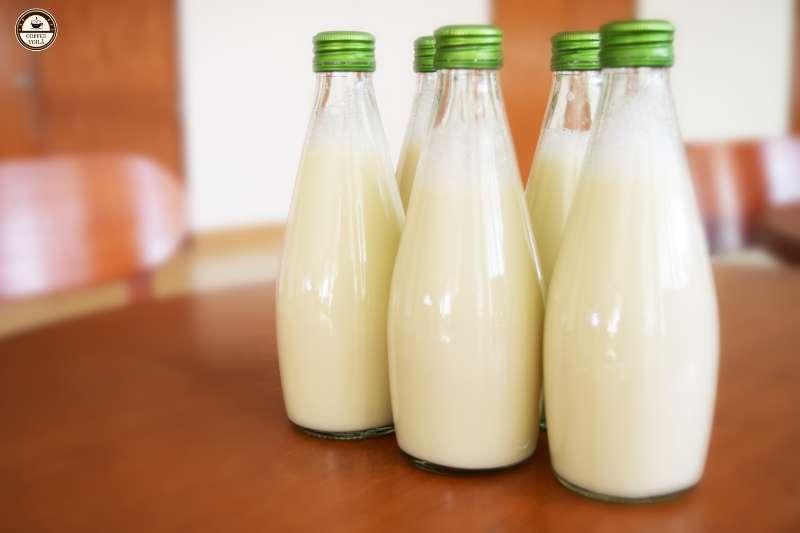
Fresh milk: Whole milk gives a rich foam, while barista-style oat is the best plant-based option. Meanwhile, almond, soy, and coconut can froth too, but results vary by brand.
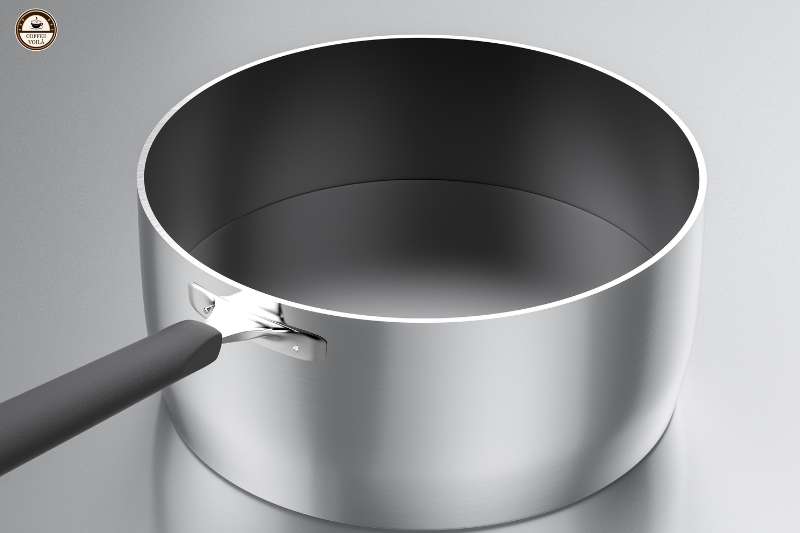
Microwave or saucepan: Just for warming the milk before frothing.
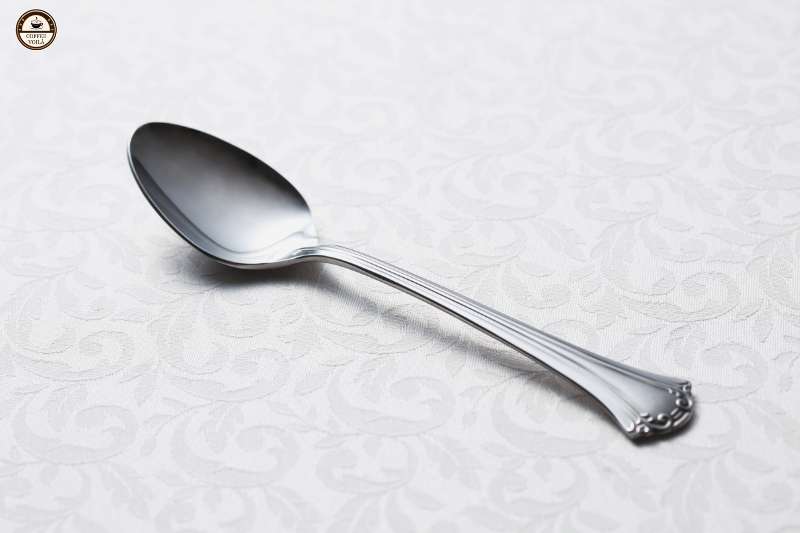
Spoon for scooping foam: Once you’ve got that dreamy layer of froth, a spoon helps you scoop it right on top of your latte, cappuccino, or iced drink without making a mess.
Thermometer (optional): Not required, but handy if you want to nail the perfect frothing temp (around 150°F). It prevents overheating the milk, which can cause the foam to collapse and give it a burnt taste.
Notes: With these four things, you’re basically set to start frothing like a home barista.
5 Step Guide to Frothing Milk with a French Press
Now let’s see how you can froth milk at home with your French press without making the huge mess that usually comes with it.
Step 1 – Heat the Milk
Warm your milk to about 150°F. That’s the sweet spot. It’s hot enough to steam but not boiling. If you don’t have a thermometer, then watch for tiny bubbles around the edge of the pan. Or heat for about 30–45 seconds in the microwave.
Notes: Go hotter and you risk scorching it, which kills both flavor and foam.
Step 2 – Pour into the French Press
Next, add the milk, but only fill the press halfway. This part matters because the foam expands, and cleaning hot milk overflow isn’t fun.
Step 3 – Pump the Plunger
You want to hold the lid with one hand and pump the plunger up and down quickly for 20–30 seconds. You’ll feel the resistance change as the milk thickens. Also, keep the strokes steady and not too wild (you want foam, not splashes on your counter).
Step 4 – Check the Foam
Peek inside. Good froth will have doubled in volume and look creamy with tiny bubbles. If it’s still flat, give it another 10–15 seconds of plunging.
Step 5 – Pour & Enjoy
Swirl the French press gently to smooth the foam, then pour into your coffee. Next, use a spoon to scoop a thick cap of foam for cappuccinos, or pour more milk for a silky latte.
Notes: Once done, clean your French press right away. The reason is dried milk turns into cement and is a nightmare to scrub off later.
Drinks You Can Make with French Press Frothed Milk
Once you’ve nailed the foam, the fun really begins. A French press can unlock a whole lineup of coffee drinks right in your kitchen. So, here are some ideas:
Cappuccino: Brew a strong coffee (or espresso if you’ve got it) and top it with a thick, airy layer of French press frothed milk. The thick foam sits on top of the coffee, giving you that bold hit of espresso underneath and a light, airy finish with each sip.

Latte: This one leans creamier. Use espresso or concentrated coffee as your base, then pour in steamed milk and finish with just a light cap of foam. I usually go for a 2:1 milk-to-coffee ratio, which feels silky and mellow.

Flat White: Similar to a latte but with a thinner foam layer. It’s basically a silkier take on coffee, with less foam and more espresso flavor coming through. If you don’t want your drink too milky, this one is perfect.

Iced Latte: Cold brew plus chilled frothed milk is fantastic on hot days. For this, froth the milk cold (yes, the French press can do it), pour it over ice, and you’ll get a creamy drink. If you like, you may add a splash of vanilla or a drizzle of syrup.

Mocha: Add a spoonful of chocolate syrup to your coffee before topping with frothed milk.
Last Thoughts
Now I’m curious: what’s the first drink you’ll try making with your French press foam? Will you keep it classic with a cappuccino, or go creative with an iced mocha? However you decide to use it, practice a couple of times and, as always, let’s finish with a ‘voilà!