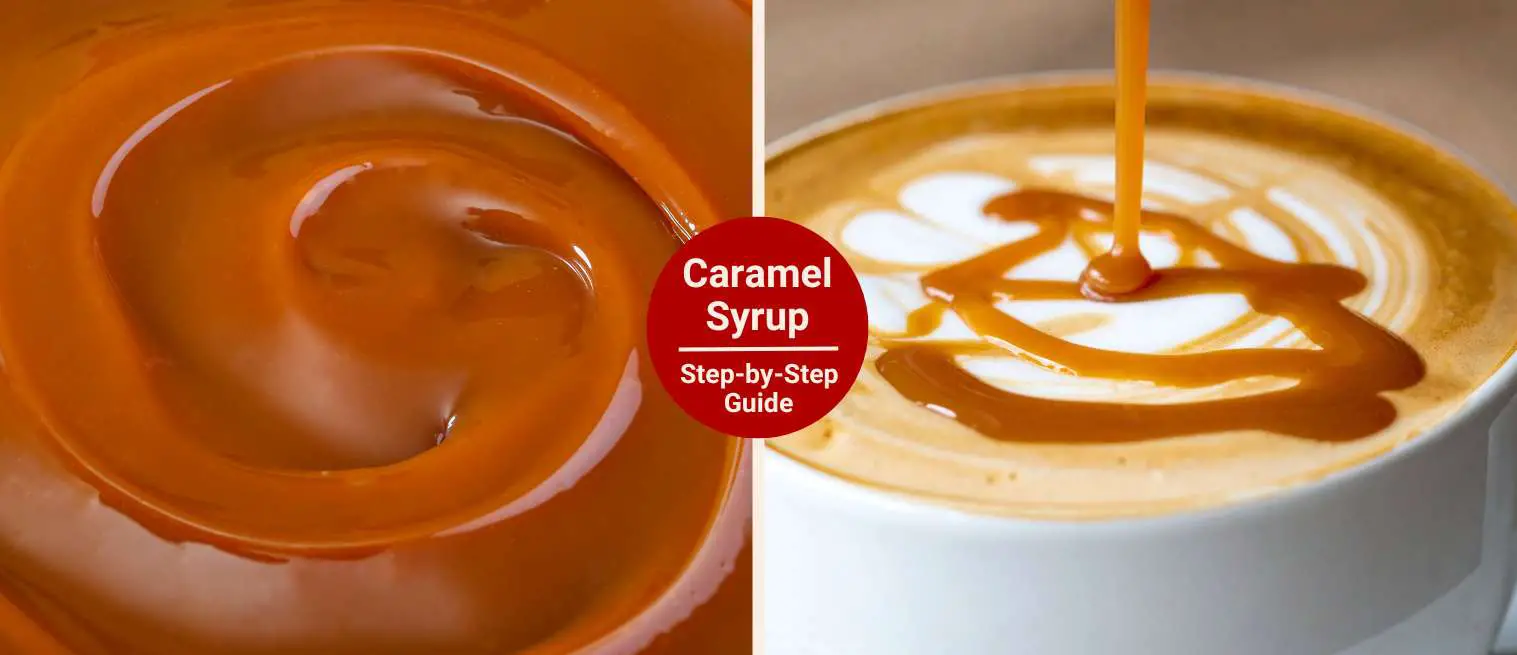
Easy Homemade Coffee Caramel Syrup (Step-By-Step Guide)
Last updated on February 17th, 2026 at 11:54 am
Do you want that buttery caramel flavor in your coffee without the overpriced trip to Starbucks?
Yeah, same here. For the longest time, I’d order my usual caramel macchiato, pay a few bucks, take a sip, and think, this is good… but why does the caramel taste kinda fake? It was overly sweet and, honestly, not worth the hype after a while.
That’s when I decided to make my own coffee caramel syrup at home. And let me tell you: it’s shockingly easy. The flavor? So much better than anything I’ve bought in a bottle.
In this guide, I’ll walk you through how to make it from scratch, the ingredients you’ll need, step-by-step instructions, a few pro tips, and even some fun variations. So, let’s start brewing!
Why Make Caramel Syrup at Home?
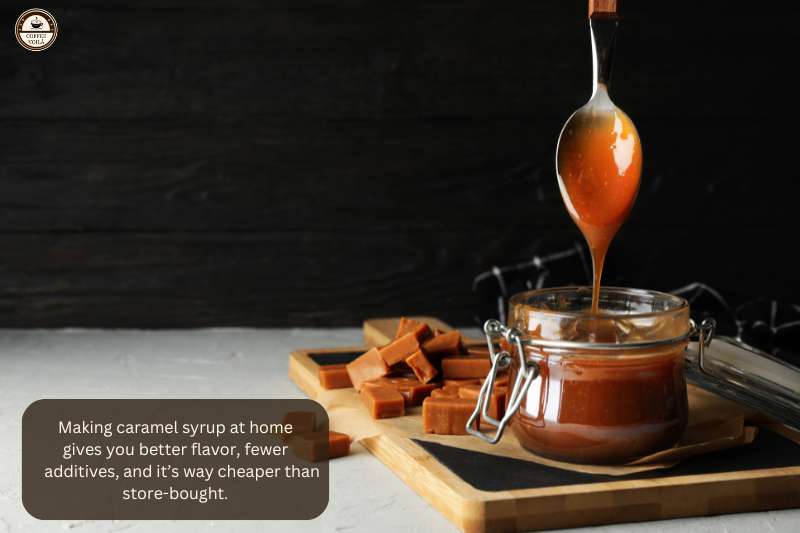
Making caramel syrup at home is easier than it sounds and well worth the effort. You get better flavor, full control over the ingredients, and it costs way less than store-bought versions. Plus, it only takes a few basic ingredients and about 15 minutes to whip up.
Control the Sweetness and Ingredients
Usually, store-bought syrups are overloaded with sugar, and not the good kind. When you make yours, you decide exactly how sweet it is. I personally like mine rich but not too cloying.
So, I tone it back a bit and add a pinch of salt to balance it out. And no mystery ingredients either. Just real sugar, real butter, and cream.
Customizable Consistency and Richness
Your syrup doesn’t have to be super thin like the bottled kind. If you want a thicker drizzle-style syrup for topping foam or whipped cream, simmer it down a little longer.
On the flip side, if you prefer something more pourable for iced coffee, you can lighten it up by using less cream or thinning it with a splash of water.
It took me a few tries to get it right, but once you find your preferred texture, you’ll never look back.
No Preservatives or Artificial Flavors
Some caramel syrups at the store have stuff like potassium sorbate and “natural flavors” (whatever that means). And every time I used them, my coffee had this weird chemical aftertaste that lingered.
But with homemade syrup, you have none of that. You get a buttery, slightly toasty flavor with zero junk, and your kitchen smells amazing while it cooks.
Cheaper in the Long Run
A bottle of good-quality caramel syrup can cost around $12. I mean, it’s not a huge expense, but still, it adds up. Meanwhile, homemade costs less than $2 for a small batch, and that usually lasts me a week or more.
How to Make Coffee Caramel Syrup (Step-by-Step)
Equipment
- Heavy-bottomed saucepan (this helps prevent burning)
- Heat-resistant spatula or wooden spoon
- Measuring cups and spoons
- Glass jar or squeeze bottle for storage
- Oven mitt (trust me—hot caramel bites)
Ingredients
- 1 cup granulated sugar
- ¼ cup water
- 2 tablespoons butter
- ¼ cup heavy cream or milk (cream = richer, milk = lighter)
- ½ teaspoon vanilla extract (optional, but lovely)
- Pinch of salt (to round out the sweetness)
Instructions
- Step 1) Melt the Sugar: Start by adding the sugar and water to your saucepan over medium heat. Next, stir gently at first to help the sugar dissolve. Once it has dissolved, stop stirring.Just let it bubble and turn amber. Stirring after this point can make it crystallize. You want to watch it like a hawk. The reason is sugar goes from golden to burnt in seconds if you're not careful.
- Step 2) Add Butter and Cream: Once the sugar turns that deep, golden brown (caramel!), carefully drop in the butter. It’ll bubble like crazy that’s normal. Then slowly pour in the cream or milk, stirring constantly. This is the part where I used to get nervous, but as long as you go slow and keep stirring, it’ll smooth out into a glossy caramel.
- Step 3) Add Vanilla & Salt: Take it off the heat and add your vanilla extract and salt. You want to add these at the end, which prevents the vanilla from burning off and allows that pinch of salt to mellow the sweetness.
- Step 4) Cool & Store: Let it cool in the pan for a few minutes so it thickens slightly. Then pour it into a clean glass jar or a squeeze bottle (those diner-style bottles are perfect). Once it’s completely cool, pop it in the fridge. It’ll thicken as it chills, and you can warm it slightly before using if needed.
Want café-style flavor at home? It starts with the right syrup.

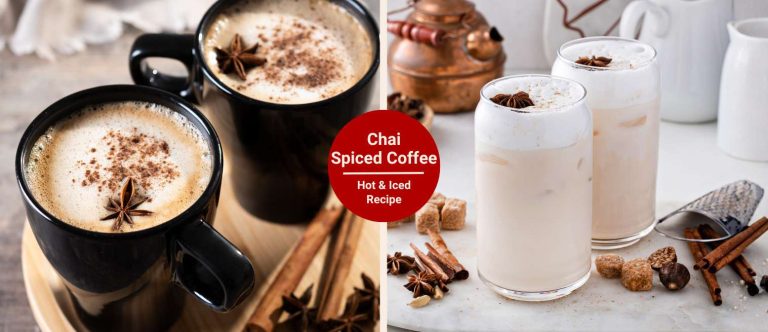
10 Best Coffee Syrup Brands in 2026
Love flavored lattes, iced caramel coffees, or cozy vanilla cappuccinos? We reviewed the best coffee syrup brands for bold flavor, cleaner ingredients, and barista-level taste at home.
How to Use Caramel Syrup in Coffee?
Here’s the thing: you can use caramel syrup in way more than just coffee. And honestly, that’s when things start to get fun. So, here are some of my favorite combos:
Hot Coffee and Lattes
I usually stir 1 to 2 tablespoons right into freshly brewed coffee or a homemade latte. It melts beautifully into the milk and espresso, giving that rich, buttery sweetness without any grainy texture.
Bonus tip: If you’re steaming milk, add the syrup before frothing to spread the flavor more evenly.
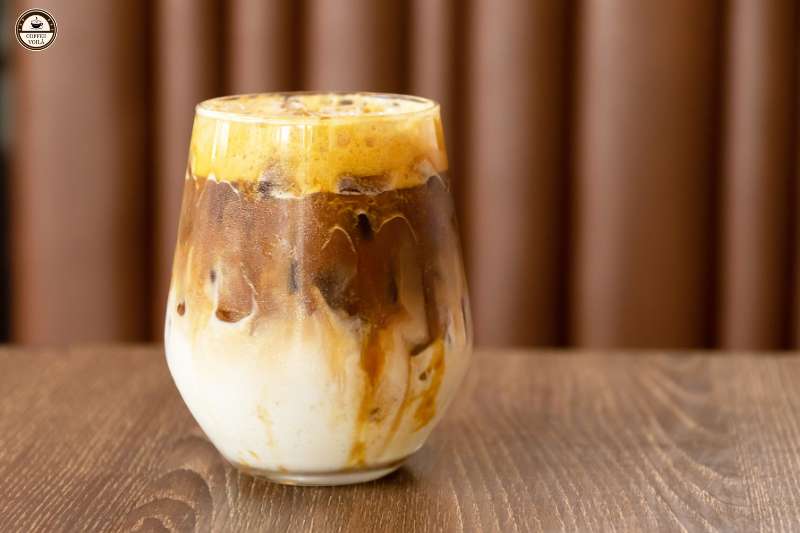
Iced Coffee and Cold Brew
I learned the hard way that caramel syrup doesn’t always dissolve well in cold drinks. For this reason, here’s a trick: mix the syrup into a splash of hot water or espresso first, then pour over ice and cold brew. That way, no clumps or weird separation, rather a smooth sweetness all the way through.
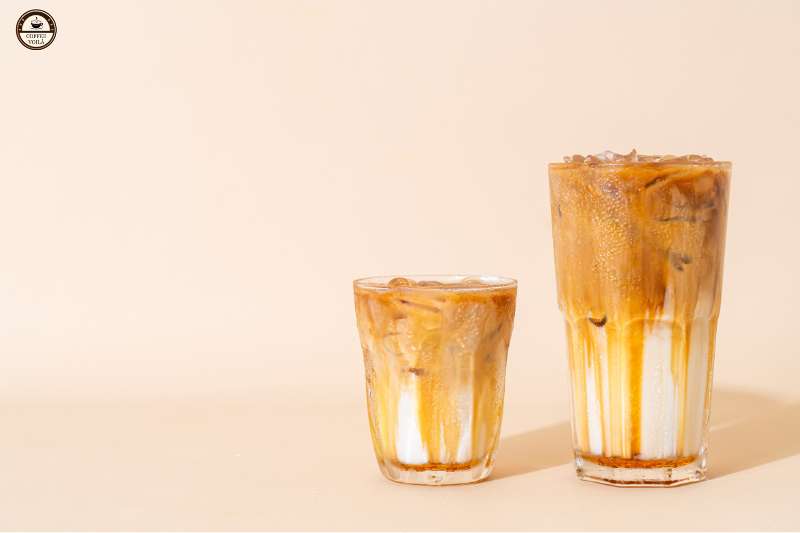
Caramel Macchiatos or Cappuccinos
Okay, if you’re trying to copy a Starbucks-style caramel macchiato, this is your moment. I layer it like this: syrup at the bottom, steamed milk in the middle, espresso on top, and then a good caramel drizzle.
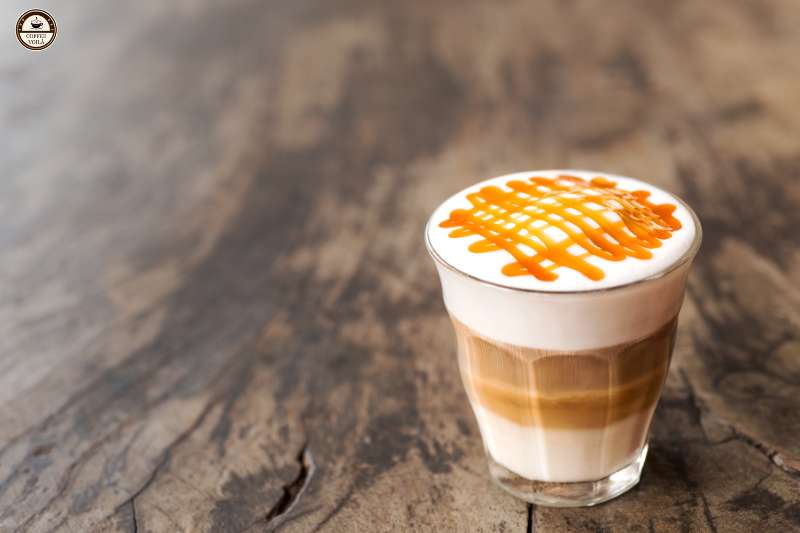
For cappuccinos, I stir it right into the base before adding the foam. It’s subtle but delicious.
Drizzle Over Things
As I said, don’t stop at coffee. I spoon caramel syrup over whipped cream toppings, especially on mocha lattes. And on lazy days (or let’s be real, dessert-for-breakfast days), I’ll pour a little over vanilla ice cream with a shot of espresso. It’s basically an affogato but with caramel sundae vibes and it’s fantastic.

Tips for the Best Homemade Caramel Syrup
If you’re anything like me, the first batch or two of caramel syrup might come out a little too thick, too thin, or slightly scorched (yep, been there).
Anyway, these tips have helped me nail the perfect caramel syrup for coffee.
1 – Use Medium Heat to Prevent Burning
This one’s crucial. I used to crank up the heat thinking it’d go faster. Well, it doesn’t. In fact, sugar can go from perfectly golden to burnt bitter in seconds.
I recommend keeping it at medium and being patient. When it starts turning amber, don’t walk away. Simply, stir gently (or swirl the pan) and watch closely.
2 – Double the Recipe for Batch Prep
You’re already standing over the stove, so why not make extra? I double the recipe when I know I’ll be going through a caramel phase (aka iced caramel lattes every day). Just make sure your pan can handle the volume and heat distribution evenly.
3 – For Thinner Syrup
If your syrup turns out too thick, mainly after chilling, don’t panic. Either reduce the amount of cream next time or stir in a splash of hot water when reheating. It thins out beautifully without messing with the flavor.
4 – Store in Fridge and Warm Slightly Before Use
Caramel syrup thickens a lot when cold. For this reason, storing it in the fridge is fine, but give it a quick warm-up before adding it to drinks.
I often microwave mine for 10–15 seconds or swirl the bottle in a cup of warm water. This makes it pourable again and way easier to blend into your coffee.
Last Thoughts
And that’s a wrap on this homemade caramel syrup journey. If you give this recipe a try (or come up with your twist), I’d love to see it! So, drop a comment letting me know how it turned out. And like that… voilà!