How to Brew Coffee with a Moka Pot While Camping (Must-Read)
Last updated on August 29th, 2025 at 12:14 pm
I’m not exactly the person who thrives in the woods, but as a coffee lover, there’s one thing I refuse to compromise on: a good cup of coffee.
The first time I tried bringing a glass French press along, it was a disaster. Between worrying about it shattering in my backpack and dealing with gritty grounds at the bottom of my cup. I realized quickly it wasn’t the best choice for the outdoors.
Nothing like sipping lukewarm, muddy coffee while swatting bugs to make you question your life choices.
That’s when I started experimenting with different brewers, and the moka pot completely changed the game. It’s sturdy, compact, and turns a campsite into what feels like a little Italian café under the trees.
In this guide, you’ll learn step by step how to use a moka pot when camping, the gear you’ll need, common problems to avoid, and a few tips. So let’s start brewing!
Key Takeaways
- Moka pots are perfect for camping – They’re lightweight, durable, and make strong, espresso-like coffee with minimal fuss.
- Always start with hot water – This speeds up brewing and prevents the pot from overheating and burning your coffee.
- Medium-fine grind works best. To avoid clogging and bitter flavors, don’t tamp the grounds; just level them off.
- Control your heat source – A camping stove gives you steady control, but hot coals (not flames) also work well.
- Clean and cool before packing – Rinse with water only, let it fully cool, and it’ll last for years of camping trips.
Why Bring a Moka Pot Camping?
If you’re debating what coffee gear to pack, give the moka pot a spot in your backpack. It’s tough, simple, and brews rich, espresso-like coffee anywhere you set it down.
Compact and Lightweight
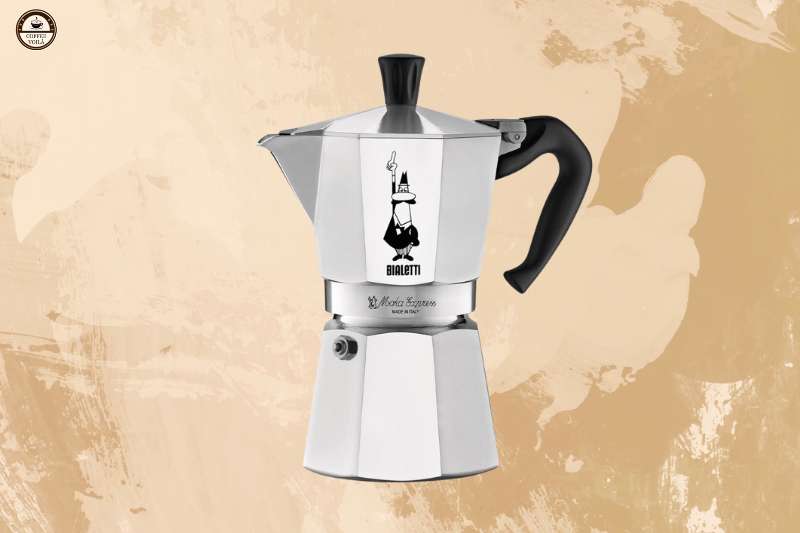
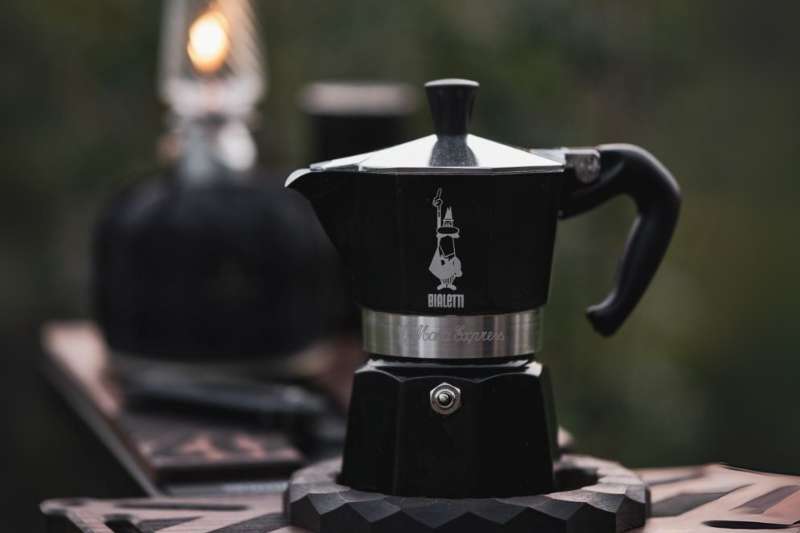
One of the best things about a moka pot is how little space it takes up. My 3-cup Bialetti Moka Express barely weighs anything, and it slips right into my pack next to the fuel canister.
Instead, try hauling a French press or pour-over setup with filters and accessories. I mean, you’ll quickly realize the moka pot is more minimalist.
Durable (Especially Stainless Steel Models)
Aluminum moka pots work fine, but if you’re rough on your gear, stainless steel is the way to go. I’ve knocked mine off a picnic table more than once and it still brews like a champ. Unlike glass brewers or fragile drippers, you don’t have to baby it.
Makes Strong, Espresso-Like Coffee
Camping mornings aren’t for complicated brewing methods. A moka pot gives you a bold, espresso-style cup with minimal effort. Just water, grounds, and heat and soon after, you’re sipping coffee in the middle of the woods.
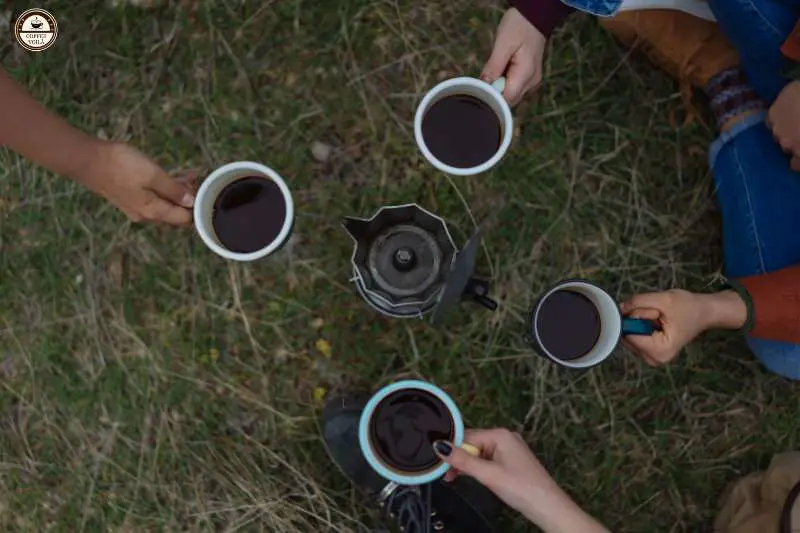
Perfect for Sharing with Friends
Most moka pots brew multiple cups at once, which makes them perfect for groups. For instance, you can easily fill up three mugs in one brew.
Works with Most Camping Heat Sources (Stoves, Grills, Coals)
Whether you’ve got a propane stove, a small burner, or a campfire with glowing coals, the moka pot adapts. I’ve set mine right on a grate over hot coals, and as long as the heat’s steady, it works beautifully. That flexibility means you’re never stuck without coffee.
What Gear You’ll Need?
You don’t need anything complicated to brew good coffee outdoors. Just pack these, and you’ll be ready to make moka coffee:
Moka Pot (Aluminum or Stainless Steel)
I usually carry my aluminum Bialetti Moka Express because it’s lightweight and brews like a champ. However, if you’re camping rough, stainless steel holds up better to scratches and drops. Either one works: go with what fits your style and backpack space.
Freshly Ground Coffee (Medium-Fine Grind)
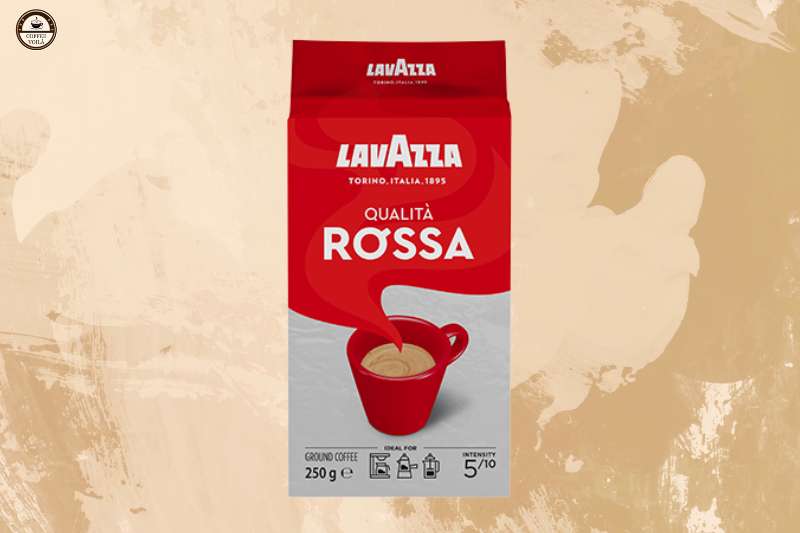
I love using Lavazza Qualità Rossa, mostly because it’s smooth, chocolatey, and not too bitter. It hits that sweet spot in a moka pot. But, any medium-fine grind will do. So if you’ve got a favorite brand, bring that. I only suggest avoiding oily dark roasts because they can clog the filter.
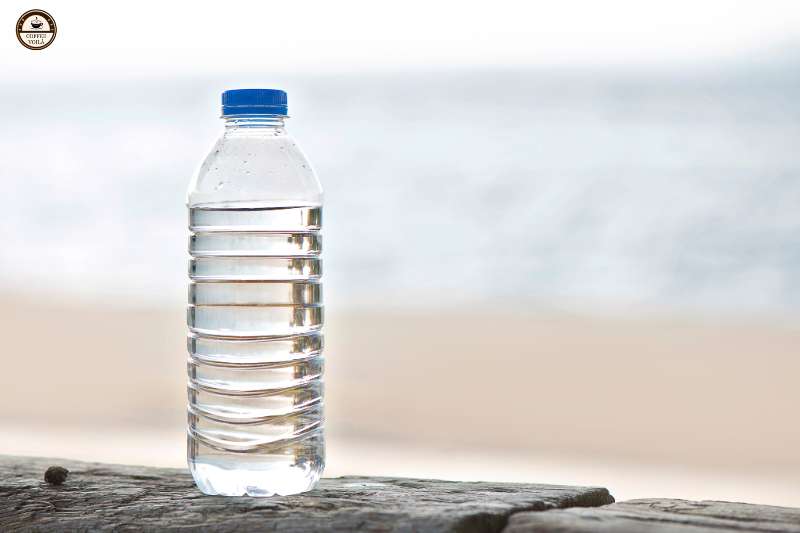
Clean Water (Filtered if Possible)
Coffee is only as good as the water you brew it with. If your campsite has questionable tap or river water, filter it first. Otherwise, you may end up with a coffee that tastes funky and weird.
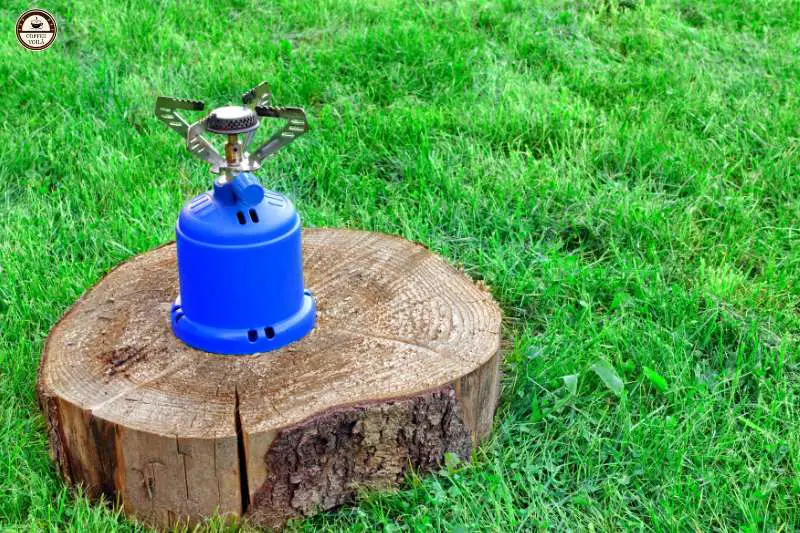
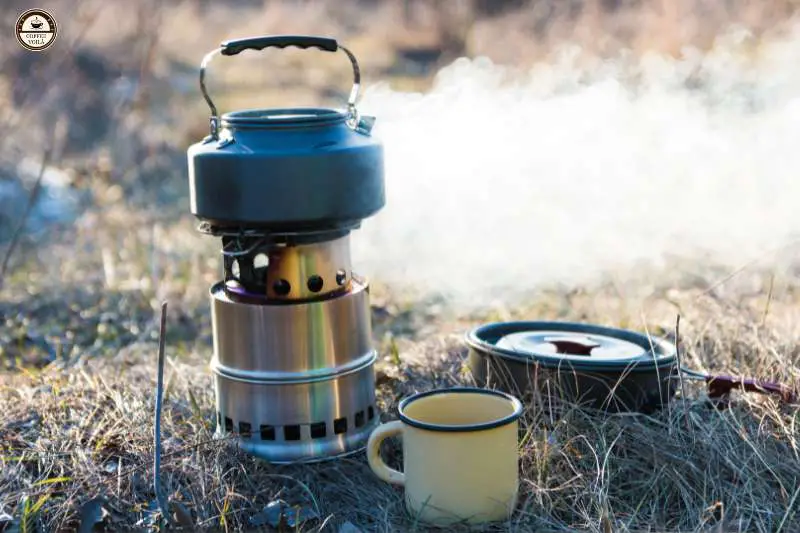
Heat Source (Camping Stove, Propane Burner, Campfire Grate, or Coals)
You’ve got options here. A small propane camping stove is the easiest and most reliable. If you’re cooking over a fire, stick with hot coals instead of direct flames because they’re steadier and won’t scorch your pot.
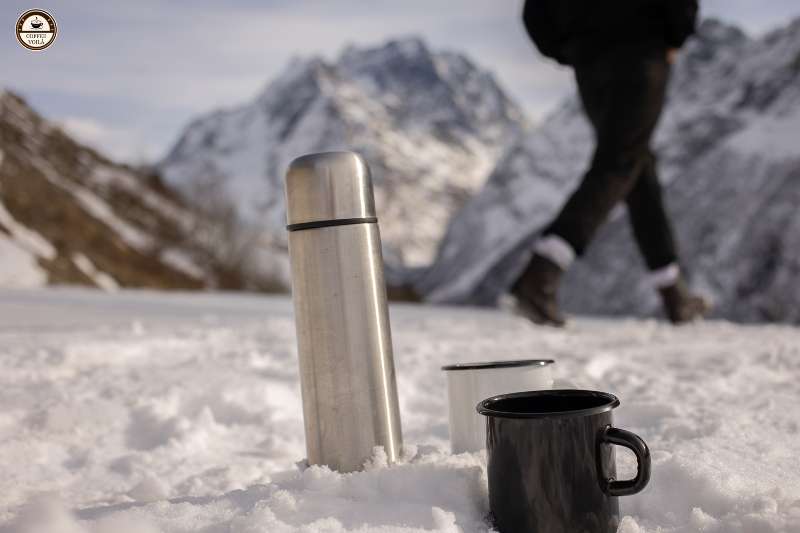
Mug or Thermos
Seems obvious, but don’t forget it. I’ve actually brewed a whole pot before and realized I had nothing but a plastic water bottle to pour it into. I suggest bringing a sturdy mug or a thermos if you want to keep it hot longer.
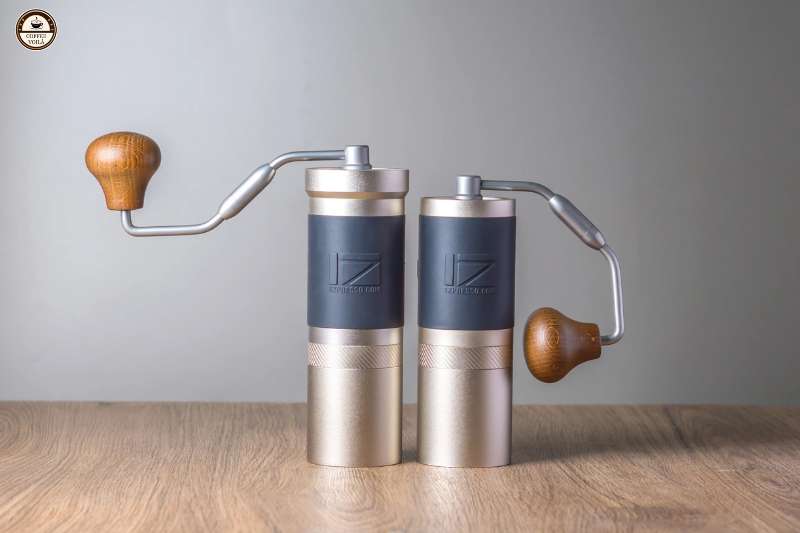
Optional: Hand Grinder
If you’re serious about flavor, a hand grinder makes all the difference. I really like the 1Zpresso JX-Pro because it’s sturdy, easy to adjust, and fast for a manual grinder. You’ll notice grinding beans fresh right before brewing gives you that extra pop of aroma.
Step-by-Step Guide: How to Use a Moka Pot When Camping
I recommend following these steps, and you’ll be sipping strong, espresso-like coffee under the trees in no time.
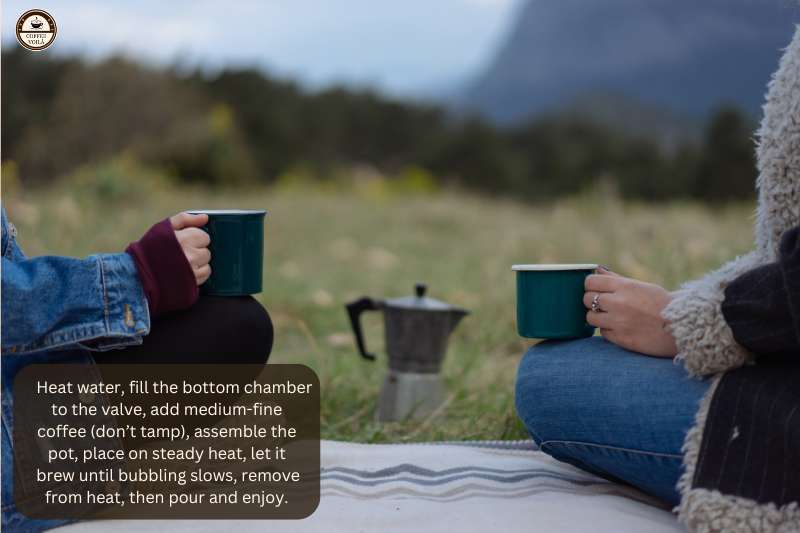
Step 1: Heat Water
Start by warming your water in a kettle or pot over the stove or fire. Using pre-heated water cuts down brewing time and keeps the coffee from tasting overly bitter. Even though cold water will work, you’ll notice the difference.
Step 2: Fill Bottom Chamber
Next, pour the hot water into the lower chamber, right up to (but never past) the safety valve. That valve isn’t just decoration. Rather, it’s there to release excess pressure if needed.
Step 3: Add Coffee Grounds
Scoop medium-fine coffee into the basket, then level it off with your finger or the back of a spoon. You shouldn’t tamp it down like you would with an espresso machine. That creates too much resistance and can clog the pot.
Step 4: Assemble the Moka Pot
Carefully screw the top and bottom together. You want it firm but not cranked so tight you strip the threads.
Pro tip: Use a towel if the base is still hot from the water.
Step 5: Place on Heat Source
Now set the pot over your camping stove, propane burner, or a flat spot on your campfire grate. If you’re using coals, even better because they give a steady, even heat without scorching the pot.
Step 6: Let Coffee Brew
Soon you’ll hear that familiar bubbling and gurgling sound. That’s the coffee rising into the top chamber. You want to keep an eye on it, but let the moka pot do its thing.
Step 7: Remove From Heat
As soon as the bubbling slows and shifts into a hiss, pull the pot off the heat right away. If it sits there too long, the coffee scorches and turns bitter and nobody wants that in their cup.
Step 8: Serve & Enjoy
Pour the coffee into your mug, thermos, or share it around the campsite. A moka pot brew is rich and strong. Usually, perfect on its own or with a splash of milk if that’s your style.
Heat Sources: Camping Stove vs. Campfire
Luckily, a moka pot isn’t picky. However, you only need steady heat, and that can come from a small portable stove or the glowing coals of a campfire. Both get the job done, but they each have their quirks.
Portable Stove/Propane Burner
This is hands-down the easiest way to brew. A tiny propane burner packs smaller than your water bottle and makes dialing in the heat almost foolproof.
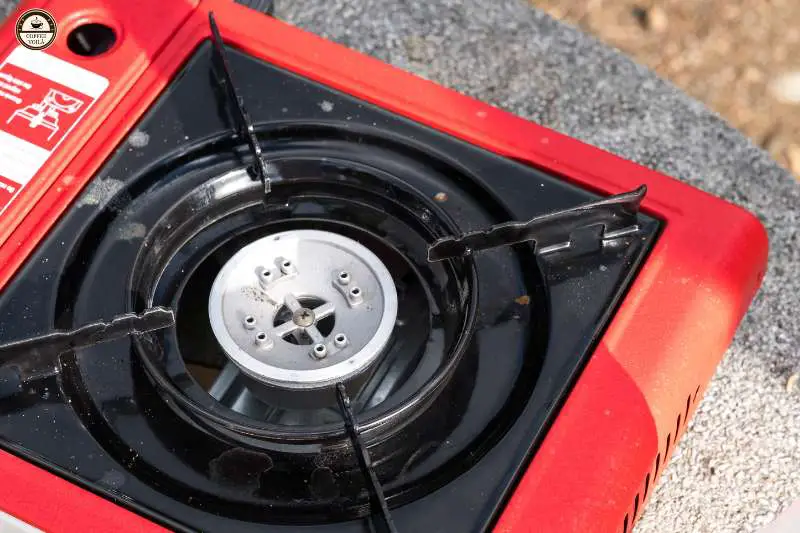
You can keep the flame low and steady, which is exactly what a moka pot needs. If you’re new to brewing coffee outdoors, this is by far the most stress-free route.
Campfire/Coals
Now, brewing over a fire feels way more exciting, but it’s also trickier.
Because direct flames will scorch your moka pot before you even realize it, leaving your coffee with a nasty and burnt taste.
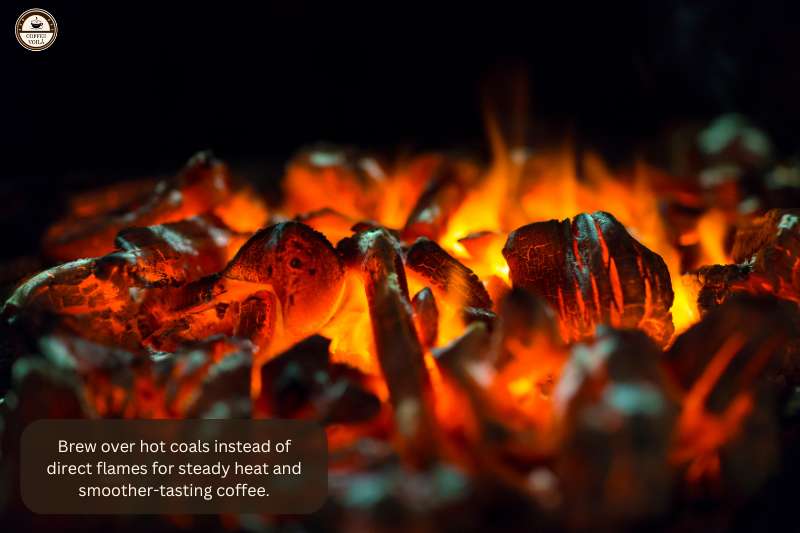
What works better is pulling a bed of hot coals off to the side and setting your pot over them. It takes patience, but the heat is much more even and predictable.
Pro Tips
If you’re going the campfire route, bring along a small grill grate or use a flat rock to stabilize your moka pot. Nothing’s worse than watching your morning brew tip over into the ashes. And always keep an eye on the flame: too much heat, and you’ll ruin a perfect batch of coffee.
Tips for Brewing Great Moka Pot Coffee Outdoors
A few small habits can make the difference between a smooth cup and a frustrating mess. So here are some tips:
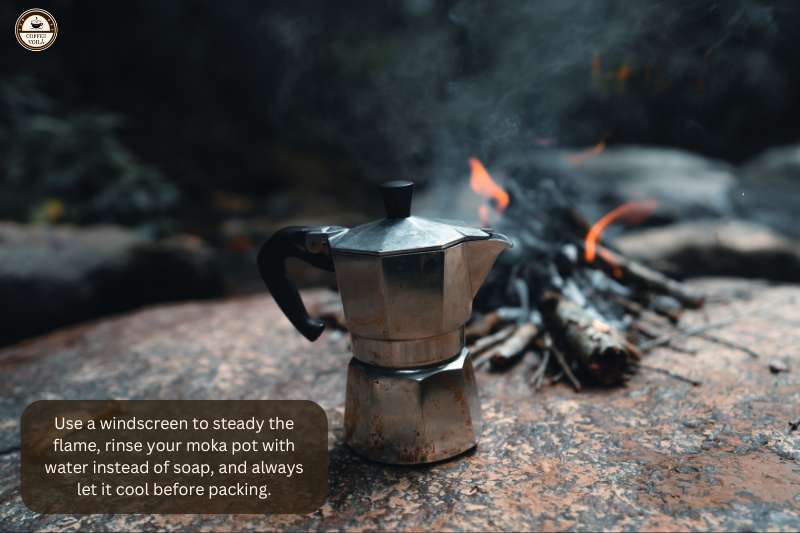
1 – Use a windscreen
If you’ve ever tried brewing in the middle of a gusty morning, you know the struggle. The flame flickers, the moka pot barely heats, and suddenly you’re waiting forever for a sip of coffee.
A simple windscreen fixes this. In fact, some camping stoves come with one, or you can make do with a piece of foil. It keeps the heat steady, making the whole process much easier.
2 – Clean the moka pot with water only
Soap leaves behind residue that can affect the flavor of your coffee. In particular, aluminum moka pots pick up those soapy or metallic notes quickly. Just rinse thoroughly with water, let it air dry, and keep the soap for your other dishes.
3 – Cool the pot before packing
Don’t rush to pack your moka pot right after brewing. Instead, give it a few minutes to cool down, or set it on a safe surface. This prevents burns and keeps your camping gear from getting damaged.
Common Problems When Camping with a Moka Pot (and Fixes)
Even when you follow the steps, brewing coffee outdoors comes with its own little issues. For this reason, here are a few common ones:
Coffee Too Weak – If your cup tastes watery, your grind is likely too coarse or you didn’t pack enough coffee. Go a touch finer and make sure the basket is filled level.
Coffee Bitter – Usually a sign of heat that’s too high. So, pull the moka pot off the flame as soon as the bubbling slows to avoid that scorched flavor.
Pot Won’t Brew – Double-check you added water up to (but not past) the safety valve. Also, make sure your grind isn’t too fine that it clogs the filter plate. A quick rinse of the filter can solve this.
Uneven Heat on Campfire – Open flames can scorch one side while leaving the other cold. Use glowing coals or place the moka pot on a grate or flat rock for more even heat.
Alternative Camping Coffee Methods
Not everyone hauls a moka pot into the woods, and there are plenty of other ways to make coffee outdoors. Each has its perks, but I’ll also tell you why I keep reaching for the moka pot.
French Press Travel Mugs
These things are built for campers coffee and cup in one. Just add grounds and hot water, press down the plunger, and you’re sipping. However, cleanup can be a pain since wet grounds tend to stick everywhere.
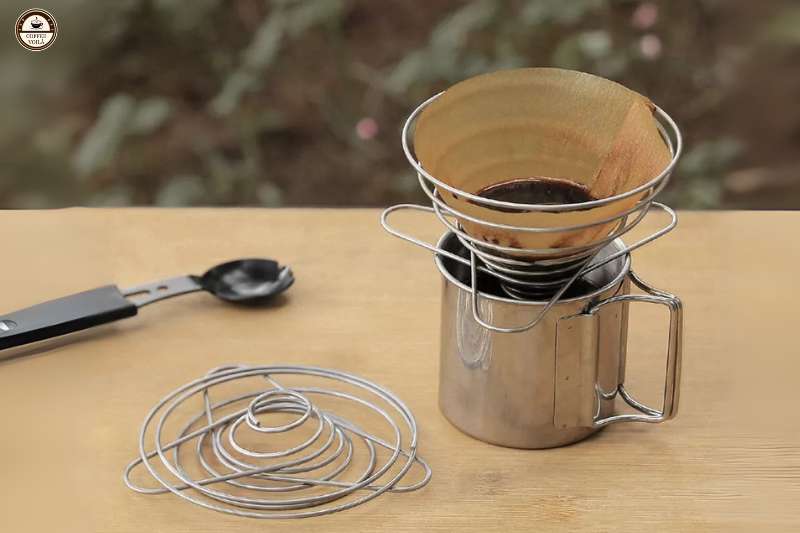
Pour-Over with Collapsible Dripper
This is perfect for ultralight campers. A silicone or metal dripper folds flat, and all you need is a filter. The downside is you’ve gotta pour slowly and evenly, which isn’t always fun when your hands are freezing at 6 a.m.
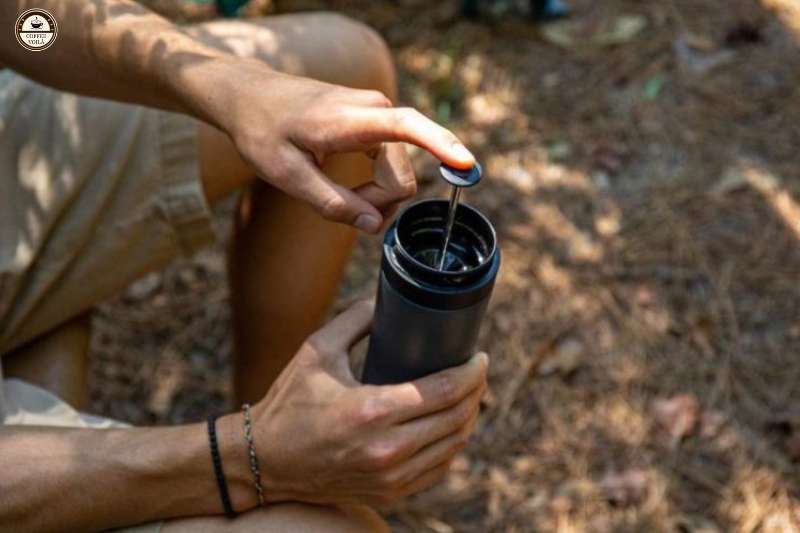
Aeropress Go
This is probably the closest rival to the moka pot for flavor. The Aeropress Go packs small, cleans easily, and makes smooth coffee. The only issue is that you need filters. Plus, it leans more toward American-style coffee than espresso strength.
Instant Coffee Packets (for Emergencies)
Yup, they’re fast, lightweight, and almost indestructible in a backpack. But let’s be real, most taste flat and chalky. You can keep one or two as a backup, but I wouldn’t rely on them as your main brew.

Last Thoughts: Why the Moka Pot Stands Out?
At the end of the day, the moka pot hits that sweet spot: rich, espresso-like flavor without being fragile or high-maintenance.
It’s rugged and reliable, which makes camping mornings even better. Sure, it takes a little patience, but the payoff in flavor is worth it.
Have you ever tried making moka pot coffee outdoors? Do you prefer a camping stove or the old-school campfire method? And what’s your favorite coffee gear when you’re off the grid? Go below and drop your thoughts in the comments. I’d love to hear them and just like that… voilà!
Questions? We Have Answers.
Get answers to a list of the most Frequently Asked Questions.


