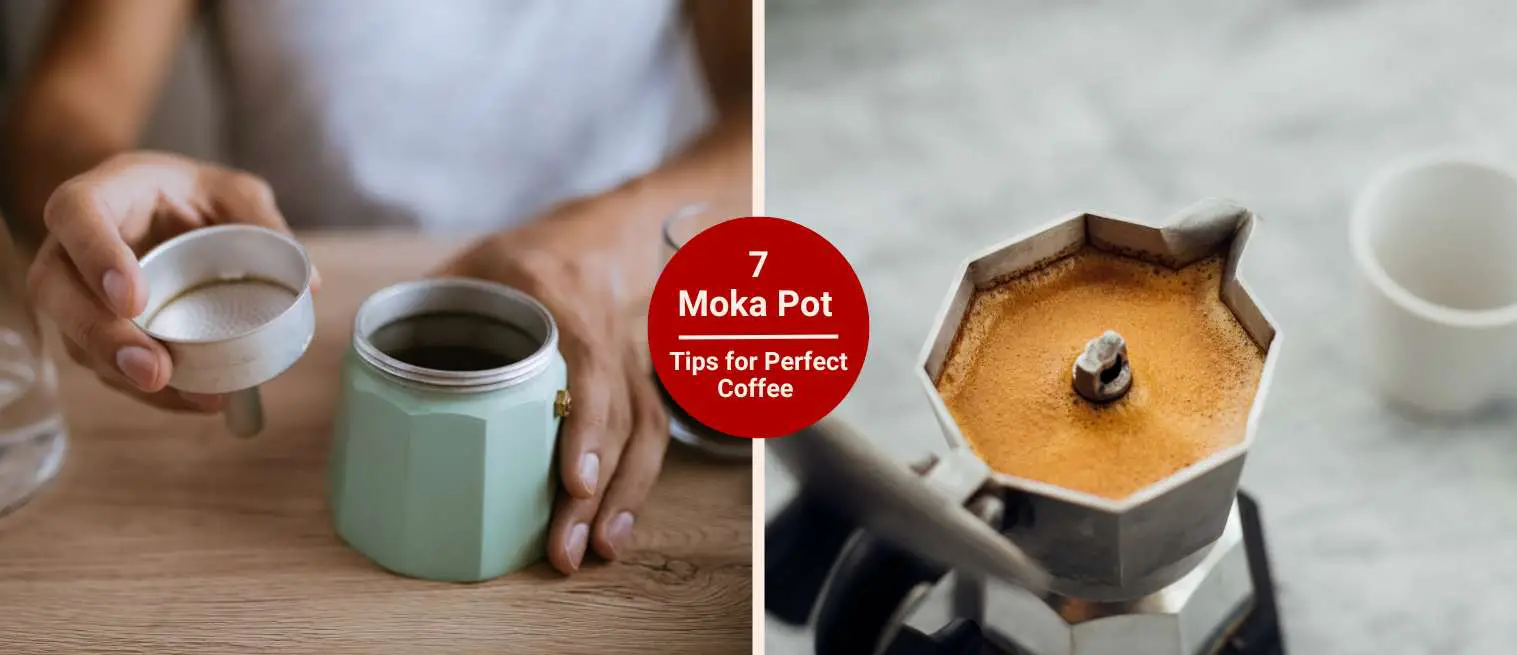
7 Moka Pot Tips for Brewing Perfect Coffee Every Time
Ever brewed coffee in a moka pot and wondered why it tasted more like burnt ash than smooth espresso?
When I first started brewing with a moka pot many years ago, it was way before I even had my espresso machine. More often than not, the coffee came out bitter and harsh, almost undrinkable.
I didn’t know any better back then. So I’d splash in some milk to tame the bite. But let’s be honest, it still wasn’t great.
Now looking back, I can clearly see all the mistakes I was making: wrong grind size, blasting the pot on high heat, and leaving it on the stove too long. No wonder it turned out so rough.
Anyway, brewing with a moka pot doesn’t have to be frustrating. With just a handful of smart adjustments, you can completely change the flavor.
In this guide, you’ll discover the 7 Moka pot tips that I wish I had known back then. They’ll help you avoid the classic mistakes, fine-tune your brewing process, and make moka coffee that’s strong, balanced, and genuinely delicious.
| Tip | What to do | Why it helps | Targets to aim for | Watch-outs |
|---|---|---|---|---|
| 1) Fresh grind (medium-fine) | Grind just before brewing; set between drip and espresso (think table salt) with a burr grinder | Even extraction = fuller flavor, less bitterness | 16–18 g for 3-cup, 22–24 g for 4-cup, 30–32 g for 6-cup (adjust per basket) | Too coarse = weak; too fine = bitter/clogging. Use a burr grinder (e.g., Baratza Encore) |
| 2) Preheat your water | Fill the bottom chamber with hot (not boiling) water before assembly | Shortens time on heat, reduces metallic/burnt notes | ~185–195°F (85–90°C) in the boiler | Metal gets hot—use a towel to screw on the top |
| 3) Fill basket correctly (no tamping) | Level the grounds; don’t press/tamp; lightly tap to settle | Maintains proper flow and pressure for smooth coffee | Basket filled to the rim, level surface | Tamping = restricted flow, harsh flavors, sputtering |
| 4) Control the heat | Brew on medium-low heat; small burner or diffuser on electric | Gentle rise in pressure = even extraction | Flame just inside the base; 4–6 min total brew time | High heat scorches and channels; for camping, use coals not direct flames |
| 5) Stop at the “gurgle” | Once the stream turns pale and the gurgle slows, pull from heat and cool base | Prevents over-extraction and burnt aftertaste | Quench base under cool water or wrap with cold towel | Letting it sputter dry = bitter, metallic notes |
| 6) Clean the right way | Rinse with warm water only; air-dry fully; periodic deep clean | Preserves seasoning, gasket life, and flavor | Vinegar:water 1:3 soak every few weeks; replace gasket/filter 6–12 months | Dish soap on aluminum can leave off-flavors; don’t dishwasher aluminum |
| 7) Milk & dilution | Adjust strength with hot water or milk; try iced and desserts | Matches café drinks without bitterness | Americano 1:1 coffee:water; latte 1:1 coffee:steamed milk; affogato over ice cream | Over-diluting can mute flavor—taste and tweak in small steps |
7 Moka Pot Tips for Brewing Coffee
Here’s a set of tried-and-true tricks that will help you brew smoother, richer moka pot coffee every single time.
Tip 1) Use Freshly Ground Coffee (Medium-Fine Grind)
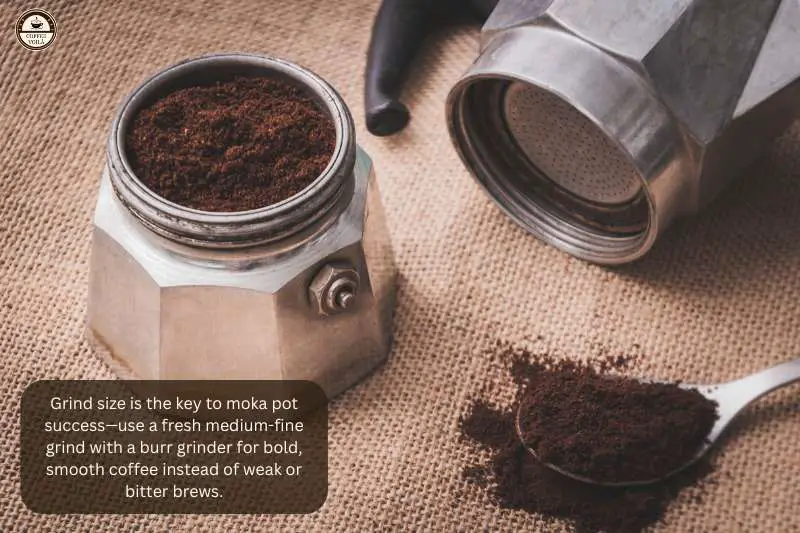
If there’s one moka pot tip that changed my coffee game the most, it’s grind size. For the longest time, I used whatever pre-ground coffee I had lying around, usually meant for drip machines.
However, my moka pot coffee always tasted weak, almost watery, as if it had no backbone. The first time I switched to a fresh grind somewhere between drip and espresso, it was like night and day. Suddenly, I was sipping a bold and smooth cup.
Why Grind Size Matters?
- Too coarse: water rushes through, leaving you with thin, underwhelming coffee.
- Too fine: bitter, harsh flavors and even risk of clogging the filter.
- Just right: medium-fine grind (like table salt, not powdered sugar) gives balanced, rich coffee.
How to Get It Right?
A burr grinder is your best friend here (for example, the Baratza Encore or the Hario Skerton Pro if you want a hand grinder).
The reason is that blade grinders chop unevenly. Often leaving you with a messy mix of fine powder and chunky bits. With a burr grinder, you get consistency, which means the water extracts evenly.
What Coffee Beans You Should Try?
- Lavazza Qualità Rossa – a classic Italian roast that’s smooth and bold.
- Illy ground coffee – another moka pot-friendly option that’s easy to find.
Notes: If you want your moka pot coffee to taste better instantly, this is the first adjustment I’d recommend.
Tip 2) Preheat Your Water First
One of the biggest moka pot tips that nobody told me early on? Start with hot water in the bottom chamber. The first time I tried it, I realized how much smoother the coffee tasted compared to using cold tap water.
When you use cold water, the moka pot has to sit on the stove longer while the water heats up. That extra time means the grounds in the basket are exposed to heat for too long. This results in a more bitter and almost metallic-tasting coffee.
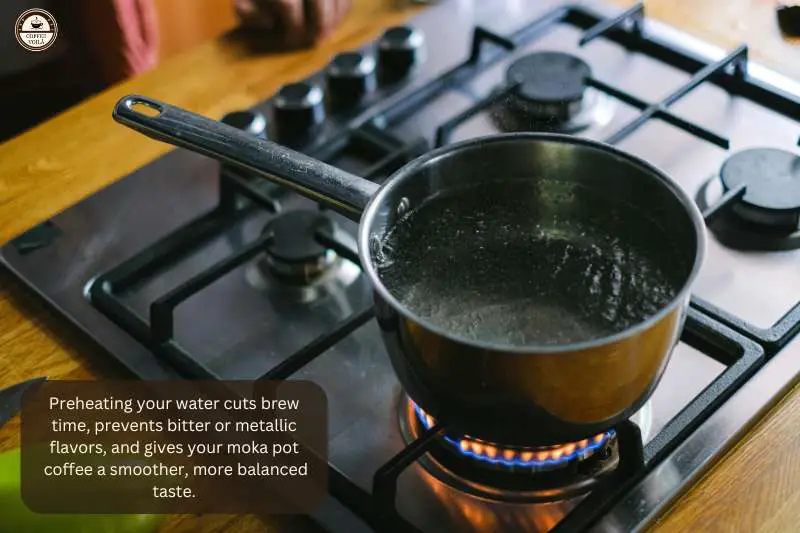
By starting with preheated water, you shorten the brew time and preserve more of the delicate flavors—especially with lighter roasts.
Here’s how I usually do it:
- Heat water in a kettle until it’s hot but not boiling (around 200°F if you’re precise).
- Pour it carefully into the bottom chamber of your moka pot.
- Add your grounds, assemble quickly, and place it back on the stove.
A quick heads-up: the metal bottom gets blazing hot after adding preheated water. For this reason, wrap a towel around the base or use an oven mitt while assembling to avoid burns.
Tip 3) Fill the Basket Correctly (No Tamping!)
If you’ve ever tamped your moka pot basket like it was an espresso machine, that’s probably why your coffee tasted bitter or harsh.
A moka pot doesn’t produce enough pressure to push through compacted grounds. Instead of getting a strong, balanced cup, you’ll often end up with over-extracted sludge or, worse, a clogged filter that sputters and scorches the coffee.
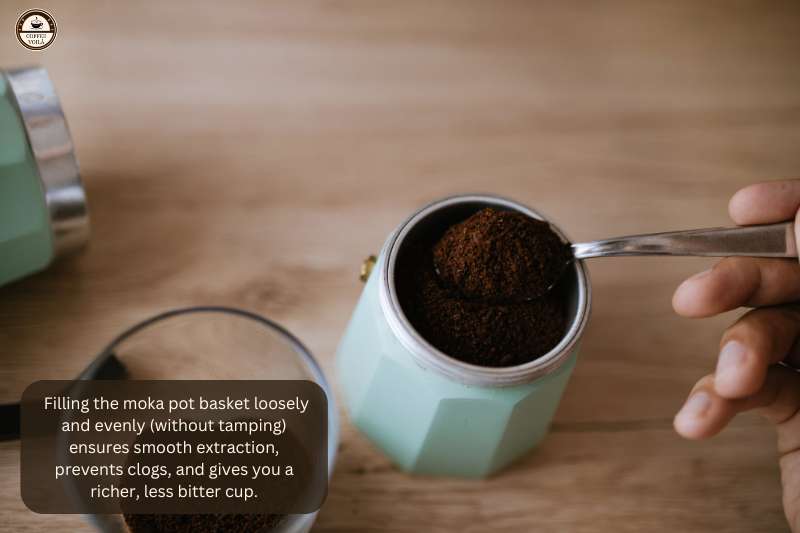
The right method is simple:
- Fill the basket level with freshly ground coffee, right up to the rim.
- Don’t press or tamp the grounds down.
- Gently shake the basket side to side or tap it lightly on the counter to even everything out.
- Wipe away any stray grounds from the rim to ensure the seal closes properly.
By keeping the coffee bed loose, the hot water flows evenly through the grounds. This prevents channeling (where water finds the fastest path through the puck) and makes your brew smoother, richer, and far less bitter.
Notes: For a stronger cup, avoid tamping. Instead, size up your Moka pot or adjust the grind slightly finer (but not espresso-fine, or you’ll clog it).
Tip 4 – Control Your Heat Source
If I could give only one piece of advice for brewing with a moka pot, it’d be this: don’t crank the heat up to full blast. You’ll quickly end up with scorched, bitter coffee that has a metallic taste. A moka pot needs patience: it’s all about steady, gentle heat.
The sweet spot is medium-low. You want the water to warm gradually so it pushes through the grounds evenly. When you rush it with high heat, the pressure spikes. Instead of extracting those sweet, rich flavors, it basically burns the coffee before it’s fully brewed.
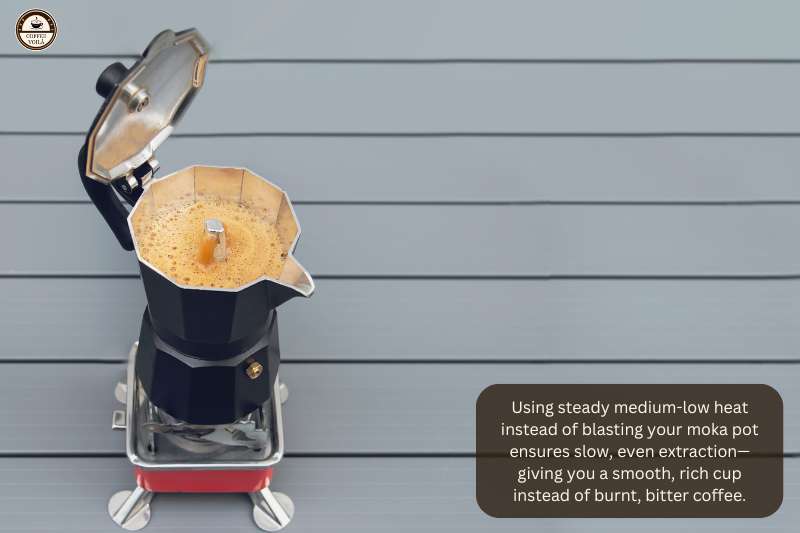
If you’ve ever tasted moka pot coffee that feels harsh or “ashy,” chances are the heat was too high.
On gas stoves…
I suggest using the smallest burner and keep the flames from licking up the sides of the pot.
Electric Stoves…
A heat diffuser can save the day. It spreads out the heat and prevents hot spots on the bottom of the moka pot.
When Camping…
If you plop it right on top of roaring flames, you’ll overheat it in seconds. For this, you want to place it on glowing coals instead, where the heat is steady and even.
Notes: Let the coffee rise slowly, with a gentle bubbling sound and not an angry sputtering. Once you dial this in, your moka pot will reward you with a cup that’s smooth, balanced, and full of flavor.
Tip 5) Remove from Heat at the Right Time
One of the biggest moka pot mistakes I made early on was letting it sit on the stove until it stopped sputtering.
As a result, I got a burnt, metallic-tasting coffee that was more of a punishment than a pleasure. The truth is, timing makes or breaks moka pot coffee.
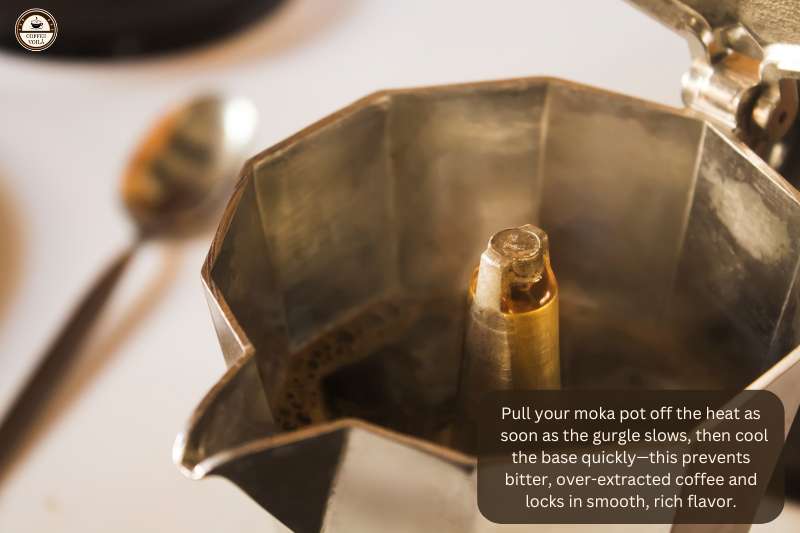
Listen for the gurgle
The moka pot talks to you if you pay attention. As the water rises through the grounds, you’ll hear a soft bubbling that builds into that famous gurgle.
The trick is to pull it right as the gurgling slows down that’s when the good stuff is done. You don’t want to leave it longer. Otherwise, you’ll push bitter and over-extracted liquid into your cup.
Cool it down quickly
Once you pull it off the heat, you need to stop the brewing fast. Otherwise, the base keeps cooking the coffee and ruins those sweeter notes. So, here are two easy tricks:
- Wrap the bottom chamber with a damp towel.
- Or run it under cold water for a few seconds.
Both methods halt extraction instantly, locking in a smoother, less harsh flavor.
Pro tip
If you’re brewing for guests, practice this step a couple of times beforehand. It’s honestly the hardest part to nail at first. However, once you get the timing down, your moka pot coffee will taste clean, bold, and far closer to café-level espresso.
Tip 6) Clean It the Right Way
Cleaning your moka pot isn’t the most fun part, but it makes or breaks your coffee. When I first got mine, I scrubbed it with dish soap, like I would any other kitchen gear, and that was a big mistake!
The next brew tasted soapy, almost metallic, and it took several rinses to get that residue out. So, here’s the thing:
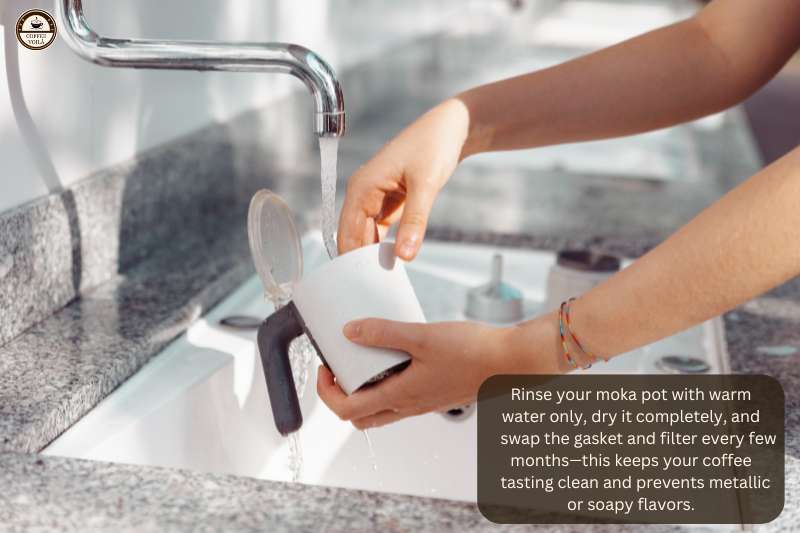
Skip the soap
Always rinse your moka pot with warm water only. Especially if you have an aluminum pot, such as the classic Bialetti Moka Express.
The fact is soap not only leaves a taste behind but can also damage the finish over time. Even though stainless steel is more forgiving, water is still enough.
Dry it completely
Moisture is the enemy here. If you reassemble your moka pot while it’s still damp, you’re essentially asking for corrosion or mold.
You should towel-dry the pieces, then leave them out on the counter to air-dry completely before reassembling them.
Deep clean every few weeks
Coffee oils will build up no matter what. About once a month, I soak the parts in a vinegar-water solution (1 part vinegar to 3 parts water) for 20 minutes, rinse thoroughly, and it’s like new again.
Don’t forget the gasket and filter plate
These little parts wear out faster than you think. If you notice leaks, weak pressure, or strange flavors, it’s probably time to replace them. I recommend swapping out every 6–12 months depending on how often you brew.
Tip 7) Experiment With Milk & Dilution
One thing you’ll realize pretty quick with moka pot coffee is how concentrated it is. It’s not quite espresso, but it’s bold and strong. Sometimes, it can be a bit much to sip straight for some people.
The beauty is you can tweak it. That’s where milk and dilution come into play, and it opens up a whole new set of drinks you can make without much equipment.
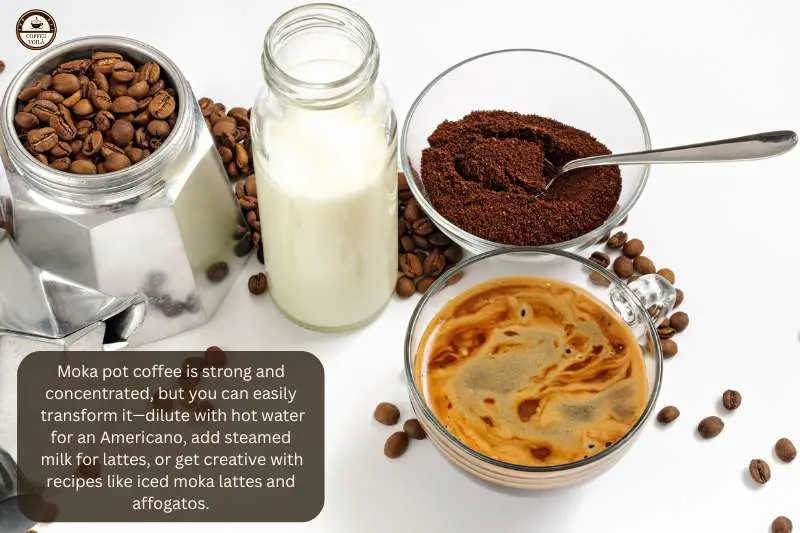
Dilute it like an Americano
Sometimes, all you need is a splash (or half a mug) of hot water added to your moka pot brew. This softens the intensity and gives you something closer to drip coffee while keeping that rich, moka flavor.
I’ll usually do this in the mornings when I want a larger, smoother cup instead of a short, and punchy one.
Add milk for café-style drinks
If you’ve got a small milk frother or even a saucepan, you can steam milk to make cappuccinos or lattes. Additionally, oat milk and almond milk both work well here.
Both add creaminess to the coffee without overpowering the bold Moka flavor. A 1:1 ratio of moka pot coffee to warm milk makes a surprisingly café-like latte at home.
Try creative recipes
Moka pots are underrated for fun recipes. For instance, you can pour it over ice with a splash of sweetened condensed milk for a quick iced latte.
You may also add a scoop of vanilla gelato and you’ve got a moka pot affogato. Or stir in a spoonful of cocoa powder and steamed milk for a mocha-style drink that tastes way fancier than it is.
Notes: The moka pot is more versatile than people give it credit for. Once you start playing around with milk, it goes from being a “strong coffee maker” to a full-on café toolkit sitting right on your stove.
Last Thoughts
Now I’m curious, what moka pot size do you use most often, and do you drink it straight or mix it into lattes, mochas, or something more creative?I’d like to read your thoughts in the comments, and with that, voilà.

