How to Clean a Moka Pot the Right Way (Avoid These Mistakes)
Ever wondered what happens if you ignore your moka pot for too long?
When I got my Barista Espresso machine, I pushed my old trusty moka pot to the back of the shelf. I was too busy pulling shots, steaming milk, and pretending I was running a café from my kitchen.
But then, out of nowhere, my shiny machine broke down mid-morning—no crema, no coffee, just frustration.
That’s when I dusted off the moka pot and realized… I hadn’t cleaned it properly in ages. The first brew tasted bitter, metallic, and nothing like the smooth coffee I remembered.
That little wake-up call taught me just how important it is to clean a moka pot the right way.
In this guide, you’ll learn the proper cleaning routine, the mistakes to avoid, and how to keep your moka pot brewing rich, flavorful coffee for years. So let’s start cleaning!
Key Takeaways
- Rinse, don’t soap (for aluminum pots) – Always use warm water only, as dish soap leaves behind residue and ruins flavor.
- Deep clean regularly – Soak in vinegar-water, check the valve, and replace gaskets every 6–12 months to maintain optimal performance.
- Avoid common mistakes – No dishwashers, no steel wool, and never store your moka pot wet or assembled.
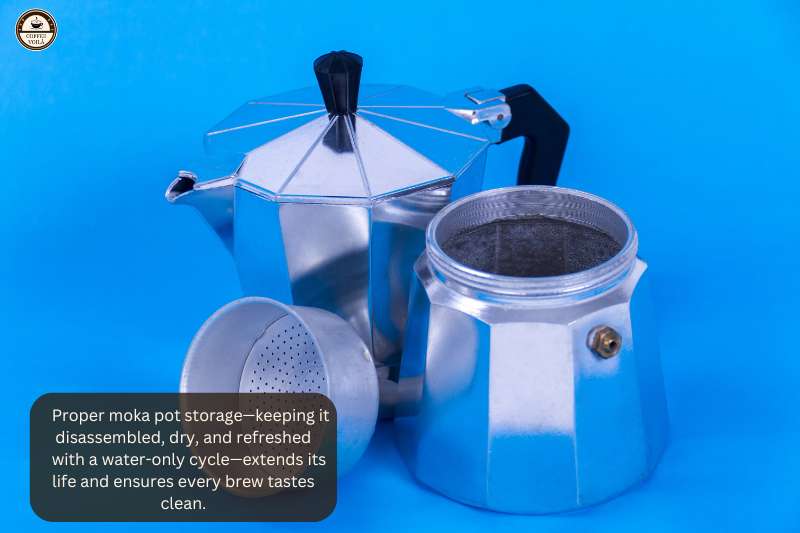
- Store it smart – Keep the pot disassembled and dry, and run a water-only cycle if unused for weeks.
Why Cleaning Your Moka Pot Matters?
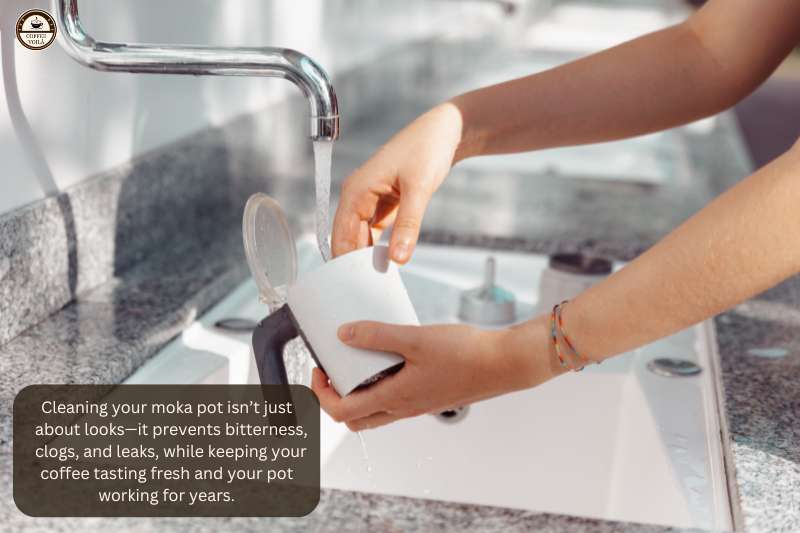
If you’ve ever wondered why your moka pot coffee sometimes tastes off, cleaning (or lack of it) is usually the problem. A moka pot might look simple, but little neglect can ruin both flavor and function.
Coffee Oils = Bitterness
Coffee naturally leaves behind oils. At first, you don’t notice, but over time they stick to the walls of your moka pot and turn rancid. That’s when your brew starts tasting bitter or even “stale.” A quick rinse with warm water after every brew fixes this problem before it starts.
Mineral Buildup
If you live in a hard-water area, mineral deposits sneak up fast. They collect in the filter plate and safety valve, slowly choking water flow.
The result is slow brewing, weak coffee, or sometimes nothing at all. I once had my moka pot sit on the stove for ten minutes doing absolutely nothing, only to realize the valve was clogged with scale. A simple monthly soak in a vinegar-water mix takes care of this problem.
Leaks and Clogs
Poor cleaning shortens the life of your moka pot. The reason is that old coffee grounds get stuck around the gasket. This creates leaks and weak pressure.
If you’ve ever heard a strange hiss while brewing, it’s often a dirty seal or clogged filter.
So, keeping things clean means your moka pot works like it should and spares you the frustration of wasted coffee.
Extra Care for Aluminum Pots
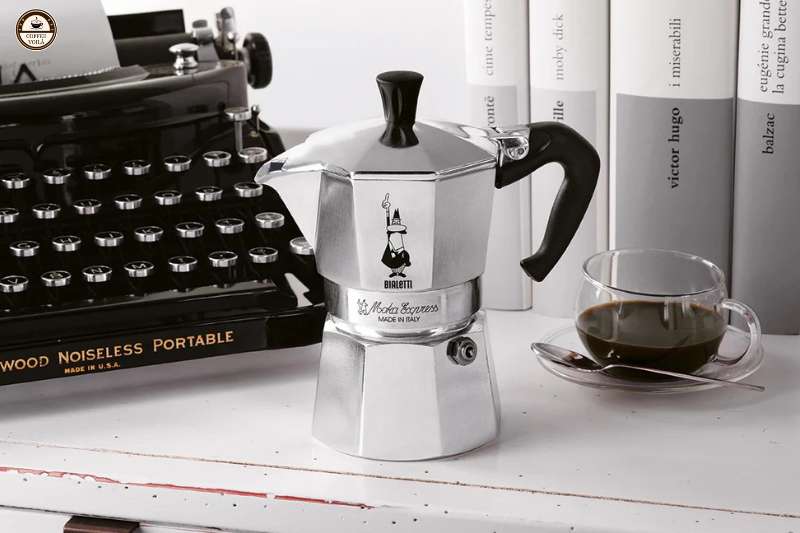
Aluminum moka pots, like the classic Bialetti Moka Express, are more sensitive than stainless steel ones. Soap can leave behind a metallic or soapy taste, and dishwashers can warp or discolor them.
With aluminum, less is more: simply rinse with water, dry thoroughly, and let the natural coffee oils season the pot for flavor.
How to Clean a Moka Pot After Daily Use?
A quick rinse after each brew keeps your moka pot running smoothly and your coffee tasting fresh. So here’s an easy routine you can follow:
Step 1) Let it cool completely
I know the temptation: finish your cup and immediately tackle the pot. However, aluminum and stainless steel moka pots retain heat longer than you might expect. For this reason, give it 10–15 minutes before handling, otherwise you risk a nasty burn.
Step 2) Disassemble everything
Unscrew the top and bottom chambers, take out the filter basket, and don’t forget the gasket. Usually, coffee oils and grounds like to hide in those small spots. If you leave them sitting, you’ll notice funky smells in only a day or two.
Step 3) Rinse with warm water only
Especially with aluminum moka pots like the Bialetti Moka Express, skip the soap (as already explained). Even though stainless steel pots can handle mild soap. But honestly, warm water is usually enough.
Step 4) Wipe away residue
Use a soft sponge or cloth to clean the inside surfaces gently. I don’t recommend steel wool because it scratches and ruins the finish.
Step 5) Dry thoroughly before reassembling
This part is non-negotiable. If you screw the pot back together while it’s still damp, you’re inviting mold, rust, or a sour smell. I towel-dry the parts first, then leave them separated on the counter for a few minutes to air-dry.
Deep Cleaning Your Moka Pot (Weekly or Monthly)
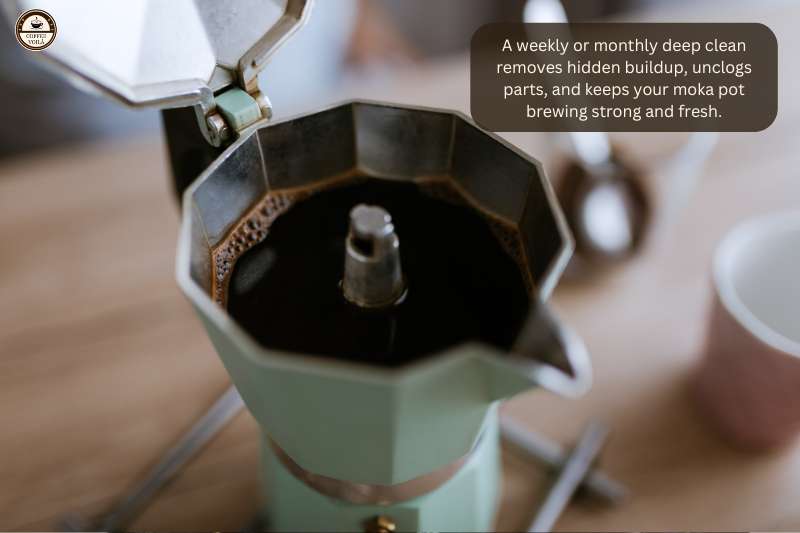
Daily rinsing does the job most of the time, but every now and then your moka pot needs a deeper clean. This clears out buildup and keeps your coffee tasting fresh. So, here’s how to do it right
Soak in Vinegar and Water
Mineral buildup is sneaky. One week your moka pot works fine, the next it’s sputtering like it’s lost its breath. A simple soak in a 1:3 vinegar-to-water solution for 20–30 minutes dissolves those deposits. Also, rinse thoroughly afterward so no vinegar taste lingers.
Scrub the Filter Plate
The filter plate loves to collect fine grounds and oils. Over time, those tiny holes get clogged. I grab an old toothbrush and gently scrub it clean. This quickly removes the buildup.
Check and Clean the Safety Valve
Don’t ignore the safety valve. If it’s blocked, your moka pot won’t brew properly (and it can be dangerous). For this, use a toothpick or pin to make sure it’s clear. But don’t force anything too deep inside.
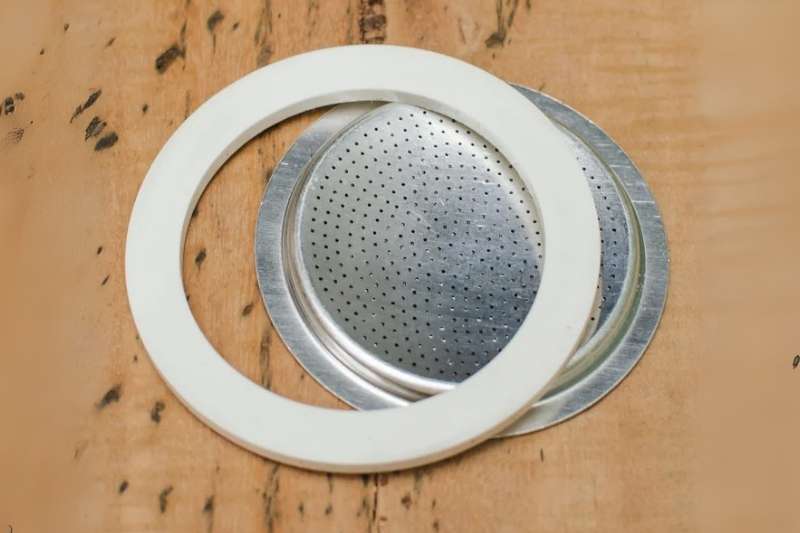
Replace a Worn Gasket
A cracked or stained gasket is one of the most common issues behind leaks and weak coffee. If you notice it looking stiff or flat, swap it out. They’re cheap, and it’s amazing how much difference a fresh one makes.
Stainless Steel? Mild Soap is Fine
If you’ve got a stainless steel moka pot, you can use a little mild soap here and there. Just avoid harsh detergents, since they can dull the finish. However, with aluminum pots, you should only use water.
Mistakes to Avoid When Cleaning a Moka Pot
Even though cleaning your moka pot is simple, you can still mess things up big time. So, here are the biggest mistakes to watch out for:

Putting Your Moka Pot in the Dishwasher
It’s tempting for convenience. However, the high heat and harsh detergents warp aluminum, discolor stainless steel, and ruin the finish. I’ve seen pots come out looking dull and scratched after just one wash.
Leaving Coffee Grounds in the Basket
If you forget to dump the grounds right after brewing, they stick, harden, and leave behind bitter oils. Not only does it affect flavor, but it makes cleaning twice as hard.
Storing It Wet and Assembled
I once packed mine away damp, and a week later, the gasket smelled musty and the base had tiny rust spots. Always let the parts dry separately before screwing it back together.
Using Steel Wool or Abrasive Scrubbers
It might seem like a good idea to scrub away stains, but rough pads scratch the surface. Especially aluminum and those scratches trap oils and odors. A soft sponge or cloth works better and keeps your moka pot looking new.
How Often Should You Clean a Moka Pot?
If you skip cleaning for a few weeks, you’ll be battling bitter coffee, stuck gaskets, or worse, a clogged safety valve.
For this reason. a smart routine will keep your moka pot brewing smooth, rich coffee without turning maintenance into a chore.
| Cleaning Task | When to Do It | Why It Matters |
|---|---|---|
| Quick Rinse | After every brew | Prevents old coffee oils from building up and affecting taste. |
| Deep Clean | Every 1–2 weeks (depending on use) | Clears mineral deposits, oils, and grime from hard-to-reach spots. |
| Gasket & Filter Check | Every 2–3 months | Worn parts cause leaks, weak coffee, or clogs. Catch issues early. |
| Full Replacement (Gasket & Filter) | Every 6–12 months | Keeps pressure stable and your moka pot brewing like new. |
Notes: If you brew daily, you’ll want to lean toward the shorter end of each range. However, for light users, it can be stretched further.
Moka Pot: Storage & Long-Term Care
Taking care of your moka pot doesn’t stop at cleaning it’s also about how you store it. A little attention here saves a lot of frustration later.
Store it disassembled
One of the first mistakes I made was screwing my moka pot back together after every wash.
That’s a big error. The reason is that leaving it compressed 24/7 squishes the gasket and shortens its life. Instead, I now store the top and bottom chambers slightly apart. This not only saves the gasket but also allows airflow, keeping everything fresh.
Keep it in a dry place
If you stash it in a damp cupboard, don’t be surprised when you find corrosion spots or a funky smell. I usually keep mine in a dry, open shelf where air circulates. That little habit alone has kept my pots looking and working way better over time.
Run a water-only cycle if unused
If your moka pot has been sitting idle for weeks, run it once with just water before brewing coffee. This clears out any dust, lingering oils, or metallic taste that can sneak in. It sounds like an extra step, but, your first cup after a long break will taste much cleaner.
Lat Thoughts
Now I’m curious: how do you usually care for your moka pot? Do you rinse it with just water, or are you guilty of the occasional soap wash?
And do you store it disassembled, or screwed tight like I used to? Drop your thoughts in the comments below, and with those tips in mind… voilà!


