How to Tamp Coffee Without a Tamper (5 Creative DIY Tips)
Ever tried tamping espresso with a shot glass or a jar lid?
About a week ago, I was cleaning out my kitchen drawer and found the old “tamper” I made when I first got into home espresso.
Just a stack of coins wrapped in a paper towel held together with a bottle cap. I actually laughed out loud. When I started making espresso at home, I didn’t even own a proper tamper, so I had to get scrappy.
Let’s just say… it was far from barista-level, but it worked (kinda). The shots were messy and sometimes bitter, but I was proud of every single one.
So this week, I decided to revisit those early days and experiment with several DIY tamping methods, using everyday stuff around the kitchen.
Some were surprisingly solid. Others? Total fails. But I learned a lot in the process, and now I’ve got a list of clever, cheap ways to tamp coffee without a tamper and still pull a decent shot.
If you’re starting with espresso or your tamper’s gone missing, this guide is for you. I’ll walk you through five creative alternatives, explain why tamping matters, and share tips to help you better your brews.
Key Takeaways
- You don’t need a fancy tamper to make great espresso. Everyday items like spice jars, shot glasses, or even coins can be used to apply firm, even pressure and get solid results.
- Proper tamping still matters—even with DIY tools. Consistent pressure, a level surface, and avoiding channeling are key to getting rich flavor and crema.
- Creativity goes a long way. Whether you’re using a spoon, bottle cap, or your DIY invention, what matters most is experimenting and practicing until your shots taste just right.
Why Tamping Matters in Espresso Making?
If you’ve ever wondered why baristas press down on the coffee before brewing, here are some reasons:
Tamping Creates Uniform Resistance to Water Pressure
I used to think tamping was optional like one of those barista things that didn’t affect my espresso. But I was wrong.
One time, I just pressed the grounds lightly with the back of a spoon and hit “brew.”

As a result, I got a watery, bitter espresso without crema. So, tamping is needed if you want that rich, full-bodied shot with a nice layer of crema on top.
It Prevents Channeling and Uneven Extraction
When espresso grounds aren’t tamped evenly, water rushes through the weakest spots, which is called channeling.

The water avoids parts of the puck completely and overworks others. That gives you a mix of sour, bitter, and bland flavors in the same shot.
Even DIY Tamping Makes a Noticeable Difference
Even when I’ve had to improvise, such as using a jar lid or bottle cap and applying firm, even pressure better the results.
The crema was thicker, the espresso was smoother, and the flavor was way more balanced. A proper tamp doesn’t have to come from a $50 tool it just has to be thoughtful and even.
5 Creative Ways to Tamp Coffee Without a Tamper
Just because you don’t have a tamper doesn’t mean you can’t tamp like a pro. So, here’s a few workarounds I discovered:
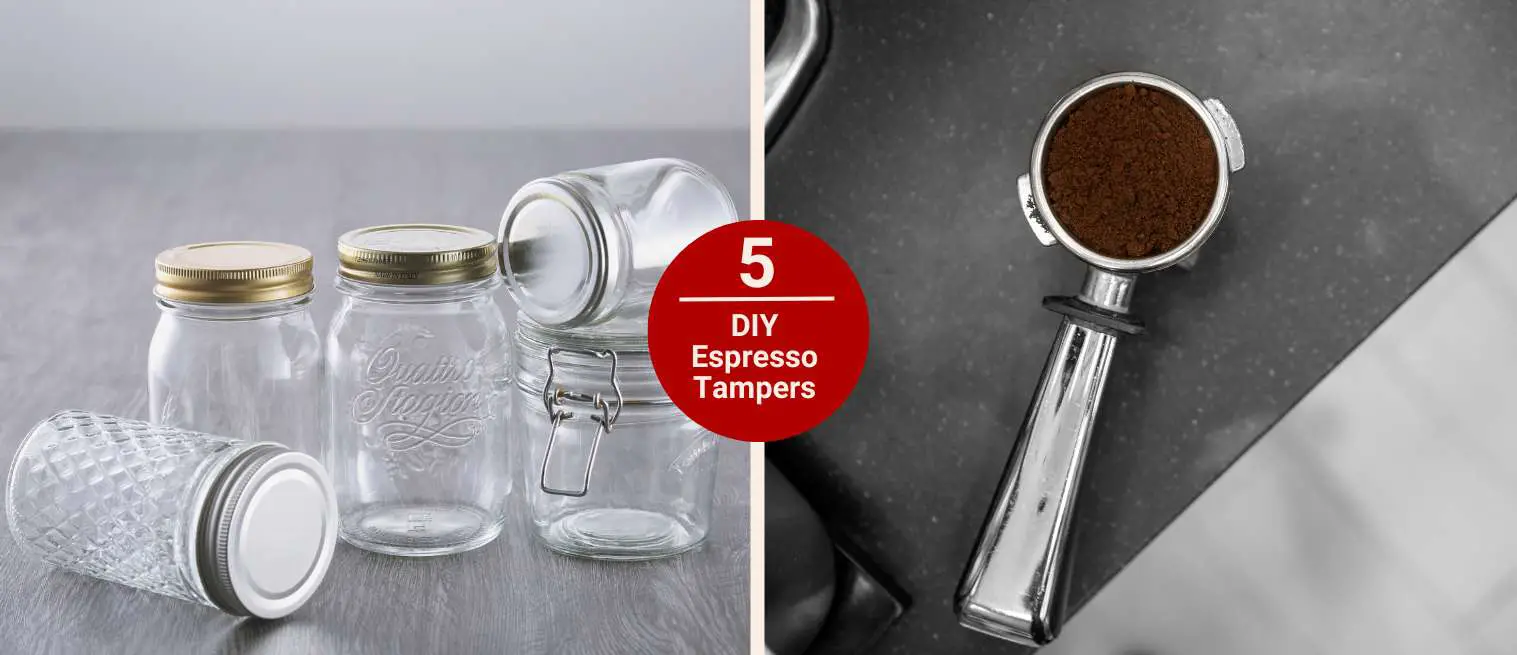
1 – Use a Small Jar or Spice Container
Okay, I’ll admit it. I’ve definitely grabbed a spice jar in a moment of desperation. The key here is the flat base.
Something like a glass vanilla extract bottle or a short spice jar (like the ones from Trader Joe’s) often fits nicely into a standard 51mm or 54mm portafilter.

The fit might not be perfect. However, if you apply slow, even pressure, it gets the job done better than just using your fingers.
I’ve found that holding the jar with a slight twist as you press down mimics the motion of a real tamper.
Even better if the jar’s got some weight to it. The reason is heavier bottoms help you press more evenly and get a smoother shot.
One thing I learned the hard way?
I don’t recommend using plastic containers with rounded edges. Usually, they don’t tamp evenly and make more of a mess instead.
So, stick with something solid and flat-bottomed. It’s not barista-level precision, but it’s better than nothing.
2 – Try a Shot Glass or Whiskey Glass
I didn’t expect this one to work the first time I tried it. I grabbed a thick-bottomed whiskey glass when I realized I couldn’t find my tamper anywhere. Well, guess what? It worked better than I expected.
See, most shot glasses and whiskey tumblers have a nice flat base. Also, some are the perfect fit for a standard 51mm or 54mm portafilter basket.
If the glass doesn’t quite fit snugly, that’s okay. You need to be mindful of applying even pressure across the puck.

I’ve found that using a gentle twisting motion (like you’re screwing on a jar lid) helps level the coffee and mimic the way a real tamper compresses the grounds.
One mistake you should avoid is pressing too hard, as it may crack thinner glasses. For this reason, stick with something thick and sturdy.
If you’ve got a heavy-bottomed glass, even better. This helps apply firm, consistent pressure without needing to muscle it.
Pro tip: Rinse the bottom of the glass with hot water first so it doesn’t steal heat from your espresso puck. It’s a small step, but it helps maintain brew temp, especially if you’re dialing in for flavor.
3 – Use a Bottle with a Flat Cap (like wine or vinegar)
Another crazy alternative is using a wine or vinegar bottle to tamp.
One morning, I was cleaning my kitchen and realized the flat metal cap on a vinegar bottle was about the same width as my portafilter basket.
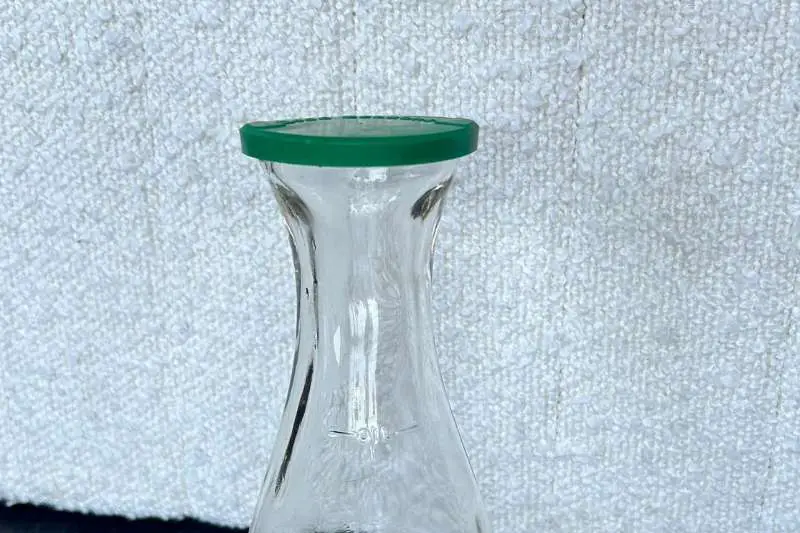
Out of curiosity (and with zero expectations), I flipped the bottle upside down and gave it a shot.
Surprisingly, it gave a decent tamp. I mean, it isn’t perfect but it does the trick.
Recommendations…
You want to find a bottle cap that’s smooth and slightly wider than your puck. Usually, metal screw tops from wine or balsamic vinegar bottles are best. Because they have a flat surface and are sturdy enough to apply real pressure.
Now, be careful with your wrist. I learned that pressing down from an awkward angle can make the coffee bed uneven.
Afterward, stand over your portafilter, keep your wrist straight, and press gently but firmly. You’re not trying to crush the grounds. Instead, compress them evenly.
Bonus tip: wipe the cap before using it. You don’t want your espresso tasting like red wine or aged vinegar (unless you’re into that sorta thing).
4 – Back of a Spoon or Ice Cream Scoop
I guess out of all the suggestions, this is one of the most obvious.
The back of a large metal spoon can give you enough surface area to press the coffee down evenly if you go slow and steady.
The trick is to apply gentle, consistent pressure and not press too hard in one spot. If you’re using an ice cream scoop instead, it usually has a rounder base that sits flatter inside the portafilter. So that’s a tiny upgrade in a pinch.

Neither tool gives you perfect alignment or even compression across the coffee puck. However, they’re surprisingly helpful for getting a basic tamp.
Just make sure the utensil is clean and dry before using. I mean, it’s easy to overlook, but leftover oils or water can mess with extraction.
5 – Make a DIY Tamper with Coins + Cloth + Cap
A creative way is to stack a few coins to match the diameter, wrap them in a clean kitchen cloth, and use the bottom of a metal jar lid to press.
The key is to use enough coins to get close to the depth of your coffee basket. I used quarters, but you might need a mix depending on your machine.
The fact is wrapping them in cloth gives you a more even surface. Plus, it helps grip the sides of the basket a bit, so you have less slipping.
Then you press the whole thing down using a jar lid, spice tin, or anything flat and firm.
It’s not fancy, and you’ll probably look at it and laugh, but the results were close to what I get with my real tamper. I was shocked.
The puck came out level, the espresso pulled smooth, and I even got a decent layer of crema.
Tips to Ensure Even Pressure While Tamping
Here are some suggestions for ways to improve your tamping:

1 – Aim for around 30 pounds of pressure (firm, not crushing)
This one took me a while to nail. At first, I was pressing too lightly (which led to weak, sour shots) or mashing down like I was trying to squeeze the juice out of the ground.
What worked for me was tamping on a bathroom scale a few times to feel what 30 pounds of pressure actually is. After that, muscle memory kicks in.
2 – Keep your elbow at 90 degrees and wrist straight
I used to tamp with my arm kind of floating, and it always felt off. Then someone told me to plant my elbow like I was doing a mini arm workout.
You should keep your wrist straight to help apply that pressure evenly, and it also saves your joints in the long run. Especially if you make a lot of espresso.
3 – Level tamping is key (use a mirror or spirit level if you need help)
This might sound over-the-top, but an uneven tamp = uneven extraction.
Your water finds the path of least resistance and pulls faster through the low side, leaving you with a bitter or flat shot.
I suggest setting a small pocket mirror on the counter so you can eyeball it from the side.
Last Thoughts
Have you tried any of these hacks yourself? Or maybe you came up with a wild method I haven’t thought? I’d like to hear your comments in the section below.