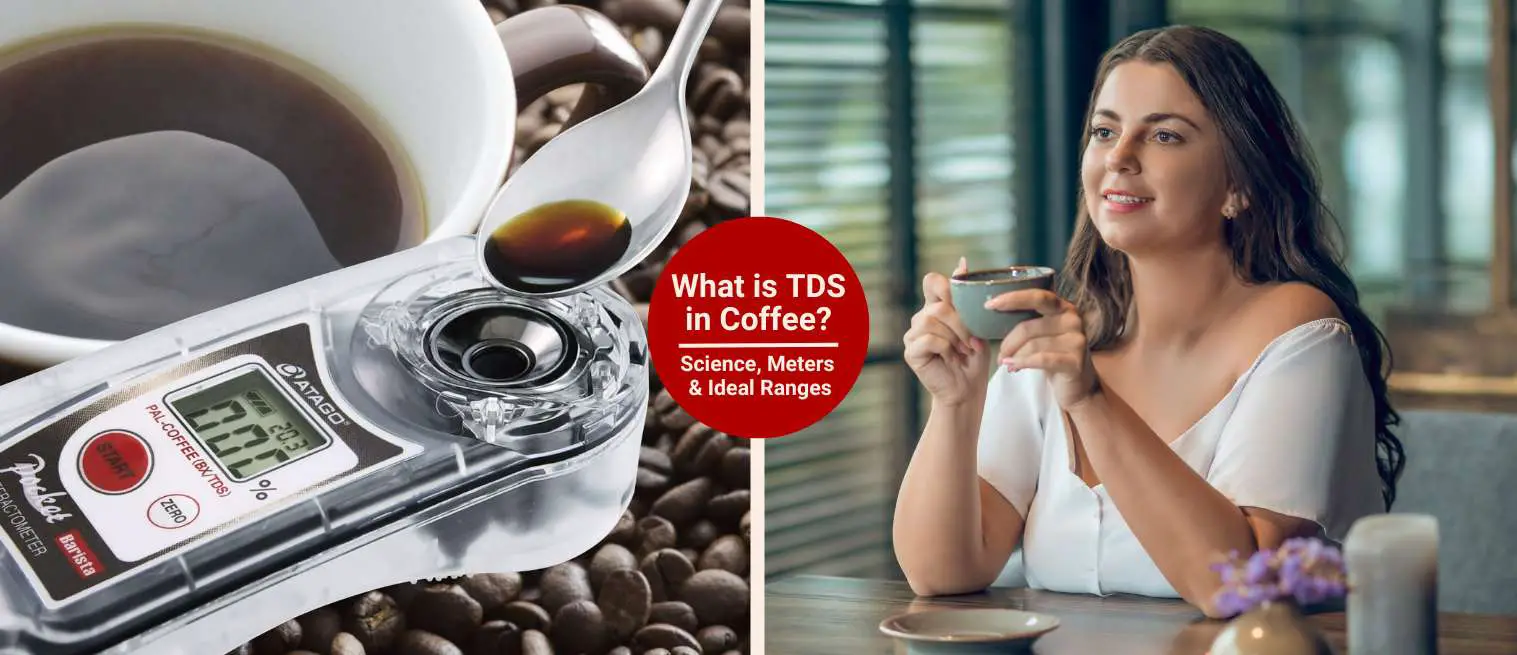
What Is TDS in Coffee? (Science, Meters & Ideal Ranges)
Did you know espresso can have up to 12% dissolved solids in your cup? That means nearly one-eighth of what you’re sipping is actual coffee compounds and not just water.
I was scrolling through Reddit’s r/coffee one night, totally lost in the brew nerd rabbit hole when I kept seeing people talk about “TDS.” I thought it was some new roast or maybe a grinder brand I missed. And guess what? It wasn’t!
After some digging (and a few failed brews), I realized that TDS (Total Dissolved Solids) is essential for bettering the flavor and getting more consistent results.
In this guide, I’ll break down what TDS means, how it’s different from extraction yield, what the ideal range is for your brew method, and how to measure it with a refractometer.
I’ll also share my favorite tools and how to use those numbers to make your coffee taste better. So let’s start brewing!
Key Takeaways
- TDS (Total Dissolved Solids) measures how much actual coffee material made it into your cup—think oils, acids, sugars—giving you a clear idea of brew strength.
- Ideal TDS ranges vary by method: around 1.2–1.5% for pour-over and French press, and up to 12% for espresso. Too high or too low can mess with taste and balance.
- A refractometer helps you brew with precision, but TDS alone isn’t the whole story—pair it with taste and use it as a tool to fine-tune grind, dose, and brew time.
What Does TDS Mean in Coffee?
TDS stands for Total Dissolved Solids. In simple terms, it tells you how much of the actual coffee compounds made it into your cup.
That includes everything dissolved from the grounds during brewing, such as:
- Natural oils, acids, sugars, and other flavorful components.
The higher the TDS, the stronger the brew (but not always the better the taste!).
We measure TDS in either percentage (%) or parts per million (ppm). For example, a TDS of 1.35% means 1.35% of your cup is dissolved solids, and the rest is water. So yeah, most coffee is just water and that’s another good reason to make that water count.
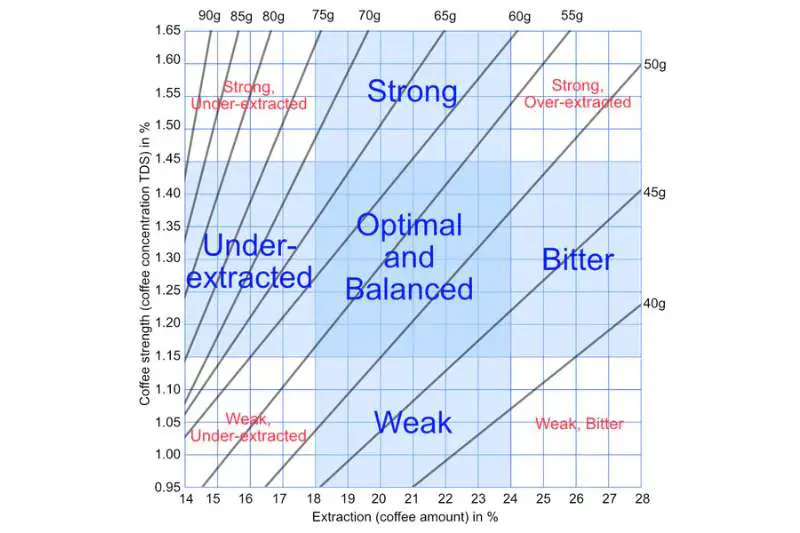
TDS vs Extraction Yield (Don’t Mix Them Up)
Here’s where I messed up when I first got into this: I thought TDS and extraction yield were the same. Well, they aren’t.
- TDS = strength (how concentrated your cup is).
- Extraction yield = how much of the coffee grounds you pulled out into the brew (usually expressed as a % of the original dry mass).
Notes: You can have a strong brew with a low extraction (like when you over-dose and under-extract), or a weak cup with a high extraction (like when you over-dilute). That’s why you want to get both strength and extraction right to brew a balanced and great-tasting cup.
Why It Matters (Even If You Don’t Own a Lab)
TDS is the scientific way of describing how strong your coffee tastes, and it gives you hard numbers to back up what your taste buds are trying to tell you.
Now, strength alone doesn’t equal flavor. However, if your TDS is significantly off, your coffee may taste watery (under-extracted) or overly intense (over-extracted or too concentrated).
Once you understand what your TDS reading means, you can start making smart changes. For instance, dialing in your grind size or adjusting your coffee dose.
What’s the Ideal TDS Range for Coffee?
So, what numbers should you aim for when measuring TDS in your brews? Here’s a handy breakdown by brew type:
| Brew Method | Ideal TDS Range |
|---|---|
| Espresso | ~8–12% |
| Pour-over | ~1.15–1.45% |
| French Press | ~1.3–1.5% |
| Cold Brew | 1.5%+ (often diluted) |
These ranges aren’t just random figures. Instead, they come from years of testing and sensory evaluation by pros and home brewers alike.
Espresso, being super concentrated, naturally hits a much higher TDS. Meanwhile pour-over and French press fall into the sweet spot for clarity and balance. Usually, cold brew starts high but gets diluted with ice, milk, or water.
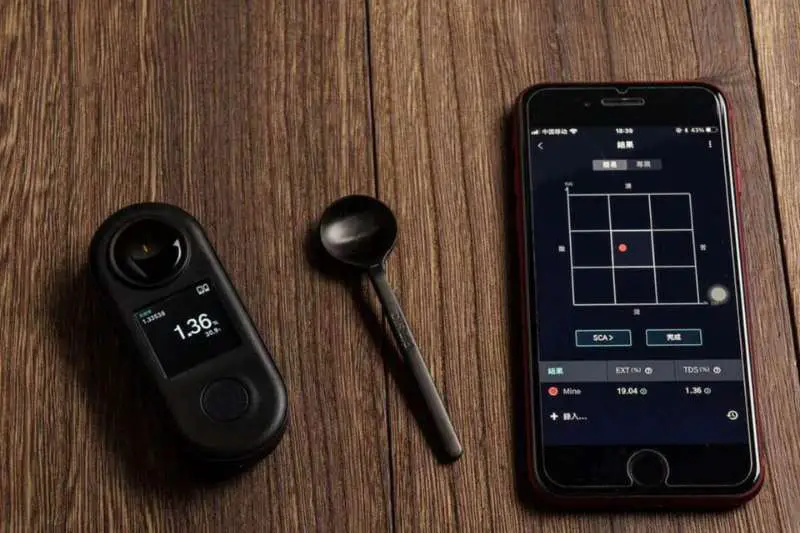
How to Measure TDS in Coffee (Step-by-Step)
Now, I’m going to explain a few easy steps to measure your coffee TDS. Once you’ve done it a couple of times, it’ll feel like second nature.
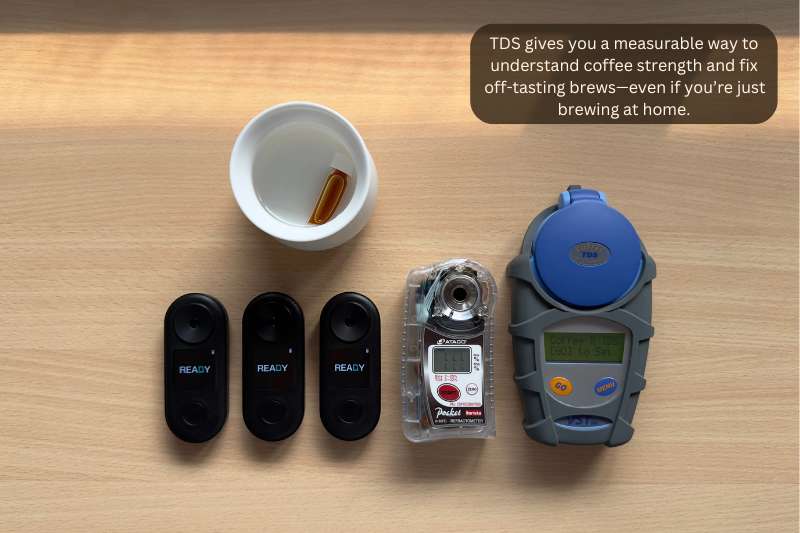
What You’ll Need?
- Digital refractometer (like the VST, Atago PAL-Coffee, or DiFluid R2)
- 0.2-micron filter paper (mainly for espresso or muddy brews)
- Pipette or syringe (you want a clean, precise sample)
- Scale and timer (already using these? Perfect.)
- Small glass or container (a shot glass works great)
Step-by-Step Refractometer Guide
- Brew your coffee as you normally would. No need to change your recipe yet.
- Stir and let it cool to about 22°C (72°F). Most refractometers are calibrated for room temp readings.
- Filter the coffee if it’s thick or espresso. Fine particles can mess with the reading.
- Use a pipette to grab a small sample. You want about 2–3 drops.
- Place the drops on the refractometer’s lens. Spread it evenly.
- Close the lid (if it has one) and hit the button to measure.
- Record your TDS reading. It’ll usually be in % or ppm—like 1.35% for a pour-over.
- Plug it into a coffee extraction calculator (along with your dose and yield) to see your extraction yield, which is how much of the coffee grounds dissolved.
That’s it! It’s a little geeky at first, but once you start measuring your brews, you’ll notice patterns. Also more importantly, you’ll know exactly what to tweak when something tastes off.
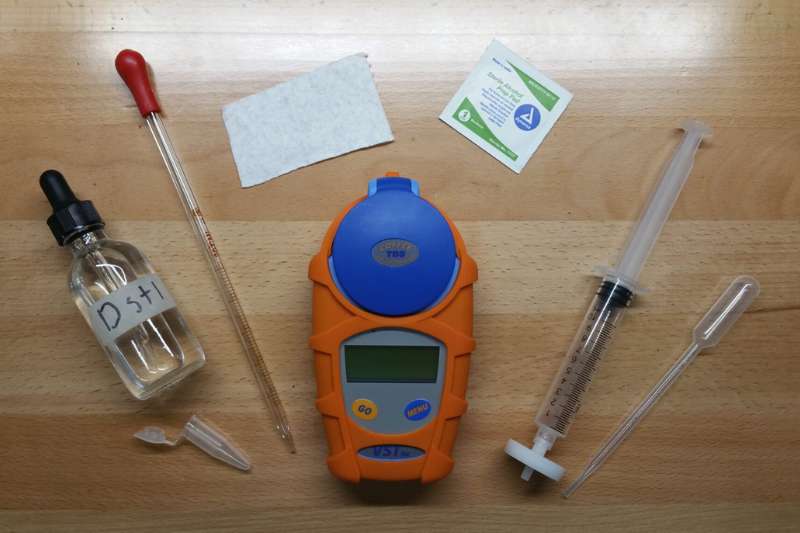
Which Refractometers Are Best for Coffee?
If you’ve decided to go down the rabbit hole of measuring TDS, you’ll need a trusty refractometer. And yeah, I’ve tried a few: some awesome, some… not worth the cleanup. So here are three I’ve had and consider worth it:
VST Lab Coffee III (High Accuracy, Industry Standard)
This one’s the gold standard. That’s why baristas in competition use it, cafés trust it, and as you can imagine “it’s pricey”.

But the readings are reliable, especially for espresso. I remember calibrating it for the first time and thinking, “Okay, this thing means business.” If you’re doing high-volume or want pro-level accuracy, this is your guy.
DiFluid R2 (App-Connected, Budget-Friendly)
I didn’t expect much when I picked this up, but it honestly surprised me. Syncs with your phone, logs data, and has a sleek interface that’s great if you’re into tracking everything.
And the best part is the price is more forgiving. Anyway, be mindful that it’s not as accurate as the VST. But for home use? Totally solid.
Atago PAL-Coffee (Compact and Widely Used)
This one’s popular for a reason. It’s rugged, easy to use, and doesn’t rely on app integrations (a blessing if you’re a bit old school like me). I’ve dropped it once or twice and no issues. Plus, you get reliable readings fast, and it’s small enough to toss in a gear bag.

Key Differences to Consider:
- Price: VST is $$$, Atago’s mid-range, DiFluid wins budget-wise
- Calibration: VST requires a bit more effort; Atago and DiFluid are simpler
- Software Integration: DiFluid = app lover’s dream, VST has software but feels dated, Atago is fully manual
- Portability: Atago takes the crown for compactness
Notes: Pick the one that fits your style. If you’re running a shop, VST is probably your move. If you’re testing home espresso recipes on a Sunday morning? DiFluid or Atago might hit the sweet spot.
How to Adjust Your Brew Based on TDS?
Alright, so you’ve got a TDS reading in hand, and now you’re wondering… what the heck do I do with it?
First off, don’t panic. I’ve had readings that looked perfect on paper but tasted like overcooked spinach. And I’ve had “off” numbers that led to a surprisingly decent cup.
That’s the thing: your tongue is still king.
Anyway, here’s what I’ve learned from trial and error.
- TDS is too high: you’re looking at a strong brew, possibly too strong. It might feel bitter, muddy, or just a little too thick. I recommend dialing back your dose, grinding coarser, or shortening your brew time a bit. Basically, let the water pass through easier or use less coffee to begin with.
- TDS is too low: It probably tastes watery or just kind of meh. That usually means under-extraction. You’ll want to increase your dose, grind finer, or steep it longer to pull more from the grounds.
One sneaky factor I didn’t think much about early on?
Water quality. If your water is either too soft or too mineral-heavy, it messes with everything. Even agitation plays a role.
For this reason, stirring or swirling more aggressively can help extract more solids and bump your TDS up a notch.
Notes: But let’s be real—TDS isn’t everything. As I said, use it alongside taste, aroma, and how that first sip feels. Because sometimes, numbers lie. But your taste buds? They usually don’t.
TDS in Coffee vs Other Beverages (For Fun)
Now let’s see how coffee stacks up against some other drinks when it comes to TDS. You might be surprised at how intense your morning espresso is when compared to stuff like tea or juice.
| Beverage | Average TDS Range |
|---|---|
| Water | ~0–150 ppm |
| Tea | ~0.5–1.2% |
| Orange Juice | ~10–12% |
| Espresso | Up to 12%! Yep, really. |
Notes:
I remember the first time I learned that espresso could hit 12% TDS. My jaw kind of dropped. That’s right up there with orange juice, which explains why it feels so syrupy and packs such a wallop.
In contrast, most filtered water barely even registers. Unless you’re brewing with hard tap water. Now tea, depending on the type, tends to be a much lighter experience.
Even the stronger black teas rarely push past 1%. Which is probably why you can sip a whole pot of Earl Grey and not feel like your heart’s trying to tap dance.
Last Thoughts
Still scratching your head over TDS? Or maybe you’ve already been experimenting with a refractometer at home? I’d love to hear what you’ve discovered.
Have you found your sweet spot? Do you have any tricks for dialing in the perfect cup? I’d like to hear your thoughts, questions, or favorite TDS tweaks in the comments below.
Questions? We Have Answers.
Get answers to a list of the most Frequently Asked Questions.


