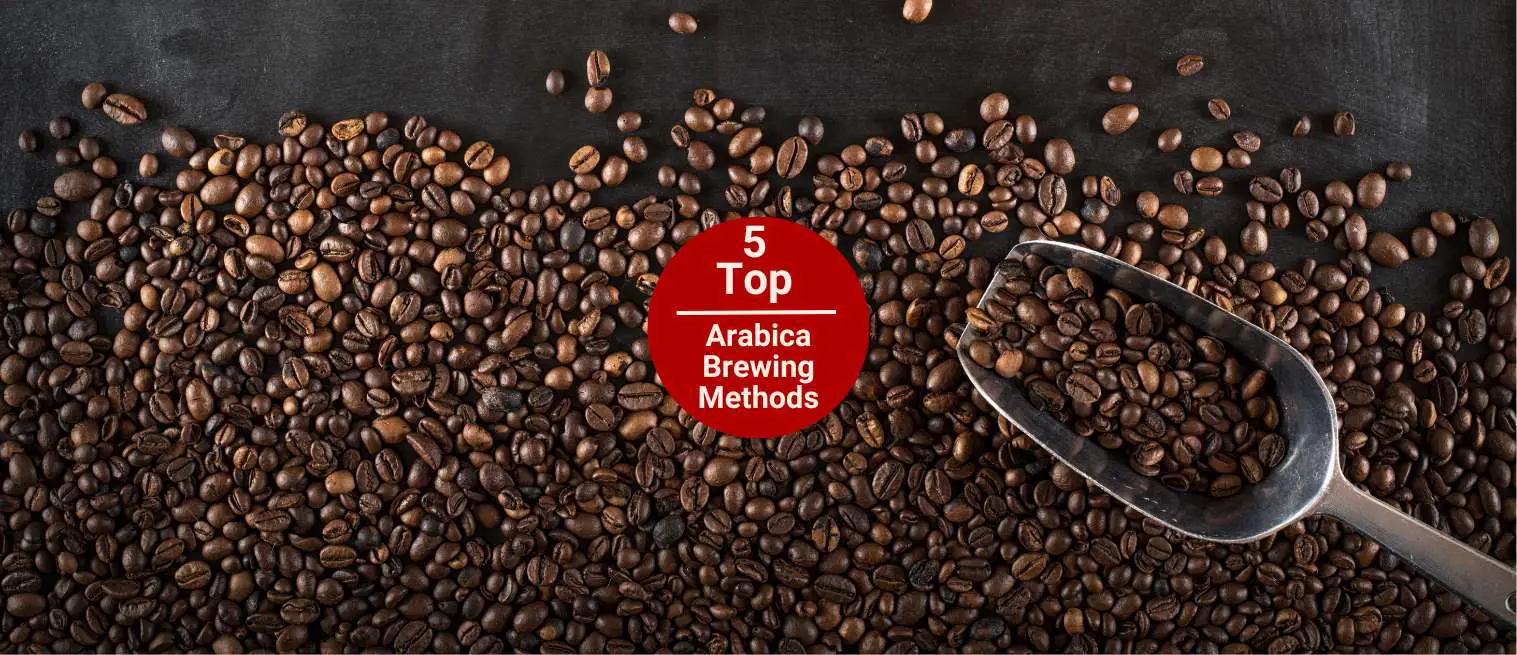
5 Best Ways to Brew Arabica Coffee for Full Flavor
Last updated on September 25th, 2025 at 11:47 am
Ever sipped your usual coffee and thought, “Why doesn’t this taste like the stuff from that little café downtown?”
Most people don’t realize they’re drinking blends. Often a mix of Arabica and Robusta. That was me for years. I’d grab whatever was on sale, toss it into the machine, and go about my day.
But then I tried a bag of 100% Arabica. The flavor was different. I mean smooth, sweet and complex. And suddenly, I found myself wondering… what’s the best brewing method to bring this stuff to life?
This guide is here to help answer that exact question. Whether you’re into bold espresso shots or chilled-out cold brew, you’ll learn five brewing methods that can truly unlock Arabica coffee’s best flavors, along with tips I wish I had when I started.
5 Best Brewing Methods for Arabica Coffee
Below, you can quickly check the table where I share the best brewing methods with Arabica. However, if you want more details, keep reading.
| Brewing Method | Flavor Profile | Best For | Grind Size | Brew Time | Pro Tip |
|---|---|---|---|---|---|
| Pour-Over | Clean, bright, nuanced | Floral or citrusy Arabicas | Medium-fine | 2.5–4 minutes | Bloom the grounds and pour in circles |
| French Press | Rich, full-bodied, oily | Nutty or chocolatey notes | Coarse | 4–5 minutes | Stir before pressing to avoid bitterness |
| AeroPress | Smooth, balanced, quick | Single-origin Arabicas | Medium-fine | 1–2 minutes | Use the inverted method for more control |
| Espresso | Bold, intense, with crema | Arabica blends or darker roasts | Fine | ~30 seconds | Use a burr grinder & PID espresso machine |
| Cold Brew | Sweet, mellow, low-acid | Iced coffee or concentrate lovers | Coarse | 12–18 hours | Use a 1:4 ratio for concentrate |
1 – Pour-Over (For Clean and Bright Flavors)
This method is hands-down my favorite for bringing out the clean, layered notes that Arabica beans are known for. I remember the first time I brewed Volcanica Ethiopian Yirgacheffe this way.
Those lemony, blueberry vibes hit me like a flavor explosion. It was eye-opening. I didn’t even need milk or sugar.

The reason these beans work here is because they’ve got subtly delicate fruit, floral aroma, sometimes even tea-like brightness.
Ideal Grind Size
Use a medium-fine grind. I also suggest a touch finer than what you’d use in a drip machine, but not as fine as espresso. The reason is too coarse, and your cup turns flat. Otherwise too fine, and it’ll clog your filter or over-extract.
Tools That Help
- Gooseneck kettle: This gives you control over the pour, and that’s huge for even extraction.
- Paper filter: Helps catch fine grounds and oils for a cleaner cup.
- Recommended gear: I bounce between the Hario V60 for sharper clarity and the Chemex when I want a more mellow, tea-like body. The Kalita Wave is great too, especially if you’re new and want more forgiving results.
Brewing Tip
Always bloom the grounds first. Afterward, pour a little hot water (195°F–205°F) over the coffee just to wet it, wait about 30–45 seconds, then start your full pour in slow spirals.
This preps the coffee, releasing trapped gases and setting up better extraction. If you’ve got a delicate single-origin Arabica you’ve been saving, this is the method that’ll do it justice.
2 – French Press (For Full-Bodied Arabica Brews)
The first time I tried this method with Peet’s Coffee Major Dickason’s Blend, I finally understood what people meant by “mouthfeel.” It was thick, velvety, and every sip had these deep chocolate and spice notes, which I find perfect for cold mornings.
French press brewing works beautifully for Arabica beans leaning toward the richer side. You get chocolatey, nutty, or even smoky flavors.

That’s because this method doesn’t filter out the natural oils like paper filters do. You get all that flavor and body in the cup, especially with a dark or medium-dark roast.
Grind Size & Steep Time
Use a coarse grind, about the texture of sea salt. If the grind is too fine, you’ll over-extract and end up with sludge at the bottom and a bitter edge. You want to steep the grounds for 4 to 5 minutes, depending on how bold you like it.
Brewing Tips
After you bloom the grounds (pour a little water to let them degas), give the brew a gentle stir. Then let it steep and press the plunger slowly.
If you rush it, you can agitate the grounds and pull out bitterness. Let it sit for a minute after pressing, too. This helps everything settle and keeps grit out of your cup.
Notes: French press doesn’t give you the clean clarity of pour-over. However, what you lose in sparkle, you gain in depth.
3 – AeroPress (For a Smooth, Balanced Cup)
I’ve never been much into the AeroPress, to be honest. I’ve always leaned more toward my Hario V60 for clean, bright brews or my Barista Express when I’m craving a proper espresso shot.
But one morning, I was traveling and didn’t have access to either. I just borrowed an AeroPress and some Volcanica Ethiopian Yirgacheffe. I figured, why not? And that cup changed my opinion.

What makes AeroPress special is its blend of immersion brewing and light pressure to pull out a smooth and balanced cup.
You can dial in a strong, espresso-style brew or go light and easy depending on your grind and water ratio.
Try the Inverted Method
If you haven’t used it before, try the inverted method. You add your coffee and water with the brewer flipped upside down, stir it up, steep for 90 seconds, and press slowly.
I find this method great for single-origin Arabica beans that shine with subtle complexity. For instance, Lifeboost Single Origin Medium Roast from Nicaragua. This brews a smooth, clean, and mellow brew with fruit and caramel notes.
4 – Espresso (For a Bold, Complex Shot)
Espresso is where Arabica coffee shows off its complexity. You get that concentrated sweetness, such as berry, caramel, maybe even citrus, balanced by a velvety crema.
I’ve had amazing results using Peet’s Coffee Major Dickason’s Blend, especially when I want something full-bodied with chocolatey depth.

Another solid one? Illy’s Arabica Selection Guatemala, which has more floral and bittersweet cocoa vibes.
A few lessons I had to learn the hard way:
Use a fine grind (think powdered sugar), always tamp evenly, and never settle for blade grinders. A good burr grinder changes everything.
Also, make sure your machine reaches 9 bars of pressure consistently. Mine has a PID, which really helps stabilize the temperature. I find it essential for pulling consistent shots.
And don’t be afraid to experiment. Whether you’re drinking it straight or turning it into a latte, Arabica blends give you depth without that harsh edge.
5 – Cold Brew (For a Low-Acidity, Sweet Finish)
Here’s the beauty of cold brew: it pulls out the mellow, chocolatey, and nutty notes of Arabica beans. Especially if you’re using something like Lifeboost Medium Roast or a good Colombian single origin.
The Arabica’s natural sweetness shines here because there’s way less acidity than with hot methods. In other words, your brew won’t bite your stomach and it plays nicely with milk or oat milk.

Use a coarse grind, like sea salt texture. Steep the coffee in cold, filtered water for 12 to 18 hours in the fridge.
I usually do a 1:4 coffee-to-water ratio to make a strong concentrate, then dilute it with ice or milk when I serve it. And don’t forget to strain it well (no one wants gritty sips).
Bonus Tips for Brewing Arabica Coffee
Here are a few small tweaks that make a big difference in flavor.
Use filtered or mineral-balanced water
The reason is tap water can mess with your brew because it has minerals and chlorine that interfere with Arabica’s delicate flavor notes.
For this reason, use a Brita filter or bottled spring water. You’ll notice your brews will taste cleaner and brighter.

Always grind fresh with a burr grinder
The problem is pre-ground coffee loses its aroma fast. See Arabica’s flavor compounds are sensitive, so once it’s ground, you’re on the clock.

You should consider using a burr grinder because itgives you even particles (no dust or chunks). This lets you dial in the right texture for your brewing method.
Store beans properly in airtight containers
Please don’t leave your beans in the bag they came in. I did this for months and couldn’t figure out why the flavor faded so fast.

For this reason, keep them in an opaque, airtight container to protect them from moisture, light, and air. Also, avoid storing them in the fridge.
Mind your water temperature: 195°F–205°F
You don’t want your water too hot. Otherwise, you’ll scorch the grounds. If it’s too cold, you’ll under-extract and end up with sour coffee.
I recommend a digital thermometer like the Hario V60 Drip Thermometer or the Lavatools Javelin Pro Duo. Both are extremely accurate and easy to use even if you’re half-asleep during your morning brew.

Just pop it into your kettle or coffee slurry and you’ll know exactly when you’ve hit that perfect 195°F–205°F range.
Last Thoughts
Got a favorite way to brew Arabica? Or maybe a tip that’s changed the game for you? I’d love to hear what’s worked in your kitchen. So drop your thoughts below and let’s see what works best. And with that… voilà!”


