How To Smoke Coffee Beans (Step-By-Step Guide)
Ever wondered what would happen if you threw your coffee beans in a smoker?
I did, though not exactly on purpose at first. See, I’m not really the outdoorsy, camping-for-fun type. The mosquitoes always seem to think I’m the main course, and I spend half the night doing a weird half-dance trying to swat them away.
But every now and then, I tag along with friends who are way more into it. One night around the fire, we were making smoked bacon (which was incredible, by the way), and my sleep-deprived, caffeine-loving brain suddenly thought, “Hey, if we can smoke meat… why not coffee beans?”
So I tossed some beans on the smoker, thinking I was a genius. The result? A little too smoky, kinda bitter but weirdly drinkable.
I thought I’d invented something new… only to get home and find out smoked coffee was already a thing. Still, that moment kicked off a fun little obsession of learning how to do it the right way.
In this guide, I’ll walk you through exactly how to smoke coffee beans at home from tools and wood types to brewing tips and flavor hacks. So you can skip the mistakes and go straight to the good stuff.
What Is Smoked Coffee?
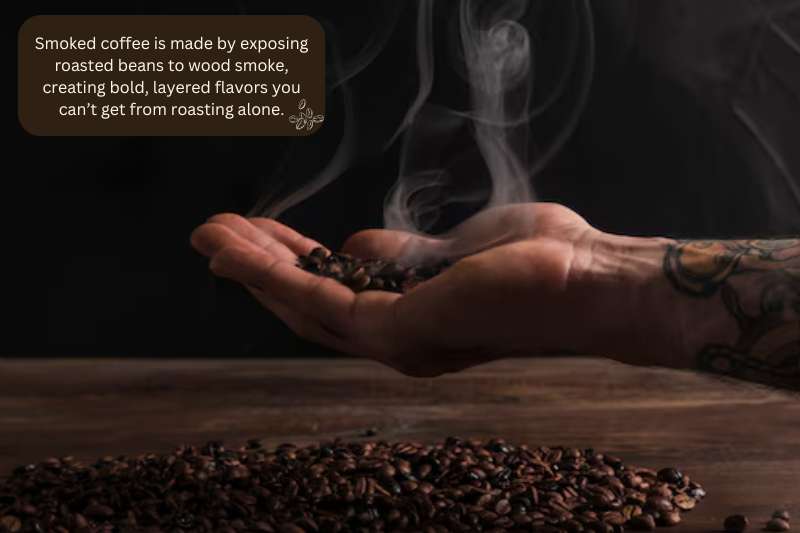
Smoked coffee is exactly what it sounds like: coffee beans that have been exposed to smoke (usually from wood chips) to infuse them with bold and savory flavor. It’s a process that happens after the beans are roasted and not during.
Why Do People Do This?
Often to create a deeper and more complex cup. Basically, you add layers of flavor you can’t get from roasting alone. Kind of like smoking meat, but, you know… coffee.
Smoked Coffee vs Smoky Notes Coffee
Now, it’s important not to confuse smoked coffee with beans that naturally have smoky notes from the roast itself. For instance, dark roasts can have a bit of char or smoke flavor from being roasted at higher temps.
But smoked coffee takes it further. You’re intentionally adding smoke from a wood source, like cherry or oak, to give the beans that campfire edge.
What about the Taste?
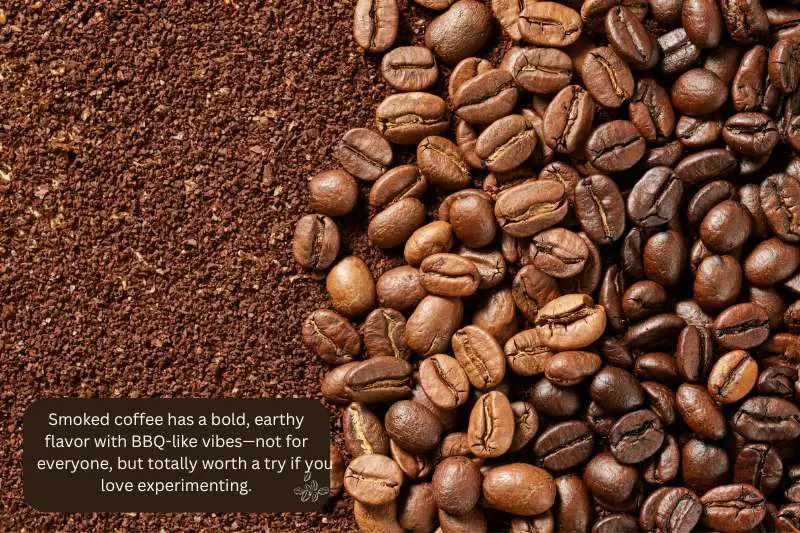
I admit, in terms of taste, it’s not for everyone. However, if you like trying new things, it’s a fun ride. You’ll often pick up on woody, earthy, rich, and sometimes slightly savory notes.
I once had a batch that tasted like someone brewed espresso inside a BBQ pit and weirdly, I loved it.
Nowadays, smoked coffee is popping up more and more in artisan cafés, and many folks are starting to try it at home with backyard smokers. It’s bold, a little quirky, and honestly kind of addictive once you get the hang of it.
Tools & Ingredients You’ll Need
Before you start smoking coffee beans, ensure you’ve got the right tools lined up. This will make the whole process smoother (and a lot more fun).
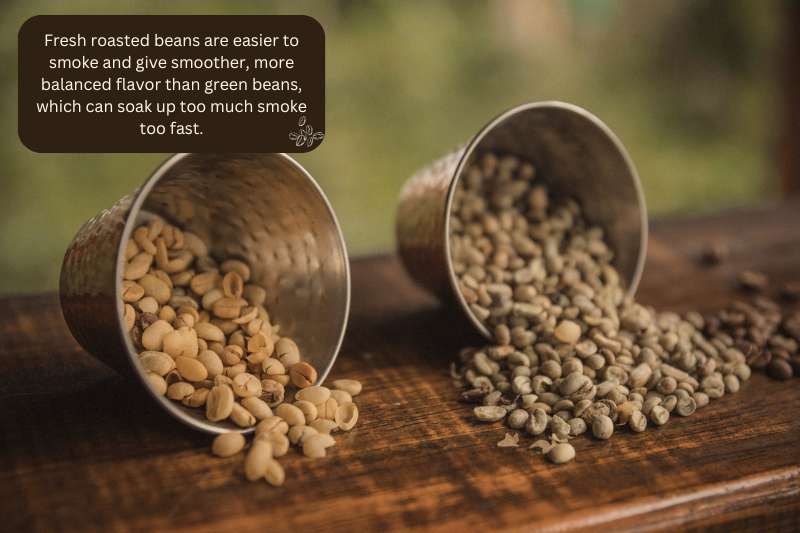
Fresh Roasted or Green Coffee Beans (and Why It Matters)
You can smoke either, but I’ve found fresh roasted beans give a smoother flavor, especially if you’re using a medium or dark roast.
Smoking green beans is doable, but it’s trickier. The reason is they’re more porous and can take on too much smoke if you’re not careful.
I usually stick with medium roast beans from Onyx Coffee Lab or Counter Culture. I find they have balanced profiles that hold up well to extra smoke without going bitter.
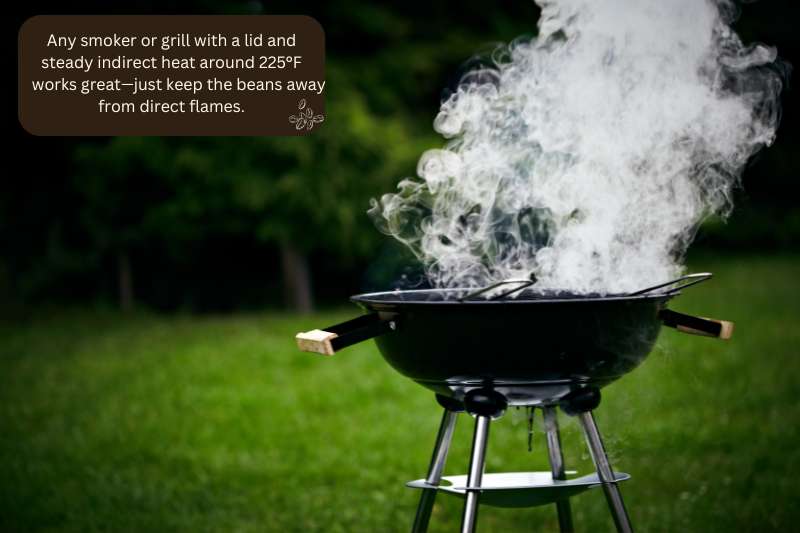
Smoker or Grill with Smoking Capabilities
I use a basic pellet smoker, but any smoker or grill with indirect heat control will work. If it has a lid and holds a steady temp around 225°F, you’re golden. Just make sure there’s room to place your beans away from direct flames, or you’ll end up roasting instead of smoking.
Wood Chips (e.g., Hickory, Cherry, Oak)
Wood choice makes a huge difference.
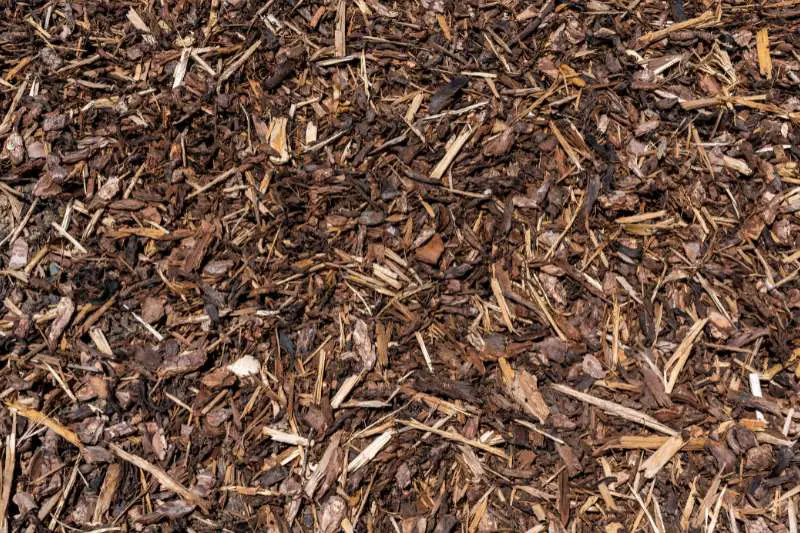
- Cherry and apple give off sweet, mild smoke that pairs beautifully with coffee.
- Hickory adds a stronger, earthy tone, and oak gives it that classic smoky depth.
- Just avoid mesquite it’s overpowering and can make your coffee taste like a campfire gone wrong.
Heat-Safe Tray or Mesh Basket
You need something that lets the smoke hit the beans from all sides. I’ve used both a stainless-steel grill tray and a mesh basket. Both work fine as long as you spread the beans in a single layer.
I recommend avoiding anything with nonstick coating because it can release weird smells and ruin your batch.
Airtight Container for Storage
After smoking, you want to let the beans rest in an airtight container for 24–48 hours. This “resting” period helps the smoke settle into the beans and mellow out. I use a simple mason jar with a tight seal or one of those vacuum canisters designed for coffee.
Optional: Thermometer, Coffee Grinder
A grill thermometer helps you keep temps steady, especially if your smoker runs hot or cold. And if you’re starting with whole beans, a good burr grinder is a must.
Smoking already-ground coffee isn’t recommended—it absorbs smoke way too fast and ends up tasting like ash. Not in a good way.
Step-by-Step Guide to Smoking Coffee Beans
Alright, it’s time to get into the good stuff: how to smoke coffee beans at home without ruining your smoker, coffee, or patience. I’ve messed up enough batches so you don’t have to. So, here’s my step-by-step guide:
Stage 1: Prep the Beans
Start with beans that pair well with smoke. I prefer medium to dark roasted beans because they hold their own next to stronger flavors. For instance, light roasts can get overwhelmed quickly.
If your beans are a little oily (which darker roasts often are), pat them dry gently with a paper towel. The fact is:
Oily beans + open flame = bad news.
Then, spread the beans out on a heat-safe tray or mesh basket. One even layer and don’t pile them up. This lets the smoke coat every bean evenly and helps stir them midway without a mess.
Stage 2: Set Up the Smoker or Grill
Preheat your smoker to around 225°F (107°C). I’ve tried lower temps before, but it didn’t give enough smoke to stick. If that’s your setup, soaked wood chips go into the smoker box or directly onto coals.
And make sure the beans sit in an indirect heat zone. The reason is you want to smoke rather than a second roast.
Stage 3: Smoke the Beans
Place your tray of beans in the smoker and close the lid. I usually set a timer for 10 minutes, stir the beans gently, then give them another 10–20 minutes depending on the wood and how bold I want the flavor.
Also, keep an eye on the smoke level. You want a nice steady smoke, not a firestorm. You’ll know it’s ready when the beans smell deep and toasty, kinda like a mix between espresso and a fireplace.
Stage 4: Cool & Store
Once they’re done, don’t rush. Afterward, let them cool completely at room temp. Then transfer them to an airtight container.
I use a mason jar with a tight lid and let them rest for at least 24 to 48 hours. This mellowing period smooths out the smoky edges and gives the flavor time to settle into the beans.
Notes: It’s a simple process once you’ve done it a couple of times, and honestly, it’s a lot of fun. Plus, your whole backyard ends up smelling amazing.
How To Brew Smoked Coffee Beans?
Brewing smoked coffee is a little different than your regular routine. Instead, it’s about letting that smoky character shine without getting lost in the mix.
French press: My favorite way! It’s full-immersion, unfiltered brewing, which really lets the earthy, woody notes come through.

You get that bold, slightly savory flavor without it tasting harsh. Just use a coarse grind, about the size of sea salt. If you go too fine, you risk muddling the smoke with bitterness.
Pour-over: works too, especially if you’re after a cleaner cup. The key is using a medium grind and a slower pour to get full extraction.

I tried it once with a Hario V60 and a batch of cherry wood-smoked beans. It brought out these weirdly delicious hints of caramel and campfire.
Cold brew: It smooths out any rough edges and makes the smoky flavor super mellow. Just make sure to steep it long enough 12 to 16 hours is the sweet spot.

Notes: I don’t recommend going heavy on sugar or cream right away. Rather give it a few sips first. You might be surprised how well the smoke stands on its own.
Tips for Perfecting Your First Batch
Well, after some trial and error, I’ve learned (some the hard way) how to help your first batch turn out better than mine did.

1 – Start with Small Batches to Experiment with Flavor Intensity
You don’t want to waste a whole bag of beans if it turns out tasting like a burnt log. I started with just half a cup of beans, and it gave me enough to brew a couple of test cups. Once you figure out your ideal smoke time and wood type, you can confidently scale up.
2 – Don’t Oversmoke—Less Is Often More
It’s tempting to think more smoke = more flavor. But too much can turn your coffee bitter or give it this strange campfire-aftertaste that lingers way too long.
I found that 20–25 minutes of smoke with a mild wood like cherry was plenty. You want the smoke to enhance and not dominate the cup.
3 – Keep Detailed Notes on Wood Type, Time, and Bean Origin
I forgot to do this the first time, and when I finally nailed a batch I loved I had no clue what I did.
For this reason, keep a little journal or use your phone to track the wood (like hickory or apple), the time smoked, and what beans you used. Even jotting down weather or smoker temp can help.
4 – Pair Smoked Beans with Foods: Dark Chocolate, BBQ, or Aged Cheese
I find smoked beans to work awesome with food, too. I once served a smoky cold brew with ribs at a backyard cookout and people were weirdly into it.
For instance, dark chocolate, salty cheeses, and even roasted nuts work great. So, give it a try and if possible share your experience in the comments.
Last Thoughts
Got any questions about the process? Or maybe you’ve tried this before and have a few tricks up your sleeve? Drop your tips, flops, or flavor wins in the comments. I’d love to hear how your smoked coffee adventures go.
Questions? We Have Answers.
Get answers to a list of the most Frequently Asked Questions.


