How to Replace a Moka Pot Gasket (Step-By-Step Guide)
Last updated on August 30th, 2025 at 03:55 pm
Ever had your moka pot suddenly stop brewing the way it used to? I had a moka pot that always made smooth, rich coffee without issues.
But one morning, things changed. The coffee wouldn’t brew. I sat there staring at it, waiting and waiting, until I finally gave up and turned off the burner. With a lot of struggle and retrying, the coffee eventually trickled out, but the taste? Bitter, burnt, and downright awful.
At first, I thought maybe I messed up the grind or the heat. But after a few days of the same thing happening, I realized it wasn’t the coffee at all but the gasket. That little rubber ring had hardened and lost its seal, and without it, the moka pot just couldn’t do its job.
If this sounds familiar, don’t worry.
In this guide, you’ll learn how to replace a moka pot gasket, the signs it’s time for a new one, and the tools you’ll need. So, let’s start!
Key Takeaways
- A worn gasket is the #1 reason moka pots leak, hiss, or brew weak coffee.
- Replacing it is cheap, quick, and only takes a few minutes with simple tools.
- Always buy the right size gasket (rubber or silicone) for your moka pot model.
- With regular care like rinsing, drying, and swapping every 6–12 months, you’ll keep your moka pot brewing strong.
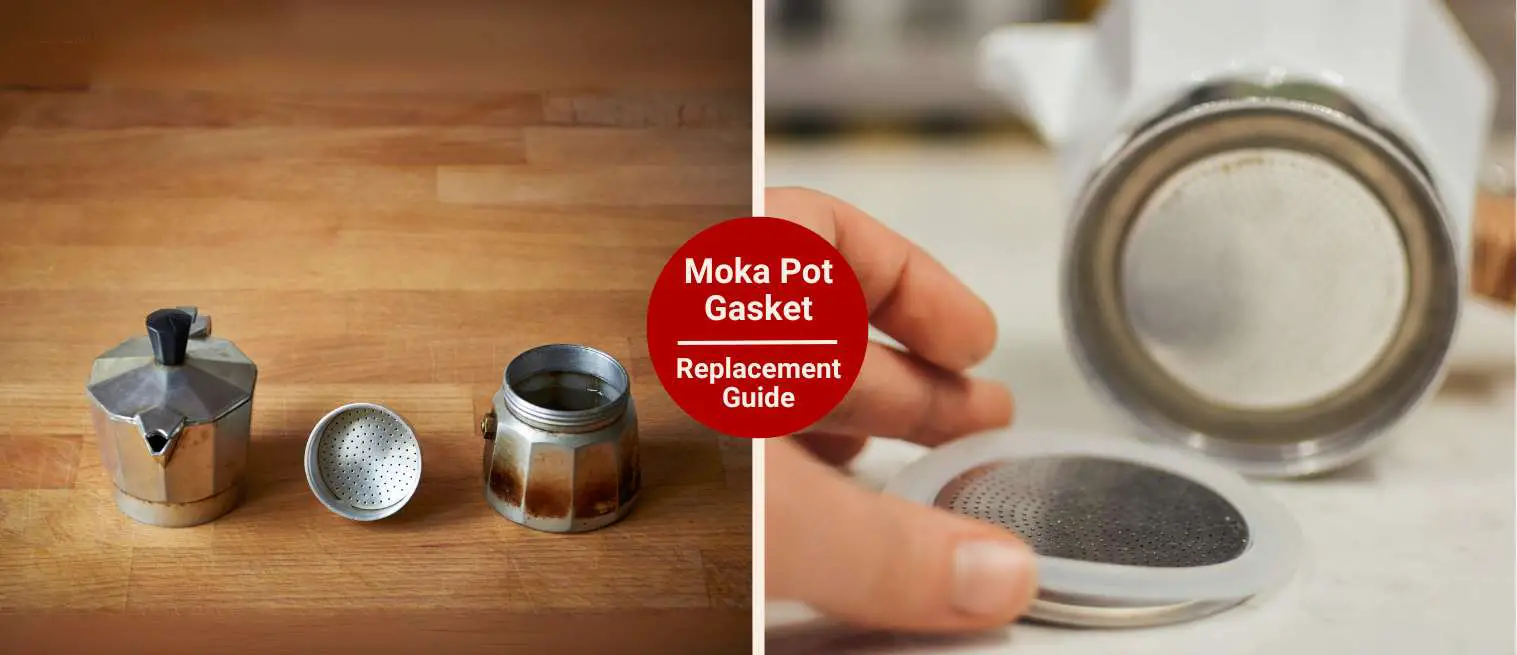
What Is a Moka Pot Gasket (and Why It Matters)?
If you’ve ever wondered why your moka pot suddenly starts hissing, leaking, or refusing to brew properly, chances are the gasket is the issue. So, here’s what this little ring does:
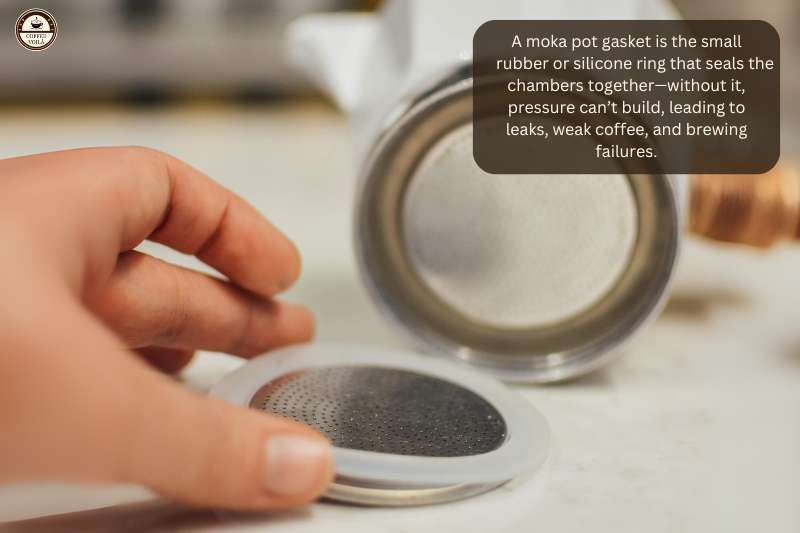
1 – Creates an airtight seal
The gasket is basically a rubber or silicone ring that sits between the top and bottom chambers of your moka pot. Its job is to keep the seal tight so pressure can build. Without it, the coffee simply won’t brew.
2 – Faulty gasket = brewing issues
Once a gasket starts wearing down, it may become stiff, cracked, or flattened, and can no longer hold its seal. That’s when you notice leaks, spurting water, or coffee that tastes weak.
3 – Found in aluminum or steel pots
Every moka pot has a gasket, whether it’s a small 3-cup aluminum Bialetti or a big stainless steel model.
The only catch is: sizes vary. For this reason, when you replace one, you’ve got to make sure it matches your exact moka pot. Otherwise, it won’t fit right, and you’ll be back to the same problems.
Notes: The gasket may be small, but it’s the heart of the moka pot’s pressure system. Treat it well, and your coffee will thank you. (not sure)
Signs Your Moka Pot Gasket Needs Replacing
It’s not always obvious when your moka pot gasket is on its last legs. But once you know the signs, you’ll spot them quickly and save yourself a lot of frustration (and bad coffee). So, here are the most common red flags:
| Sign | What It Means | Result in Your Coffee |
|---|---|---|
| Leaking around the seal | Gasket is cracked, stiff, or flattened | Water or steam escapes, messy brew |
| Weak or watery coffee | Seal isn’t tight, pressure can’t build | Under-extracted, bland flavor |
| Hissing or spurting noises | Air escaping through gaps in the seal | Inconsistent extraction, bitter taste |
| Hard to screw together | Gasket swollen or misaligned | Difficult assembly, uneven seal |
| Burnt or metallic flavors | Old gasket holding oils/residue | Off-tasting, unpleasant coffee |
Tools & Materials You’ll Need
Swapping out a moka pot gasket you don’t need anything special. Actually, you probably have most of what you need lying around the kitchen already. So, here’s what you should have at hand:
Replacement gasket
Gaskets aren’t one-size-fits-all. For this reason, make sure you grab the right diameter for your moka pot (a 3-cup model won’t use the same size as a 9-cup). Some brands like Bialetti even sell gasket + filter plate kits, which can save you a headache.
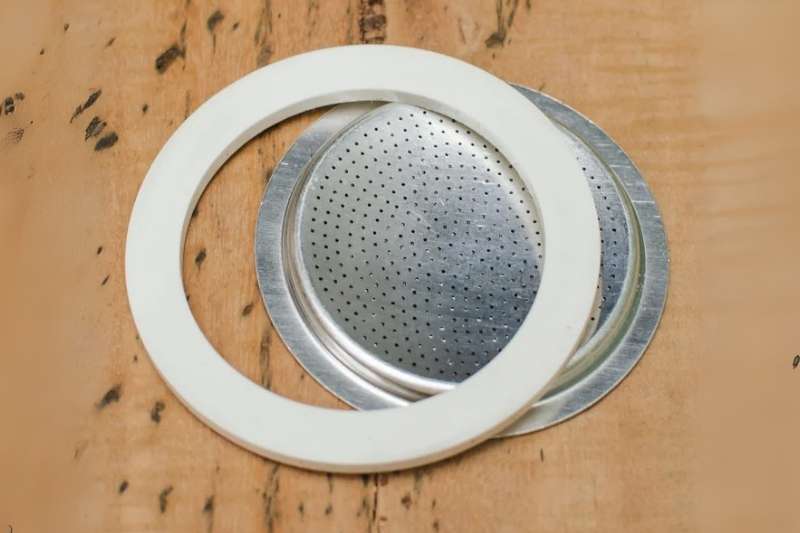
Replacement filter plate
Not always necessary, but if you’ve had your moka pot for years, the filter plate might be warped, rusted, or clogged with oils. I recommend replacing it, along with the gasket to give your pot a fresh start.
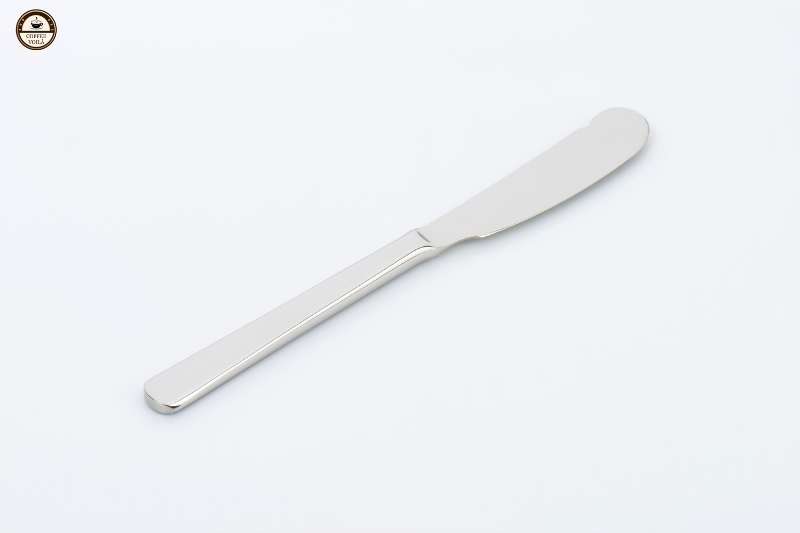
Small butter knife, spoon, or blunt tool
You’ll need something to poke out the old gasket. You shouldn’t do this with a sharp knife. It may scratch the metal and mess up the seal. Instead, use a spoon handle or a butter knife, which works well.
Clean cloth or paper towel
Once the old gasket is out, you’ll want to wipe down the groove where it sat. Coffee oils and residue build up there, and if you don’t clean it, the new gasket won’t sit right.
Warm water for rinsing
A quick rinse gets rid of leftover grime and softens any stubborn residue. You want to skip the soap. Especially if your moka pot is aluminum, since it can leave behind a flavor you don’t want in your next brew.
Step-by-Step Guide: How to Replace a Moka Pot Gasket
Swapping out a moka pot gasket is simple, but it does take a little patience. To make it concrete, let’s use the Bialetti Moka Express (6-cup) as an example. It’s one of the most common models out there. So, here’s how to do it:
Step 1: Disassemble the Moka Pot
Start by unscrewing the top and bottom chambers. Next, remove the filter basket to get a clear view of the gasket and filter plate in the upper section.
Step 2: Remove the Old Gasket
This part can feel fiddly. Use the handle of a spoon, a butter knife, or another blunt tool to pry the gasket out of its groove. Once again, avoid sharp knives.
Step 3: Clean the Groove
Once the gasket is out, wipe the groove thoroughly with a damp cloth or paper towel. Usually, old coffee oils and bits of rubber tend to stick here. If you don’t clean it, the new gasket won’t seat properly.
Step 4: Insert the New Gasket
Line up the new gasket and press it evenly into the groove all the way around. It should sit flush without any bulges. If it feels loose or too tight, double-check you’ve got the right size.
Step 5: Replace the Filter Plate (if needed)
If your filter plate is bent, rusted, or caked in buildup, now’s the time to swap it. You want to place it right on top of the gasket before reassembling.
Step 6: Reassemble the Moka Pot
Screw the top and bottom chambers back together until they feel snug. You want it firm enough to hold pressure, but not so tight that you’re cranking down like a jar of pickles. The problem with overtightening is that it wears out the threads and puts extra strain on your new gasket, which shortens its life.
Step 7: Test Brew
Before making actual coffee, run a cycle with only water. This checks the seal and makes sure everything’s snug. Plus, it helps soften the new gasket slightly for a better fit.
How to Choose the Right Replacement Gasket?
If you buy the wrong one, it either won’t fit at all or won’t seal well. Both of which leave you with leaky and bad coffee. So, here’s what to keep in mind:
Sizes vary
Moka pots come in different capacities, like 3-cup, 6-cup, or 9-cup, and each one requires a specific gasket size. A 6-cup gasket won’t stretch to fit a 9-cup model. For this reason, double-check what your pot takes before ordering.
Material options
Traditional gaskets are made of rubber. This works fine but tends to wear out faster. On the other hand, silicone lasts longer, resists staining, and doesn’t hold onto odors as much. Personally, I’ve found silicone worth the couple of extra bucks.
Brand-specific vs universal gaskets
If you’ve got a Bialetti, Alessi, or another big brand, you’ll find gaskets made to match those models exactly.
Universal gaskets are out there, but they can be hit or miss. Sometimes you’ll get a perfect fit, other times not so much. To avoid the hassle, sticking with your moka pot’s brand is usually the safer bet.
Always measure if unsure
If you’re not sure which size you need, grab a ruler and measure the inner and outer diameter of the old gasket. It takes 30 seconds and saves you from buying something that doesn’t fit.
Common Problems After Replacing a Gasket (and Fixes)
Even after swapping in a fresh gasket, things don’t always go perfectly. But it doesn’t mean you did it wrong. Anyway, here are a few common problems:
Still Leaking
If your moka pot keeps leaking, the first thing to check is whether the gasket size actually matches your pot. A 6-cup gasket won’t seal a 9-cup, no matter how much you tighten it.
Furthermore, worn threads on the pot can also cause leaks. This is trickier since that means the metal itself is worn.
Coffee Still Weak
Oftentimes, you’ll replace the gasket, but the brew will still be as watery as before. Usually, this means the gasket and filter plate aren’t seated correctly. For this, take it apart, clean everything again, and press the gasket firmly into place before reassembling.
Difficult to Close
If screwing the chambers back together feels like a wrestling match, the gasket might not be aligned.
You should gently re-seat it, making sure it lies flat in the groove. Forcing it will damage the seal or threads.
Hissing Noise
A loud hiss doesn’t always mean a bad gasket. Often it’s the safety valve doing its job or being partially clogged. You should clean the valve thoroughly and check the seal again. Sometimes it’s a combo problem.
Maintenance Tips to Extend Gasket Life
A gasket may be small, but it doesn’t last forever. With just a few simple habits, you can stretch its lifespan and keep your moka pot brewing like new.
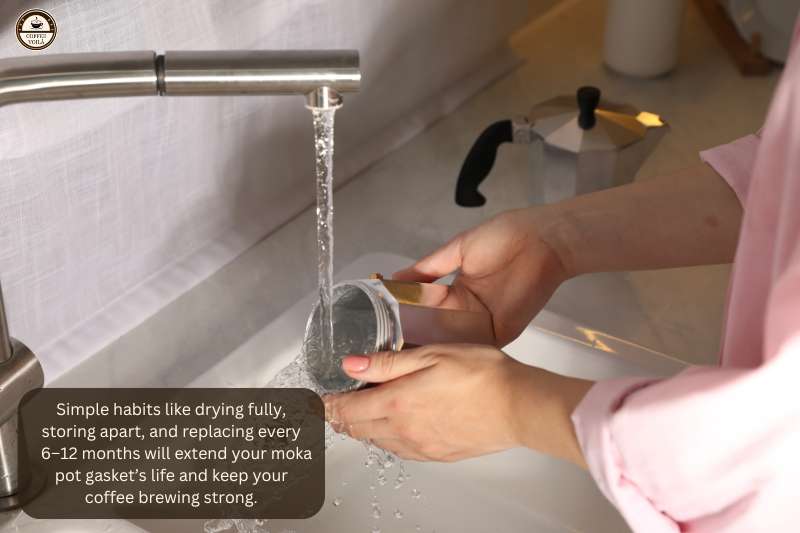
Dry well before reassembly
After rinsing your moka pot, don’t rush to put it back together. The reason is that moisture trapped around the gasket can lead to mold or musty smells. A quick pat with a towel and a few minutes of air-drying works wonders.
Store moka pot disassembled
If you always screw the pot back together tight, the gasket stays squished 24/7. Over time, that compression wears it out. Instead, leave the top and bottom slightly apart in storage. This keeps the seal in better shape.
Replace every 6–12 months
Even with great care, gaskets wear down. If you brew daily, you’ll probably need a new one every 6 months. However, light users can stretch it closer to a year.
Keep spare gaskets on hand
Few things are worse than waking up to leaks or weak coffee and realizing you don’t have a replacement. The fact is that gaskets are cheap. For this reason, it makes sense to keep a pack of spares tucked away.
Last Thoughts
So, have you checked your gasket lately, or are you still pushing through with one that’s stiff and worn? Do you prefer rubber or silicone replacements, and how often do you swap them out?
I’d like to read your experiences in the comments below. Plus, keep these tips in mind, and next time your moka pot acts up, you’ll know exactly what to do… voilà!