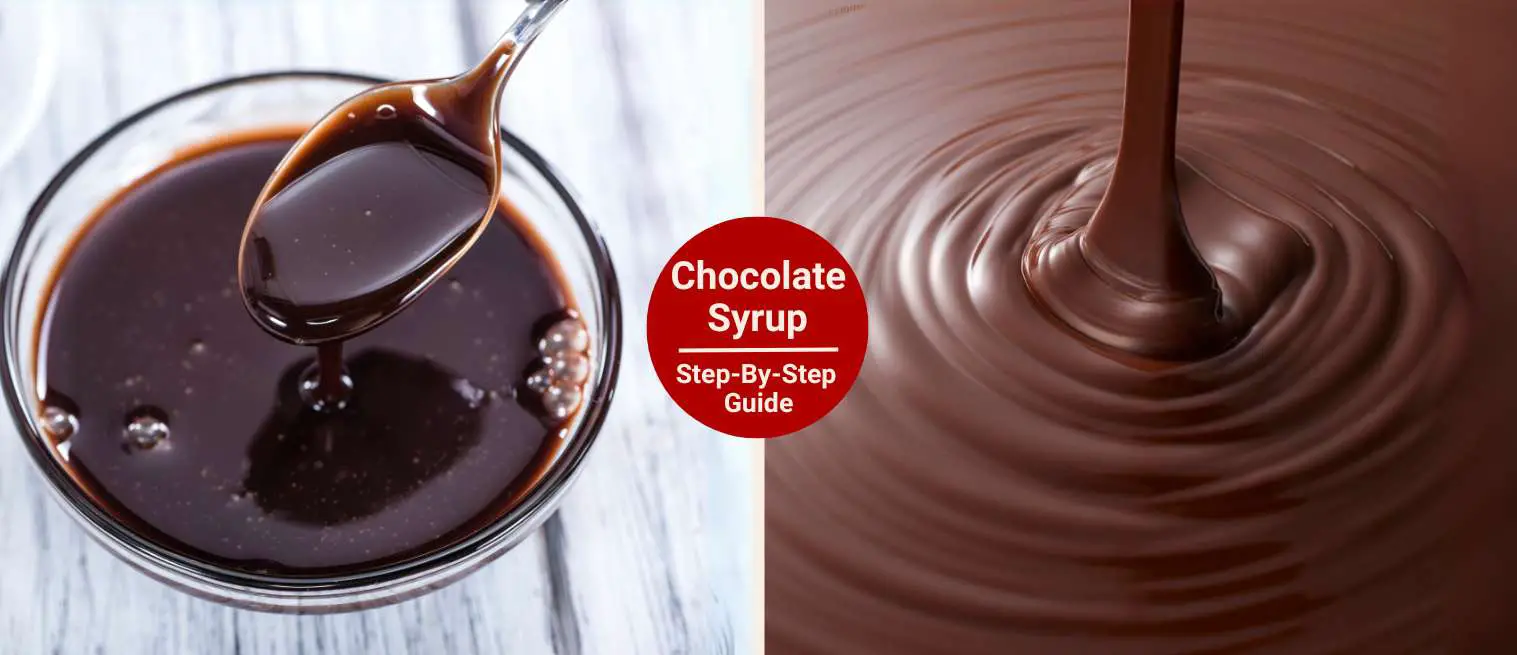
Easy Homemade Coffee Chocolate Syrup (Step-By-Step Guide)
Last updated on February 17th, 2026 at 11:53 am
Want to level up your mochas without pricey café runs?
One little trick that’s changed everything for me is making my coffee chocolate syrup at home. I used to crave iced mochas, dirty frappés, or even a classic hot mocha on a chilly morning. But buying syrup or heading to the coffee shop every time? Nope.
Once I figured out how simple it is to make it myself, it was over. Now I keep a batch in the fridge and use it whenever the craving hits.
In this post, you’ll find everything you need: ingredients, step-by-step instructions, tips for storing it, and my favorite ways to use it in coffee drinks. So let’s start brewing!
Why Make Chocolate Syrup at Home?
Once you start making your syrup, you’ll quickly realize it’s cheaper, takes just minutes, and honestly? The flavor is far better. So, here are the reasons:
Custom Flavor and Sweetness
When you make it at home, you can control the cocoa-to-sugar ratio. Sometimes I want it darker and richer. For this reason, I’ll go heavy on the cocoa and light on the sugar. Other days, I want it to feel more like a mocha dessert. So, I sweeten it up.
Better Ingredients
Most bottled syrups have a long list of stuff I can’t pronounce. High-fructose corn syrup? Pass. Weird stabilizers? Nope.
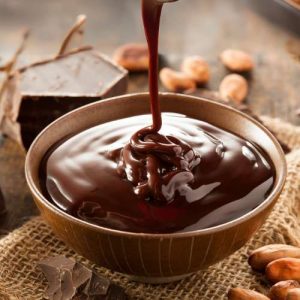
At home, it’s simply cocoa powder, sugar, water, and maybe a splash of vanilla. That’s it. And when you taste the difference, you’ll realize how much cleaner and bolder the homemade version is.
Budget-Friendly and Quick to Make
I like the fact that making syrup at home is extremely fast. We’re talking 10 minutes max from start to finish. And the cost? Perhaps a dollar or two for a batch that lasts the whole week.
Perfect for Hot or Iced Coffee Drinks
One of my favorite things is stirring a spoonful into hot espresso on a chilly morning or drizzling it over ice with cold brew during summer.
It melts beautifully into hot drinks and blends smoothly into cold ones. I even use it to make homemade mochas and chocolate cream cold foam.
Easy Homemade Coffee Chocolate Syrup (Step-By-Step Guide)
Equipment
- Small to medium saucepan (preferably nonstick or heavy-bottomed)
- Whisk:
- Measuring cups and spoons
- Fine mesh strainer or sifter (optional, for cocoa powder)
- Heat-safe spoon or spatula
- Glass jar or squeeze bottle for storage
Ingredients
- ½ cup unsweetened cocoa powder (I like using Rodelle for its deep, rich flavor)
- 1 cup granulated sugar (or brown sugar for deeper flavor)
- 1 cup water
- Pinch of salt
- 1 teaspoon vanilla extract (optional, for aroma and depth)
- 1–2 teaspoons espresso or ½ teaspoon instant coffee (optional, enhances coffee richness)
Instructions
- Step 1) Mix Dry Ingredients: In your saucepan, combine cocoa powder, sugar, and salt. If your cocoa is clumpy, go ahead and sift it. This makes a difference in how smooth the final syrup turns out. Then give it a quick mix before adding liquid.
- Step 2) Add Water and Simmer: Slowly pour in the water while whisking to combine. Next, turn the heat to medium and bring it to a gentle simmer, not a full boil. You want to let it cook for about 4 to 5 minutes, stirring frequently to prevent burning or sticking at the bottom.
- Step 3) Add Flavor Boosters: Once the mixture is glossy and thickened slightly, remove it from heat. Afterward, stir in the vanilla extract and, if you want a deeper coffee-chocolate blend, add your espresso shot or instant coffee now. This step is optional, but totally worth it if you love mocha-style drinks.
- Step 4) Cool and Store: Let the syrup cool slightly—it’ll thicken a bit more as it sits. Then pour it into a glass jar or a clean squeeze bottle (makes it convenient for morning lattes). You want to store it in the fridge and give it a shake or stir before using.
Want café-style flavor at home? It starts with the right syrup.

10 Best Coffee Syrup Brands in 2026
Love flavored lattes, iced caramel coffees, or cozy vanilla cappuccinos? We reviewed the best coffee syrup brands for bold flavor, cleaner ingredients, and barista-level taste at home.
How to Use Chocolate Syrup in Coffee
When I first started making homemade chocolate syrup, I didn’t expect to use it so often. But now it has become my favorite add-on. So, here are a few recommendations:
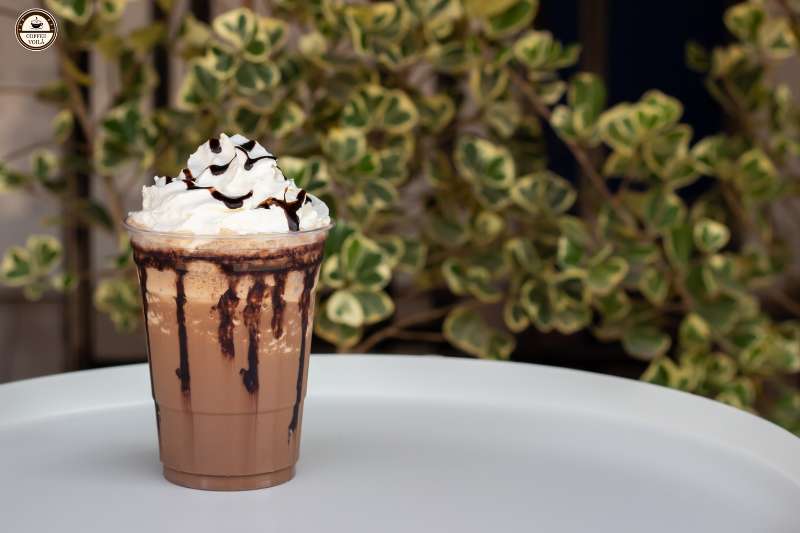
Classic Mocha Latte (Hot or Iced)
I stir 1–2 tablespoons of chocolate syrup into a shot of espresso, then top it with steamed milk for a homemade mocha that rivals any coffee shop. On hot days, I switch it up with iced milk instead; it melts right in and gives that smooth, chocolatey finish without overpowering the coffee.
Drizzle in Cold Brew
I like adding a little syrup to cold brew in the morning, then giving it a good shake with some ice. What you get is a smooth cocoa drink that pairs beautifully with the boldness of cold brew.

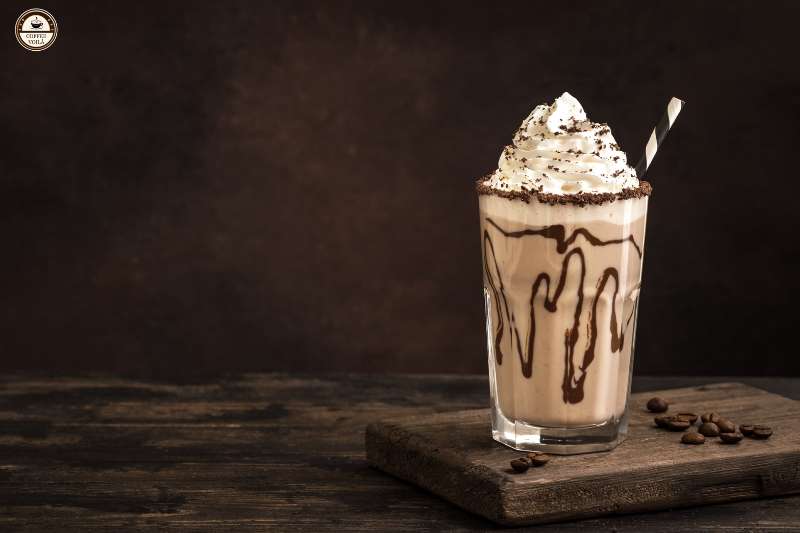
Blended Frappés or Affogatos
You can blend ice, milk, espresso, and a healthy squeeze of chocolate syrup into a frappé-style drink. Or if dessert calls, pour espresso over vanilla ice cream and drizzle chocolate syrup on top for an affogato-sundae moment.
Add to Espresso Shots or Iced Milk Drinks
You can stir a spoonful right into a plain espresso shot for a tiny but powerful mocha hit. Or mix it with cold milk and ice when you want something mellow but still chocolatey.

You can even froth the milk first for extra texture. It ends up tasting like a DIY iced hot chocolate, with a little coffee kick.
Homemade Chocolate Syrup: Tips for Success
If you want your coffee chocolate syrup to taste as good as the stuff from your favorite café or even better, these small tips make a big difference.
1 – Use High-Quality Cocoa Powder
I’ve tried cheap brands before, and you can taste the flatness. For deep, chocolatey richness, go for something like Ghirardelli, Hershey’s Special Dark, or Rodelle.
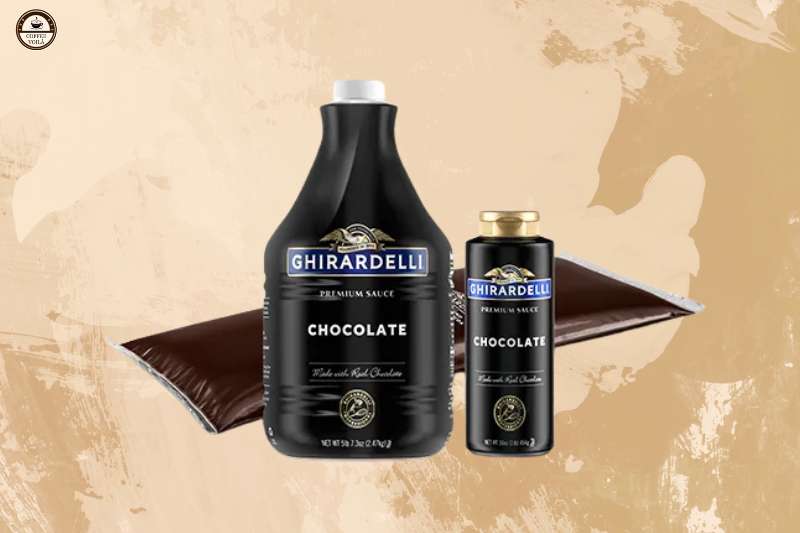
Usually, you can find at least one of these at your local supermarket or big box store. Furthermore, dutch-processed cocoa works great if you want a smoother, less acidic finish.
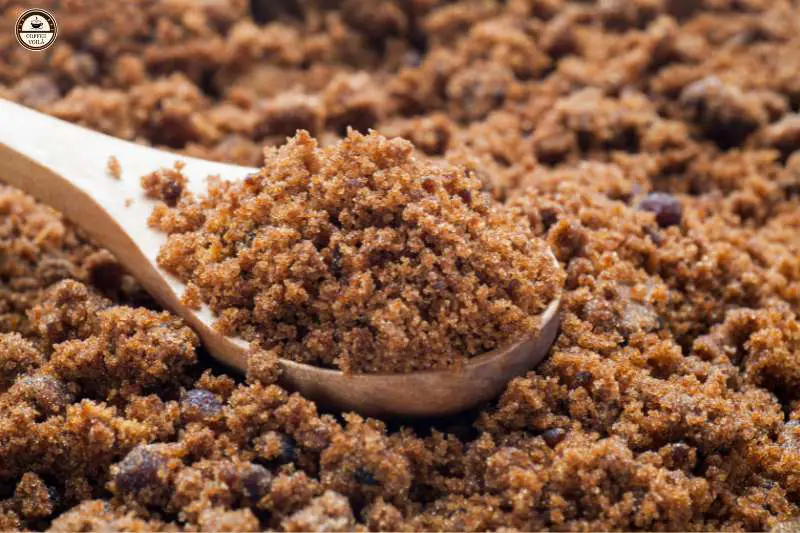
2 – Adjust Sugar Based
I like mine a little less sweet, so it doesn’t overpower the coffee. But if you’re after that dessert-in-a-cup, go ahead and add a couple extra tablespoons of sugar. You can also substitute brown sugar for a deeper, almost caramel note, but be sure to stir it well.
3 – Stir Continuously for a Smooth, Glossy Finish
You want to stir the whole time while it simmers. For this, use a whisk if possible, and you’ll get that velvety, glossy finish that makes it pour like a dream.
4 – Double the Batch and Freeze in Small Portions
If you’re already going through the effort, double it. You can make a big batch and freeze the extra in silicone ice cube trays.
That way you can pop one out, warm it up, and have café-style mochas without the extra work. Just make sure to label them so you don’t confuse it with actual chocolate for baking.
Last Thoughts
And that’s pretty much it! If you’ve got a creative way to use it or a favorite drink combo, I’d love to hear it! So, drop your ideas in the comments. While you’re at it, grab your mug, swirl in that syrup, and voilà.