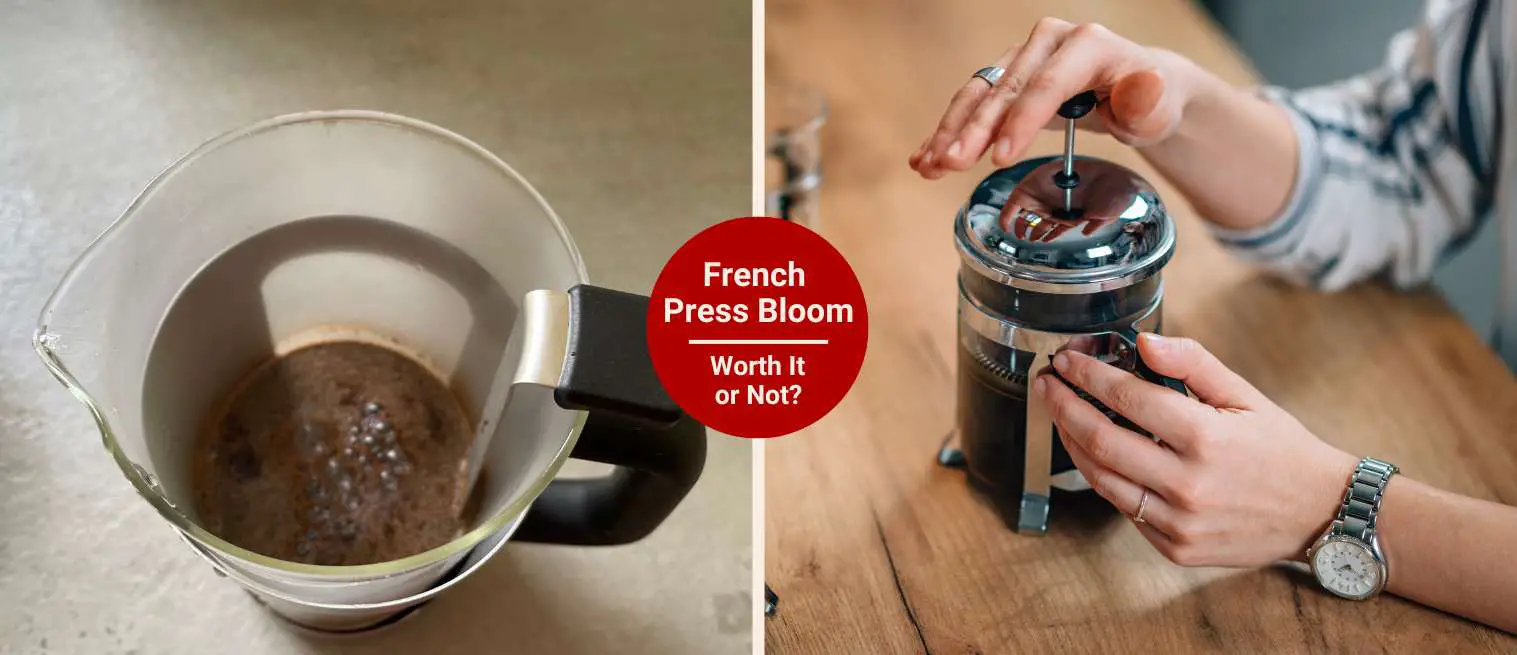
To Bloom or Not Bloom Coffee In a French Press?
Last updated on October 1st, 2025 at 03:34 pm
Should you bother with French press blooming? The short answer: yes, especially if you’re using fresh beans.
When I first started brewing with my French press, I had no clue about blooming. I’d simply dump in the water, wait, plunge, and wonder why my coffee sometimes tasted sharp or flat.
The first time I actually let the grounds bloom for 30 seconds, though, I was blown away. The cup came out smoother, rounder, and the aroma hit me before I even took a sip.
If you’ve ever struggled with sour or uneven French press coffee, blooming could be the fix you didn’t know you needed.
In this guide, you’ll learn what blooming is, why it matters, how to do it step by step, and the little mistakes to avoid. So let’s start brewing!
Key Takeways
- Blooming coffee in a French press helps release trapped CO₂, allowing water to fully extract flavor.
- Fresh beans bloom with fizz and bubbles; older beans release little gas but still benefit from saturation.
- A quick 30-second bloom (not more than 45) improves balance, body, and aroma.
- Use the right grind and stir gently so all grounds get evenly soaked before finishing your brew
What Does “Blooming” Coffee Mean?
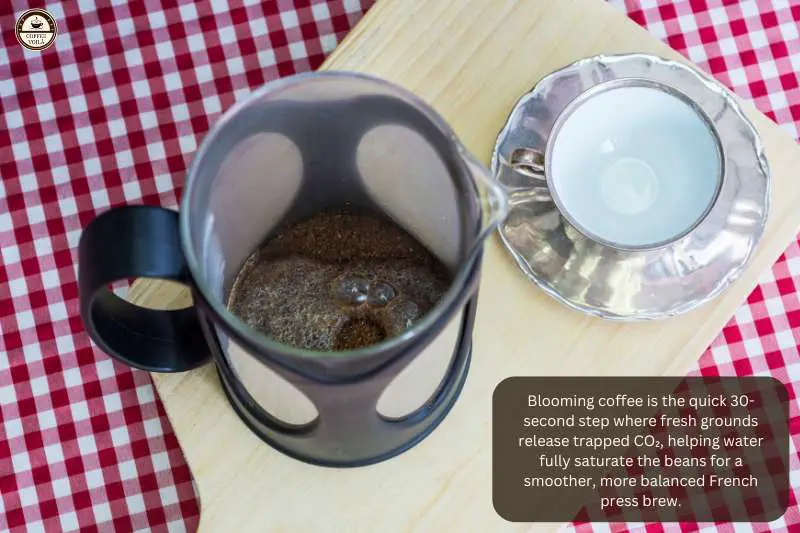
The first time I heard the word coffee blooming, I thought it sounded weird. But then I saw it happen: I poured hot water over freshly ground beans, and the surface started fizzing and bubbling.
That’s what we call “bloom.” The coffee is letting out all the gas it’s been holding onto since roasting.
So what’s happening?
When coffee beans are roasted, they trap carbon dioxide inside. Freshly roasted beans hold a lot of it. Sometimes, they continue to release gas for weeks after roasting. The moment hot water hits those grounds, the CO₂ rushes out, pushing little bubbles and foam to the surface.
Why does this matter?
That gas release matters for flavor. If you skip the bloom and dump all your water in at once, the trapped CO₂ literally repels water away from the grounds.
Less contact means uneven extraction. Some parts of your coffee brew properly while others end up weak, sharp, or sour.
My experience without blooming
I learned this the hard way. The first time I brewed in my Bodum Chambord French Press with beans roasted the day before, I didn’t bother blooming. The cup had this sharp, almost metallic note, like the flavor hadn’t fully developed.
The next day, I retried with a 30-second bloom. Instantly better. The body was fuller, the aroma richer, and that sour edge was gone. Honestly, I was surprised such a tiny step could make that much difference.
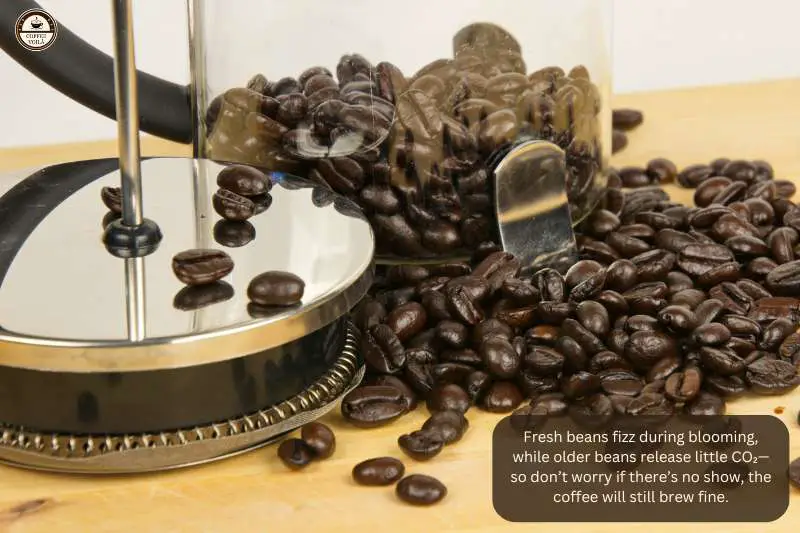
Not all beans are the same
Fresh beans bubble like crazy, while older ones barely fizz. That doesn’t mean they’re useless. Instead, it means most of the CO₂ has already escaped.
If you bloom a bag that’s been open for a month and see nothing, don’t panic. The coffee will still brew without the show.
Fun fact: baristas like James Hoffmann even debate whether blooming in a French press is necessary, since immersion brewing naturally gives the gas time to escape. Personally, I notice a difference, so I keep it in my routine.
Notes: Think of blooming as priming your grounds. You’re giving them a chance to settle and open up before the real brewing starts. Basically, thirty seconds is all it takes and it can be the difference between a flat cup and a balanced, flavorful one.
How to Bloom Coffee in a French Press (Step by Step)
Blooming in a French press isn’t complicated. So here’s how you can easily do it:
Step 1) Add coarse-ground coffee to the French press
Use a coarse and even grind. In other words, something that looks like sea salt.
So, you don’t want it too fine or you’ll end up with sludge. Neither too chunky or your brew turns watery.
I usually go for a 1:15 ratio, which means about 30 grams of coffee to 450 grams of water (roughly a 15 oz press). I recommend weighing yourself with a digital scale. It helps you get a more consistent brew.
Step 2) Pour enough hot water to wet the grounds
Your water should be around 195–205°F (that’s just off the boil). And don’t pour it all in at once. Instead, add only about twice the weight of your coffee. So, if you used 30 grams, pour in about 60 grams of water. You’re not brewing yet, simply waking the coffee up.
Step 3) Gently stir to ensure all grounds are saturated
This is where I used to mess up. I’d pour water and walk away, only to come back and find dry clumps floating on top.
A quick swirl with a wooden spoon or the back of a chopstick solves this. (Avoid metal spoons. I’ve cracked two glass presses that way.)
Step 4) Let it sit for ~30 seconds
This is where the bloom happens. With fresh beans, you’ll see fizz and bubbles rise.
Now, with older beans, they may stay quiet, and that’s fine. Just give it about 30 seconds. Going longer doesn’t really add anything.
Step 5) Continue adding the rest of the water and brew normally
After the bloom, pour in the remaining hot water, give another gentle stir, and start your brew timer. I like about 4 minutes total.
Quick tip: Start your timer the moment water touches the beans. I used to bloom and then start the clock, which meant my brews were always overshooting.
Last Thoughts
Now I’m curious: have you ever tried blooming your French press coffee? Did you notice a difference in flavor, or do you skip it for convenience?
Share your experience in the comments, and if this guide helped you, pass it along to another coffee lover. And with that, voilà!