How to Get Perfect Milk Foam with a Super Automatic?
Last updated on March 10th, 2026 at 03:10 pm
I remember when I bought my Jura after years of using my Barista Express. I thought the transition would be seamless. Espresso? Easier. Cleanup? Easier. Milk drinks? Obviously easier.
And in many ways, it was.
The Jura felt like a different beast: press a button, step back, watch it build a cappuccino on its own. No juggling a pitcher. No listening for that tearing-paper sound from the steam wand. I loved that.
But the first time I looked closely at the milk foam with a super automatic, I paused. It wasn’t bad. It simply wasn’t what I was used to. The texture felt lighter. The bubbles slightly larger. It didn’t have that same glossy stretch I used to chase manually. I remember tilting the cup, staring at the surface, thinking… okay, what am I missing here?
That’s the frustration most people run into. The machine promises convenience, but the foam doesn’t look quite right. Too airy and thin. Sometimes not hot enough. And it’s easy to assume the machine can’t do better.
The truth is, it usually can. So, here’s what really makes the difference.
Common Milk Foam Problems & Quick Fixes
If your foam looks off, don’t panic most issues are small and fixable once you know where to look.
| Problem | Likely Cause | Quick Fix |
| Big, airy bubbles | Milk too warm or low protein | Use colder milk, try whole or barista oat |
| Thin, weak foam | Low-fat milk or mild foam setting | Switch milk, increase foam density |
| Foam collapses quickly | Dirty milk system | Run deep clean cycle |
| Milk not hot enough | Eco mode or low temp setting | Increase milk temperature |
| Foam too dry / stiff | Too much air injected | Lower foam density setting |
| Uneven texture | Partially clogged air intake | Clean milk circuit thoroughly |
Tip: If nothing improves after adjusting milk and settings, check the simple things first. For instance, milk freshness, fridge temperature, and whether the machine completed its last cleaning cycle.
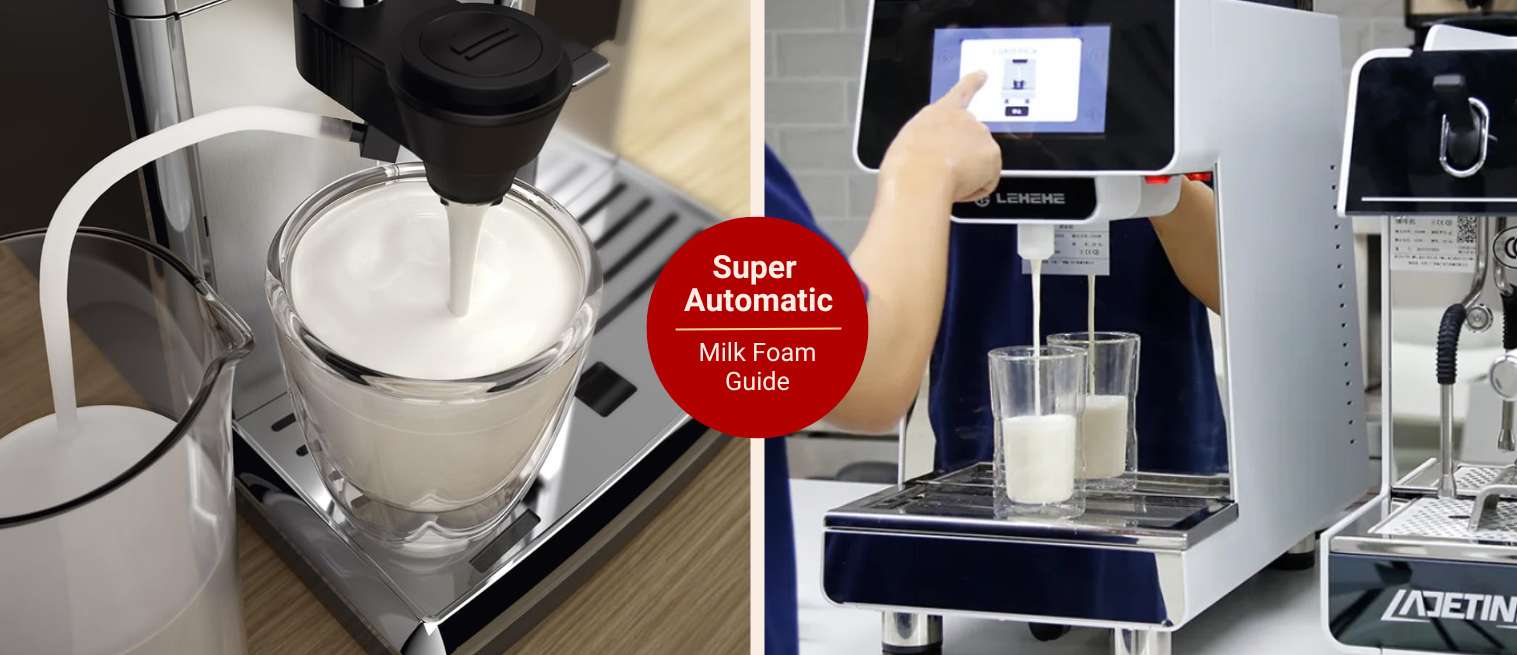
What “Perfect” Milk Foam Should Look Like
Perfect milk foam isn’t a mountain of stiff bubbles sitting on top of your drink like shaving cream. When it’s right, it looks similar to wet paint: glossy, smooth and tiny bubbles.
I’ve tilted a cup before just to watch the surface move, and good foam kind of folds into itself instead of separating. It should hold its shape for a minute or two, not collapse the second you take a sip, and it shouldn’t feel dry on your lip.
Temperature matters more than people think; somewhere around 55 to 65°C (130–150°F) is the sweet spot. It’s hot enough to feel cozy, not so hot it scalds the milk and flattens the flavor.
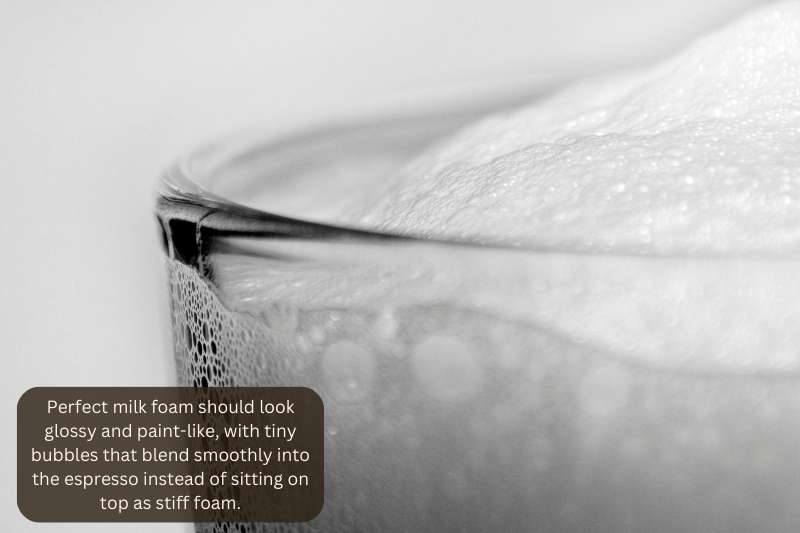
And the biggest thing? It blends into the espresso instead of sitting awkwardly on top. You shouldn’t feel like you’re drinking layers.
A super automatic won’t replicate a high-end steam wand exactly. But it gets closer than most people expect.
Step 1 – Choose the Right Milk
I’ve blamed machines before when the real issue was the carton sitting in my fridge. Whole milk is the easiest place to start. The foam holds together, feels creamy rather than dry, and doesn’t fall apart the second it hits the espresso.
Two percent works too. Slightly lighter, still stable. If you’re going dairy-free, barista oat milk usually comes closest to whole milk. It was the first alternative I tried that didn’t feel like a compromise.
Almond can foam… sort of. Coconut tends to get airy and thin. Low-fat milk technically froths, but the texture feels brittle and almost papery.
It comes down to chemistry more than preference. Protein stabilizes bubbles and fat softens and smooths them. Less protein or fat and the foam doesn’t have much to hold onto.
Step 2 – Start with Cold Milk
Milk straight from the fridge is around 3–5°C. That gives the machine more time to introduce air before it overheats.
Those extra few seconds matter. I once tried using milk that had been sitting out while I answered emails. The foam looked decent at first, then sank into itself before I even picked up the cup. Don’t preheat or “take the chill off” your milk. Warm milk collapses faster.
Step 3 – Adjust Machine Settings Properly
Many super autos default to polite settings. Mild foam, medium temperature and safe ratios.
Dig into the menu. Increase foam density if your machine allows it. Bump the milk temperature slightly (not to scalding), just above the factory default. Turn off eco mode if it’s limiting heat. And if you can tweak the milk-to-espresso ratio, experiment.
Step 4 – Clean the Milk System (Non-Negotiable)
If your foam suddenly turns thin, my first suspicion isn’t the milk. It’s the tubes.
Milk residue builds quietly. Tiny blockages in the air intake change how much air gets mixed in. Dried proteins cling inside lines you can’t even see.
Rinse after each use and deep-clean weekly. Use the proper milk cleaner, not just hot water. These systems are sensitive in a way that feels unfair until you realize they’re pushing hot milk through narrow plastic passages every single day.
Step 5 – Preheat Your Cup
Cold ceramic wrecks good foam. I used to skip this because it felt fussy. Then I watched perfectly decent foam flatten the moment it hit a cold mug.
Run hot water into the cup first. Or let it sit on the machine tray while it warms. It’s a small adjustment, but it protects everything you just did.
Step 6 – Let the Foam Settle 10–15 Seconds
Fresh foam looks impressive, but it’s unstable for a moment. Give it ten seconds or even fifteen. The larger bubbles rise and disappear, the texture tightens, and it looks smoother without you doing anything at all.
And no, a super automatic isn’t going to match a high-end manual steam wand in a specialty café. But with the right milk, proper temperature, clean lines, and a little patience, it gets closer than most people expect.
Want better espresso at home? A reliable machine makes all the difference.
8 Best Super Auto Espresso Machines (2026)
Want café-quality espresso at the push of a button? We break down the top super automatic machines — comparing espresso taste, milk systems, ease of use, and long-term value.
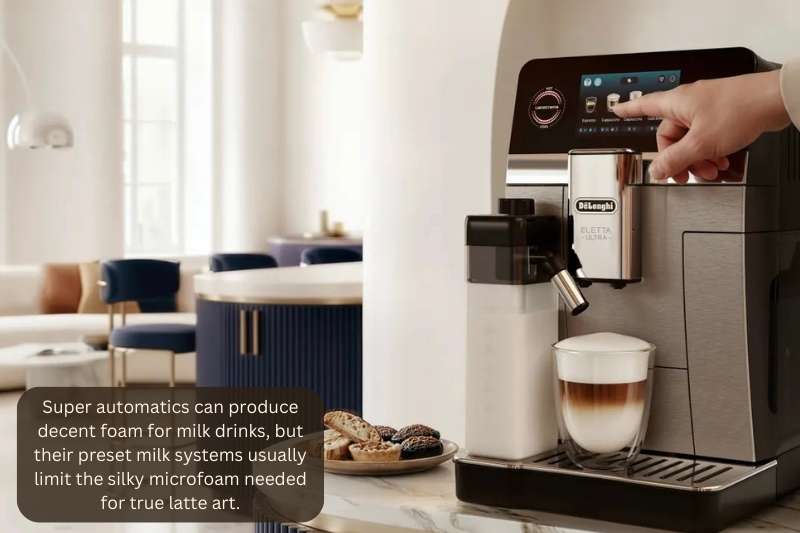
Can Super Automatics Make Latte Art Foam?
Short answer? Sometimes. Long answer… it depends on what you’re expecting when you say “latte art.”
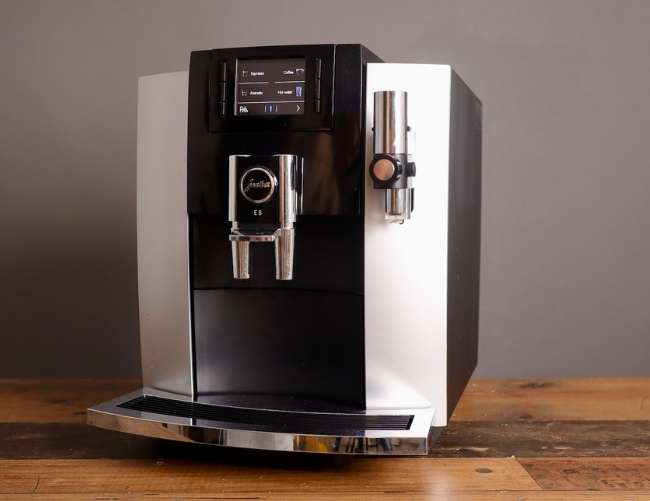
When I first bought a Jura E8, I genuinely thought I’d be pouring hearts within a week. I watched a couple of barista videos late at night, glossy milk, steady hands, that gentle wiggle at the end. It looked almost effortless.
Well, it wasn’t.
Most super automatics produce something closer to cappuccino-style foam. A bit thicker and more structured. Fine for layering, but not always ideal for drawing anything delicate. I’ve poured what was supposed to be a tulip and ended up with something that looked similar to a melted marshmallow drifting off-center.
Some machines do better than others. Higher-end models, especially the ones that let you tweak milk temperature or texture, can get surprisingly close. The foam can come out tighter and shinier.
But automatic milk systems are preset. Steam pressure and aeration timing are all programmed. You’re not stretching milk manually or adjusting the pitcher angle by a few millimeters while listening for that soft hissing sound. The machine decides when it’s done.
And that’s where the limitation shows.
If latte art matters to you and you enjoy the small ritual of steaming, adjusting, and trying again, a semi-auto will give you more room to play. It’ll also give you more room to mess up. You can easily scorch milk more than once.
Super automatics are built for consistency. They make good milk drinks with very little effort. They just don’t quite replicate that slow, tactile control.
When It’s the Machine (Not You)
Sometimes it isn’t your milk, your settings, or that tiny adjustment you made half-asleep while staring at the screen. I’ve gone through the whole routine before: switched milk, cleaned the system twice, adjusted the temperature and the foam still came out thin.
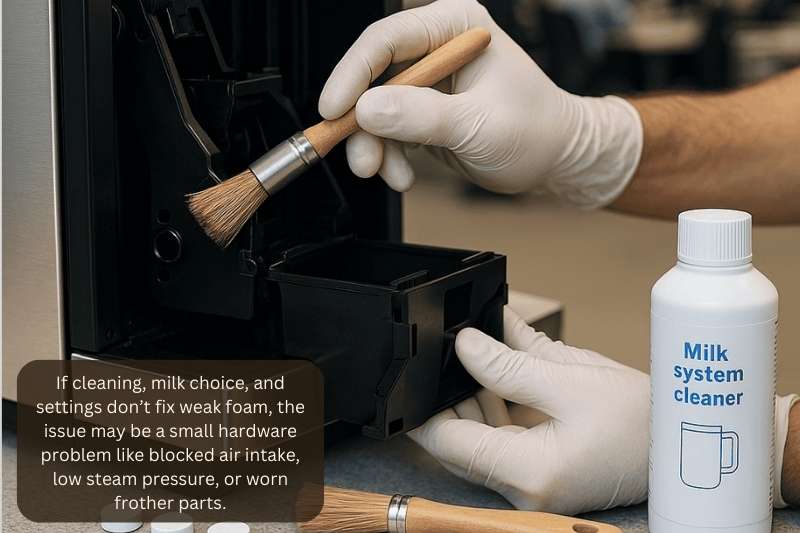
That’s usually the moment I stop blaming myself and start looking at the hardware. A few things that can quietly go wrong:
- Air intake blockage: The frothing system pulls in air through small openings. If one of those is partially blocked with dried milk, residue, or even a tiny bit of debris, the machine can’t introduce enough air. The foam comes out flat, almost lazy-looking.
- Steam pressure issue: If the steam pressure drops, even slightly, the milk won’t texture properly. It may heat, but it won’t build structure. You might notice the machine sounding different, with a weaker hiss and less force behind it.
- Worn milk frother components: O-rings and small plastic connectors wear out over time. They don’t always fail dramatically. Sometimes performance just slowly declines and you don’t realize it until one day the foam looks nothing like it used to.
- Cracked or loose milk tube: A tiny crack in the milk line can disrupt airflow or suction. It’s subtle and easy to miss.
If you’ve cleaned thoroughly, tried different milk, adjusted temperature and foam density, and nothing changes, it might not be you. At that point, a proper inspection or even service makes more sense than endlessly tweaking settings.
Last Thoughts
If your foam still isn’t perfect, what are you noticing in your cup: too airy, too thin, not hot enough? Sometimes describing the problem out loud makes it obvious what’s off. And if you’ve found a small tweak that worked on your machine, I’d honestly love to hear it. These little adjustments add up.